Running out of battery when you’re in a foreign country where you don’t exactly speak the language is one thing you definitely want to avoid when you travel. It’s something that’s also easily avoidable. We use power banks when traveling, and never leave home without one. Here are our favorites.
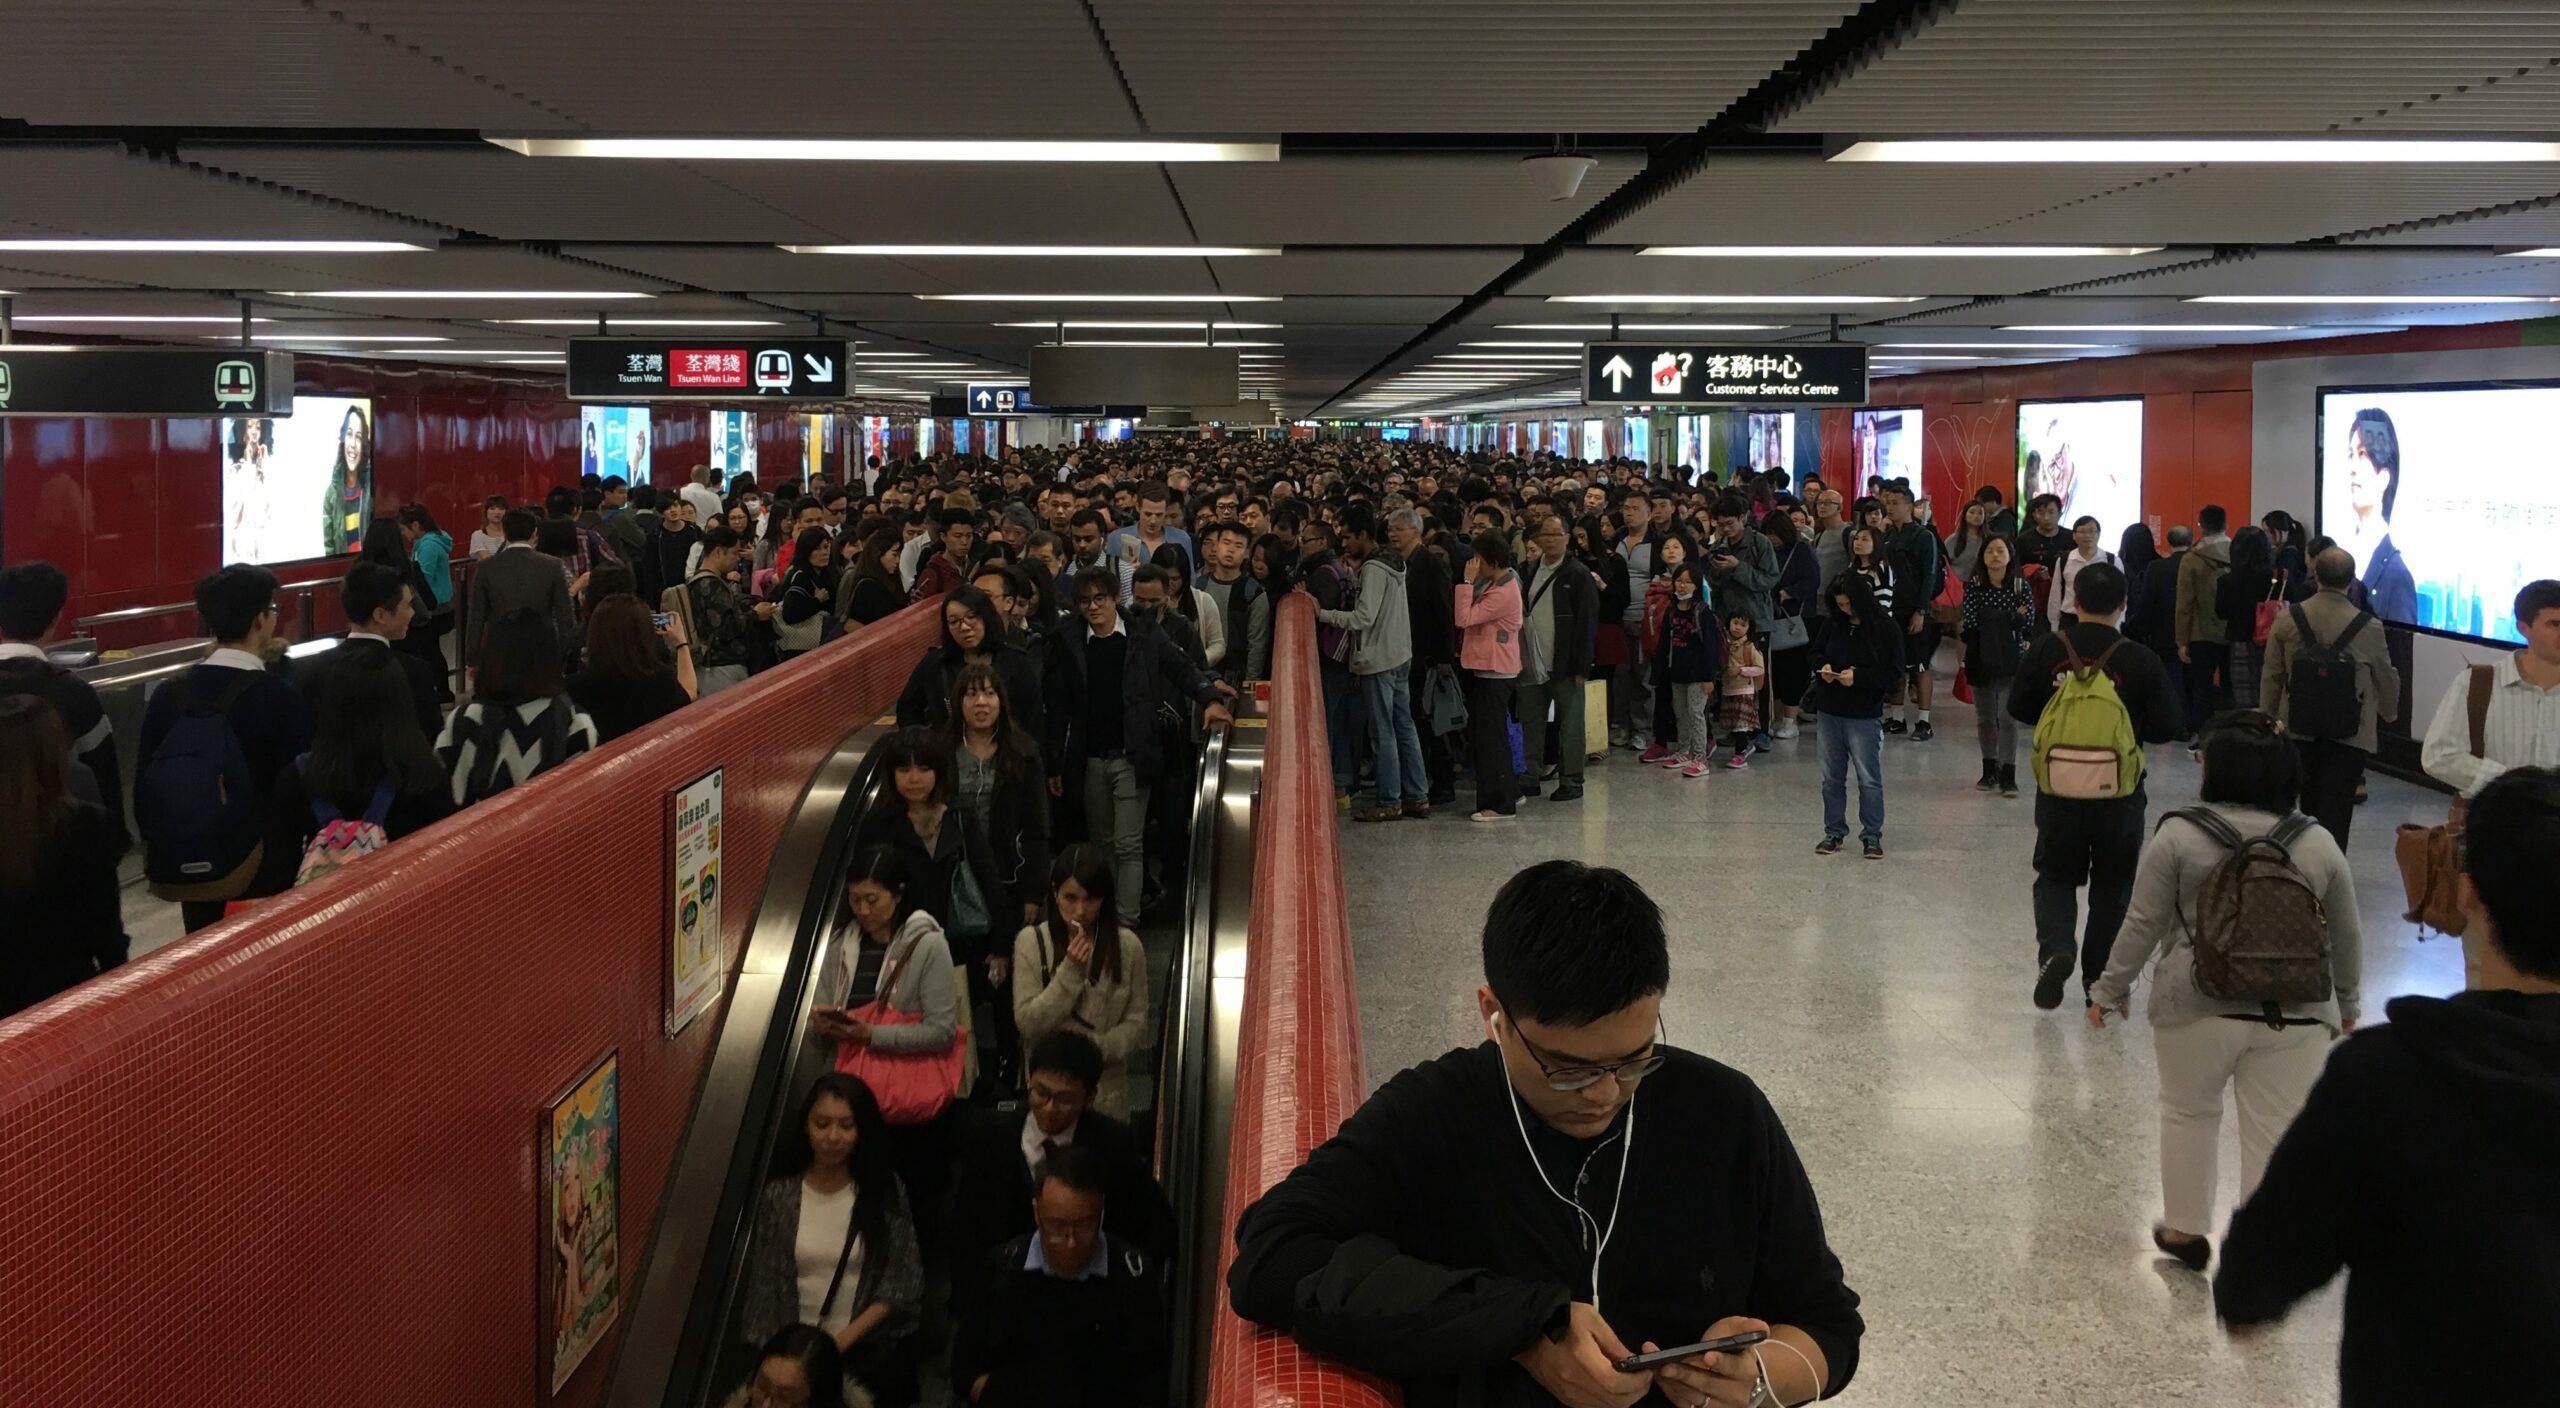
Hong Kong Central MTR
5 Power Banks you don’t want to be caught without in 2017
We’ve tried and cried, testing the best power banks that have become a part of our travel kits. These are tested and abused in the real world, and most importantly, they won’t suddenly burst into flames.
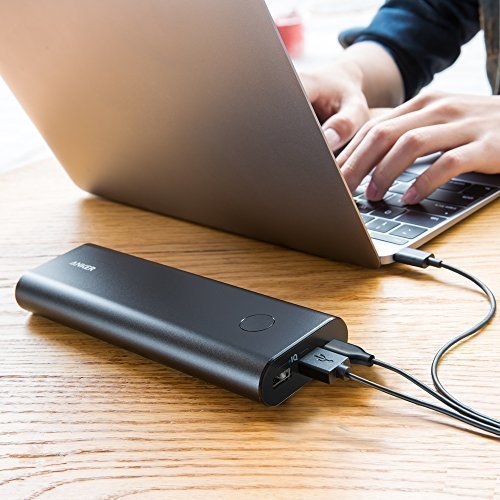
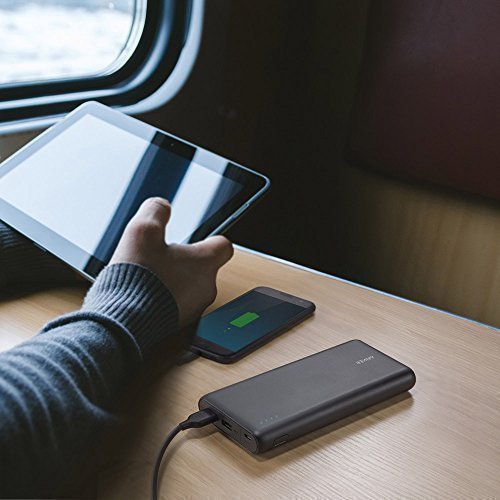
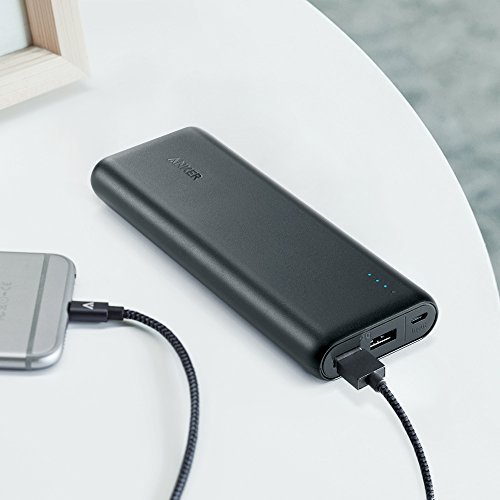
We picked the Anker PowerCore+ 20100 as our do-it-all when we travel. It powers our USB-C MacBooks and MacBook Pros, charges our iPhones and iPads multiple times, and has served as a hammer.
Recommended by our road warriors – in a single charge, this will fully charge 1 MacBook, 1 iPad, and 1 iPhone before throwing in the towel. It is truly the Swiss Army knife of power banks.
When we’re doing an urban hike through the city, we want to pack light. But capturing so many photos and videos can be draining on our iPhones. We tried a few different small and light power banks before settling on the Anker PowerCore Slim 5000 – It holds 2 full charges, and you won’t notice it in your backpack when trekking through the streets of Tokyo.
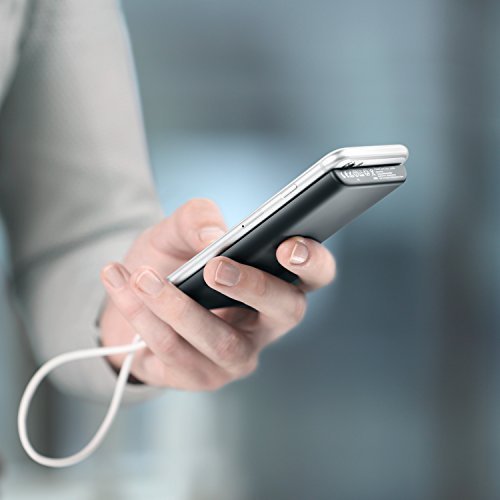
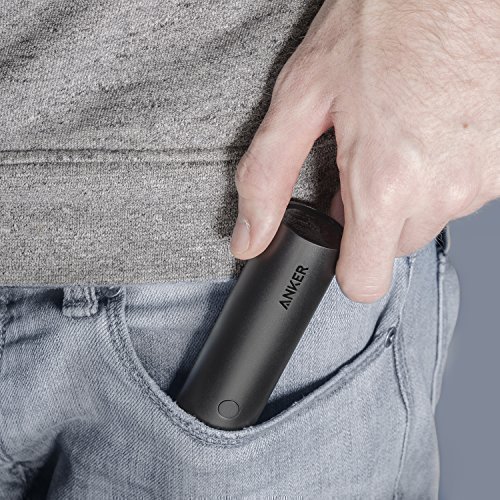
This is the one that we keep in every bag. The Anker PowerCore 5000 – It’s small, light, and robust. We’ve dropped it multiple times – it’s a tough one. We give these out as gifts to friends and family and haven’t heard a single bad thing. It just works, and it’s cheap.
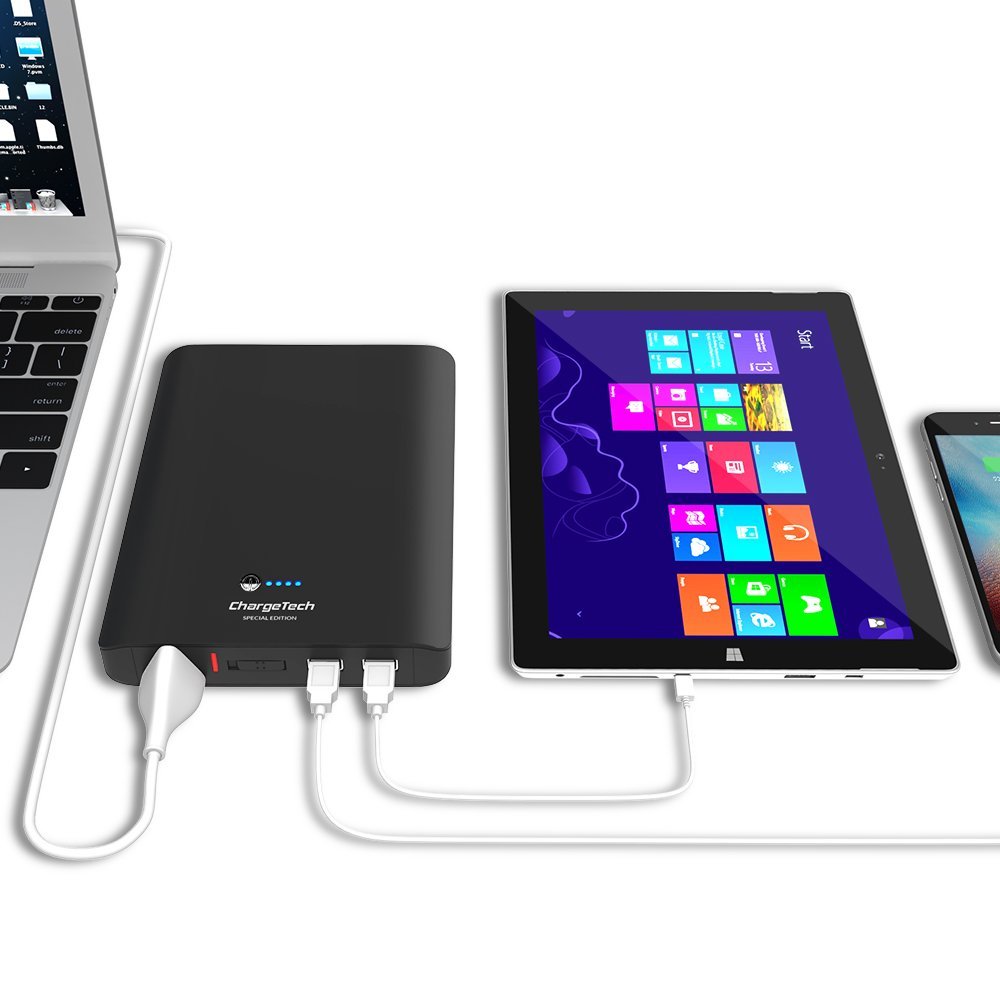
Okay, we admit that we don’t own this, but we’ve had a chance to try it and it’s impressive. You can charge anything. Everything! It has an AC outlet that will take any wall charger – even an 85W MacBook charger. It’s not cheap, it’s not small and light, but if you need something that will charge everything – this is it.
If you have an Android phone that supports QuickCharge technology – this is the best power to support it. The Anker PowerCore Speed 20000 supports Qualcomm QuickCharge 3.0.
You may have noticed that all but one of our recommended power banks are from Anker – we’re not affiliated with them in any way, it’s just that we’ve tried a lot, and have found a consistent, high quality experience using Anker Products. They consistently perform, are high quality, and have never let us down. Other brands of power banks can be poorly designed and are outright dangerous.
We stand by our recommendations – we have traveled with them, and would recommended it to our non tech-savvy moms.
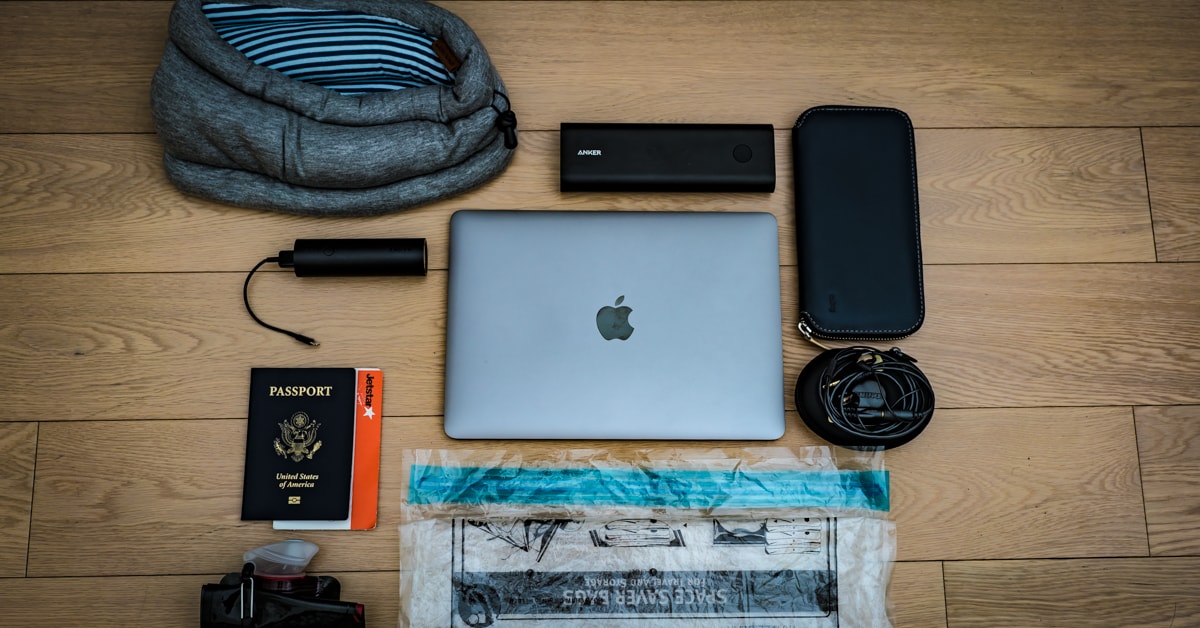
Let’s face it. Sooner or later all of us will be stranded at an airport at least once. So why not prepare for it? Especially when the airport travel accessories can be used during your trip, and don’t add anything extra to what you’re carrying. It’s a win-win.
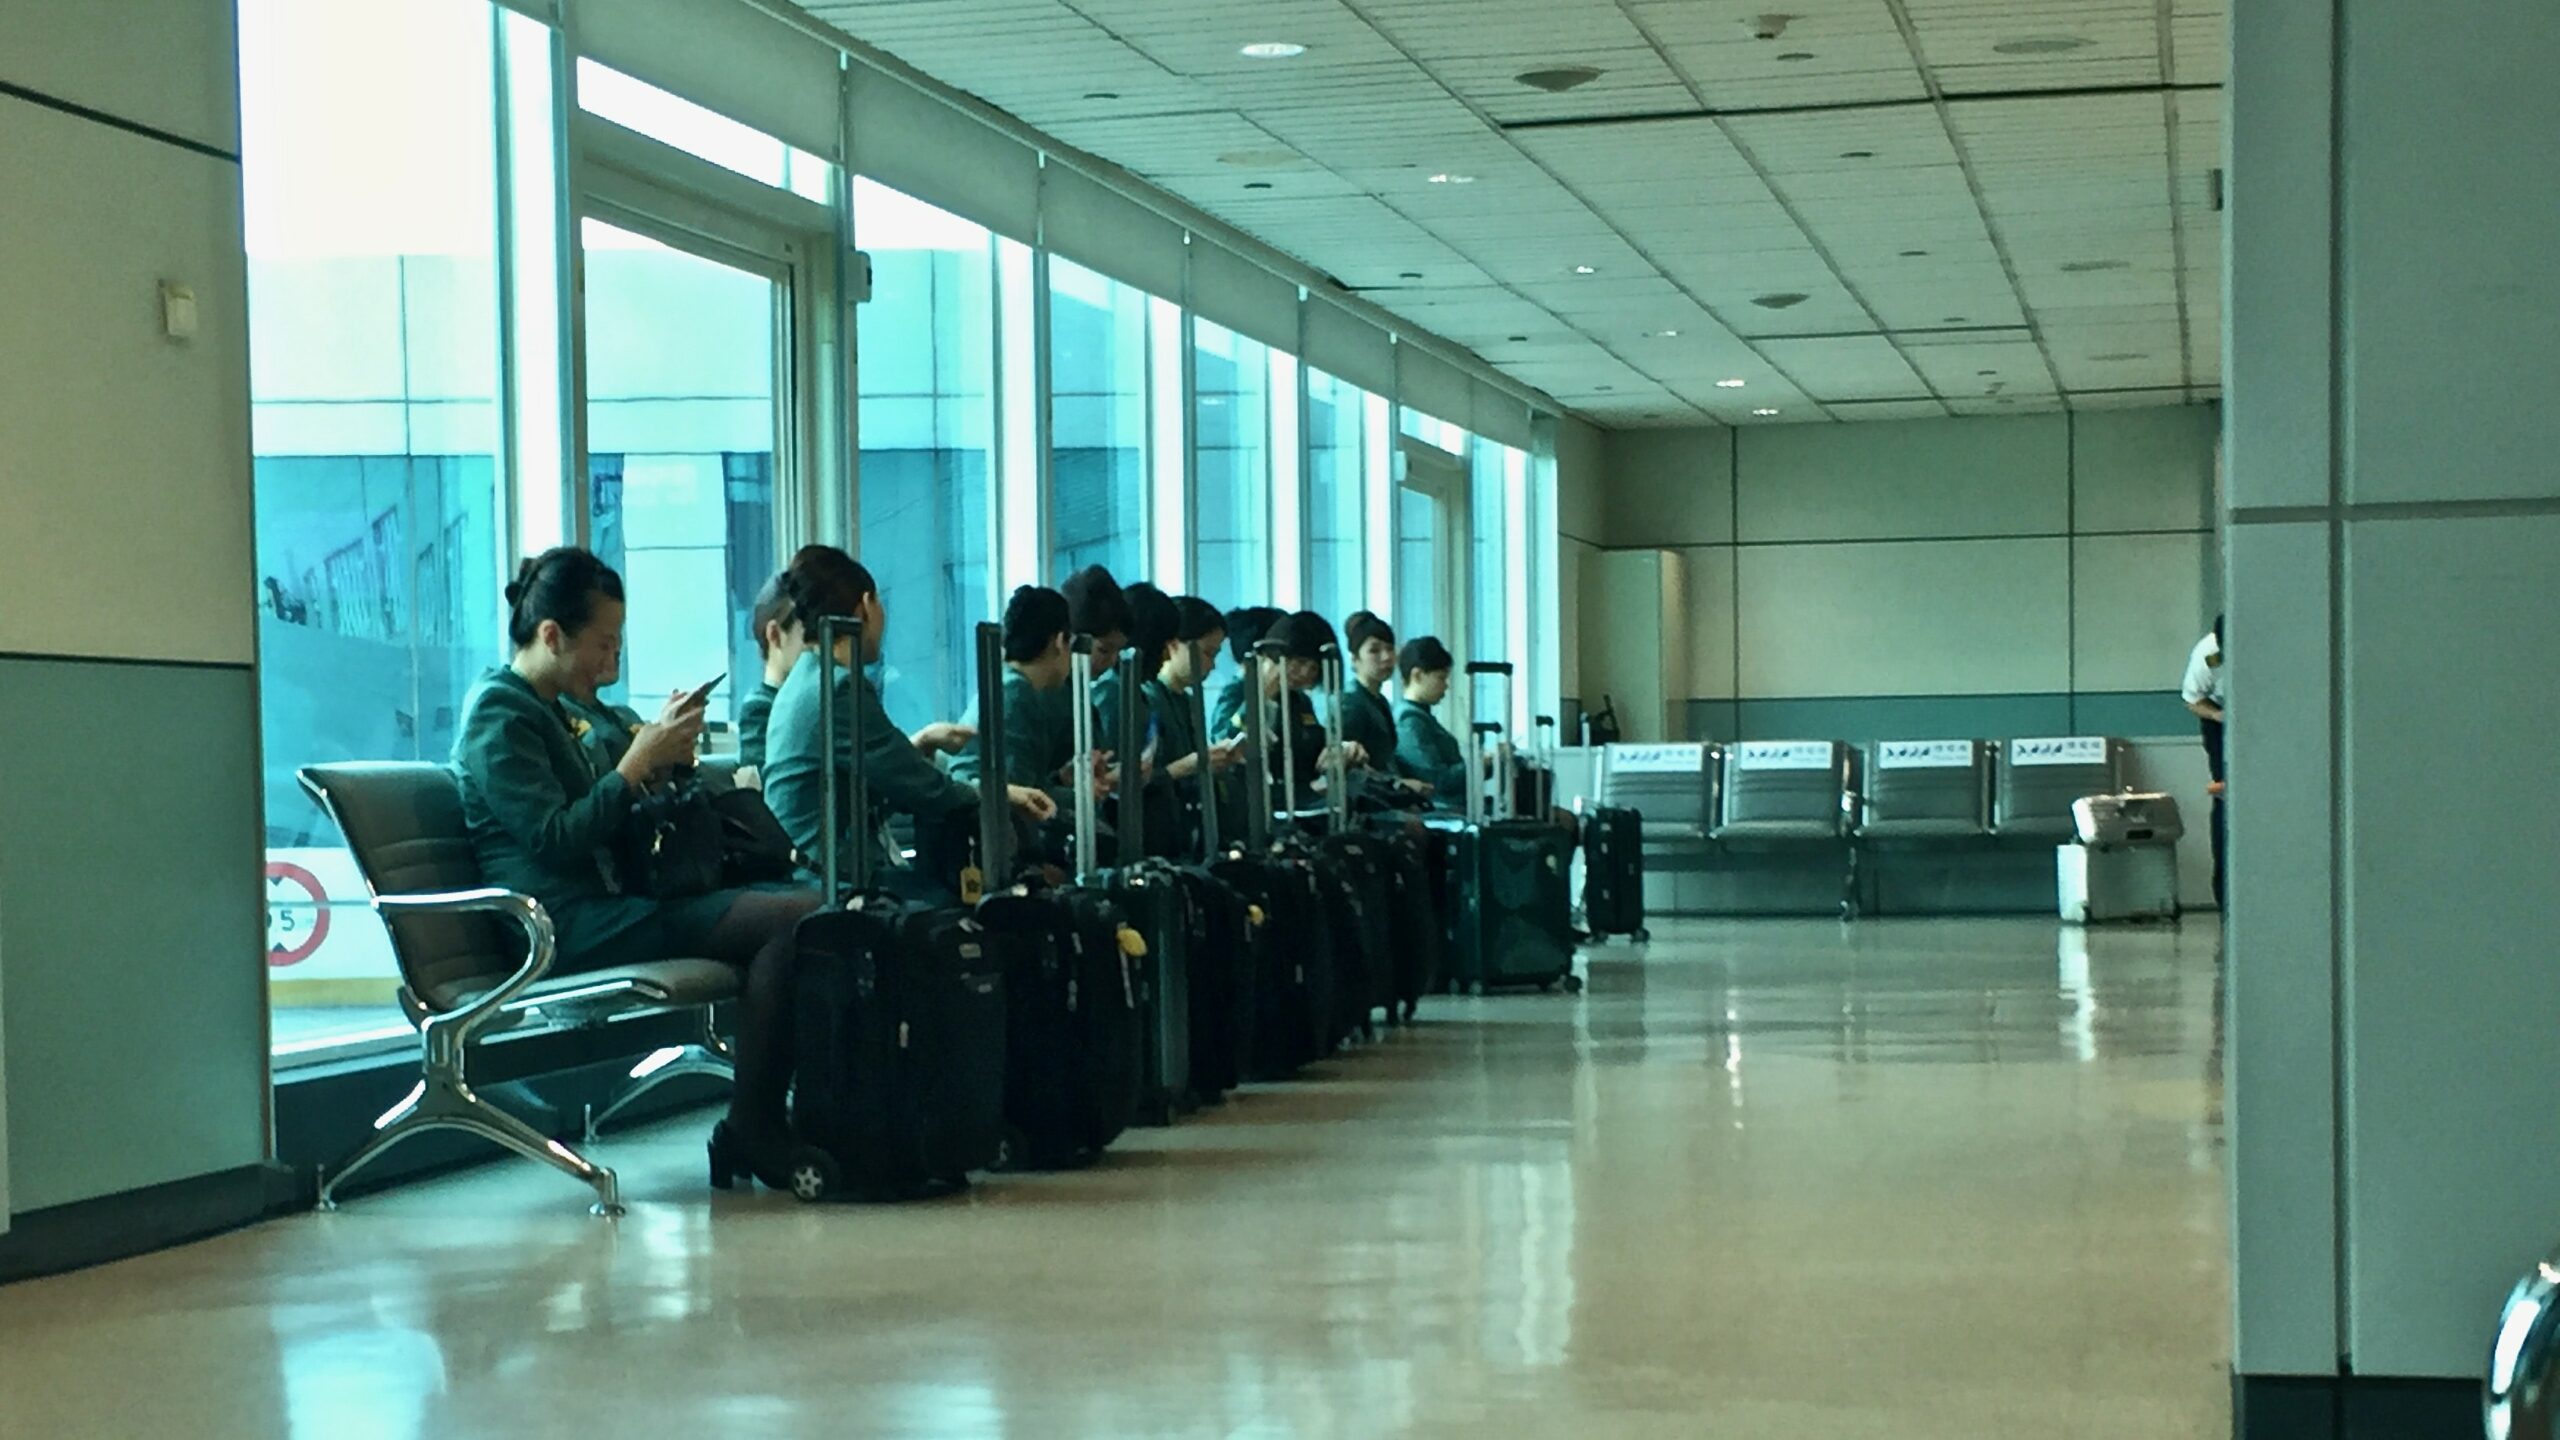
EVA Flight Attendants at Taipei Taoyuan International Airport (TPE)
The Best Airport Travel Accessories You Should Always Have With You in 2017
Whether you get trapped in a snowstorm, get bumped, miss the last flight out, or your flight gets cancelled… There are thousands of reasons of why you’re going to have to spend more than just a few hours at the airport. We’ve tested all of our recommendations in the real world, including spending a night at the airport when we really didn’t want to.
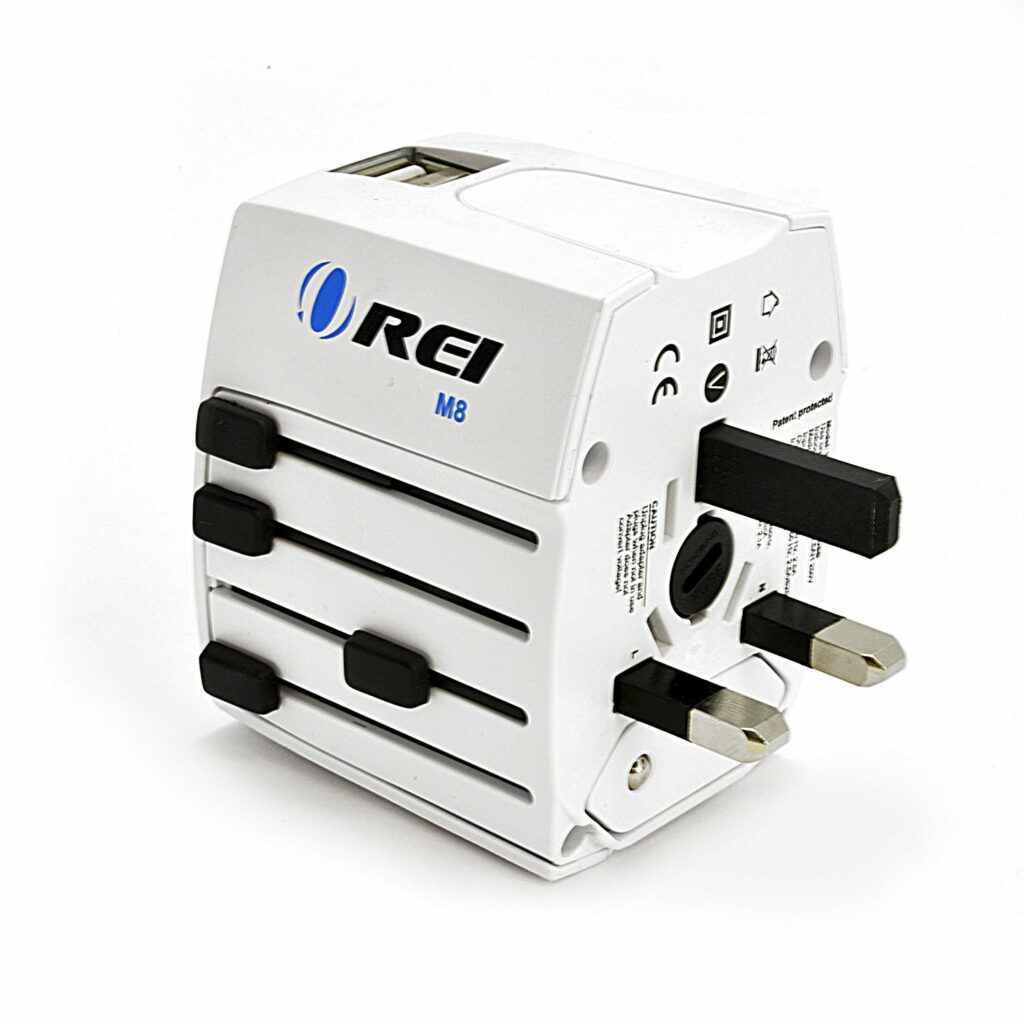
A solution for “great, the charger I brought doesn’t fit into the outlet”.
Nothing sucks more than bringing your charger to a different country, only to find out it doesn’t fit into the outlets. With this World Wide Travel Plug Adapter, you don’t have to carry anything else. It has two USB ports to charge your phone and iPad, and even passes through so you can plug in your laptop charger. Charge 3 devices at the same time, anywhere in the world. You need one now, get it on Amazon!
Ever tried to search for an outlet at the airport? That’s right, good luck.
Sometimes where you can charge your gear and where you can sit or lay down to relax aren’t in the same place. This is why we always carry a Power Bank with us wherever we go. One of our favorite choice is the Anker 20100. You’d be surprised at how many charges you can get from this before it dries up. We recommend the following three options, available on Amazon.
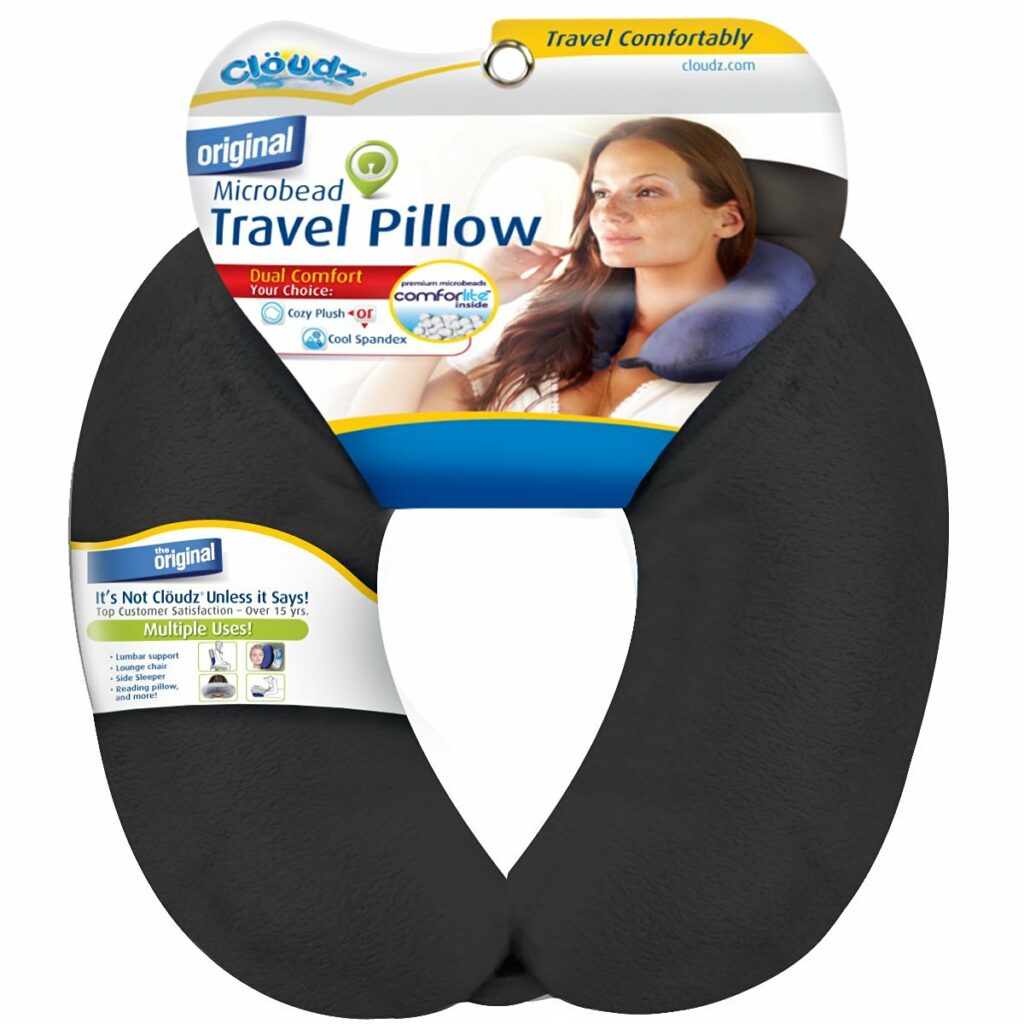
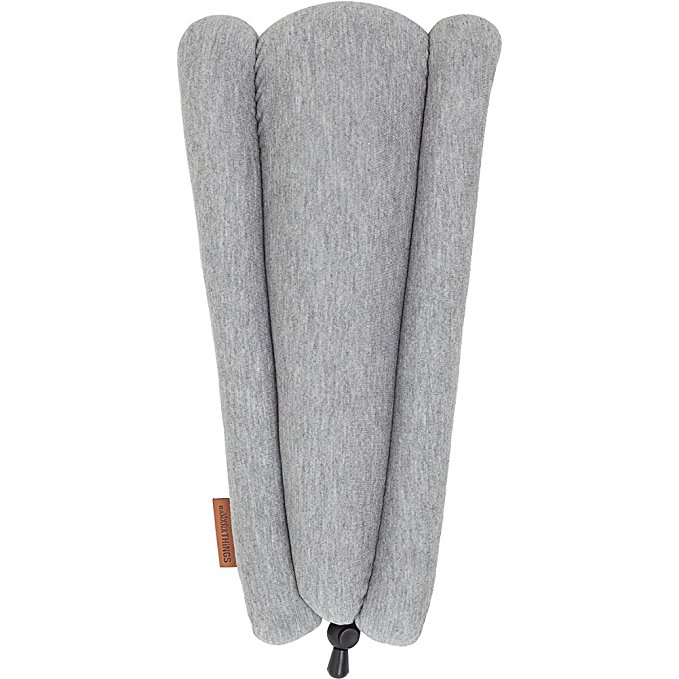
A travel pillow that will never get soft, run away, and also works when you’re laying on the floor.
Let’s face it, a lot of travel pillows don’t see a lot of use outside of the plane. We’ve found that this one that uses microbeads stays firm and supportive, regardless of how many hours you use it for. When you’re stranded at the airport and want to lay down, this is the best one to have with you. Get yours now on Amazon!
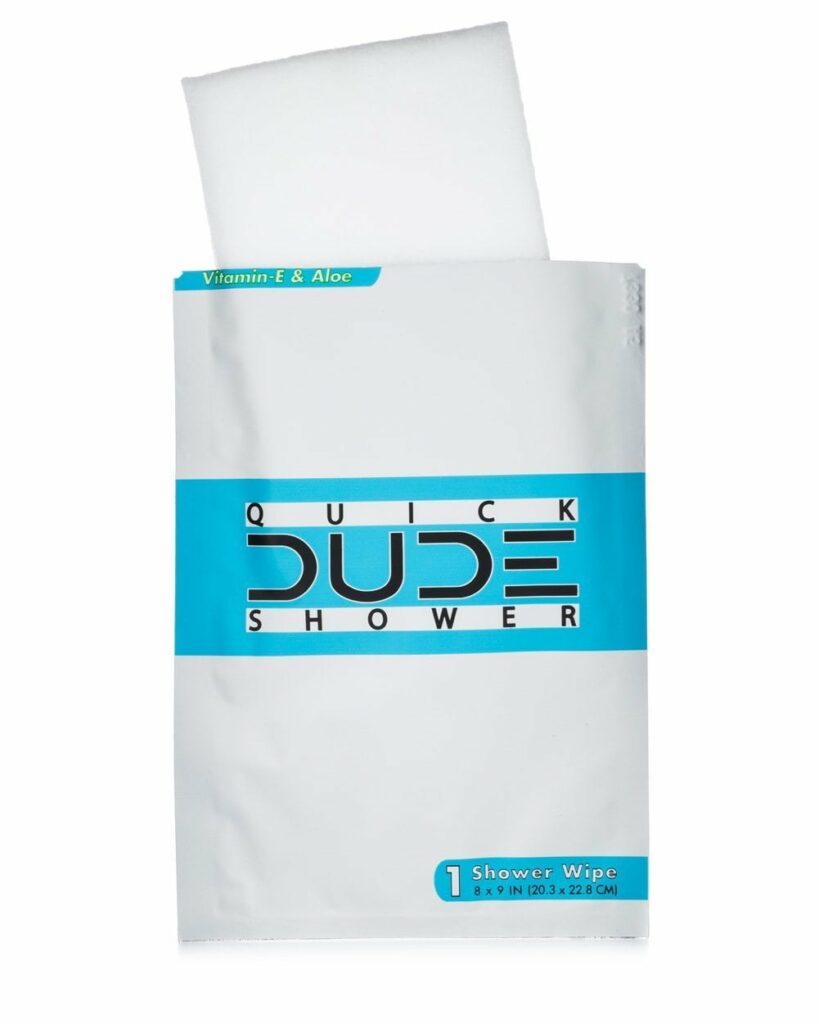
The quick way to fix “oh no, there’s no shower in this airport and I don’t have lounge access”.
We think that this might be the best airport travel accessory for when you are stranded. It’s for those scenarios when there’s no showers in the airport you’re at and you really need one. Go to the restroom, open one of these, and wipe yourself clean. It’s refreshing, just start from your face and work your way down, not the other way around. Get your shower in a pouch over at Amazon.
Oh, actually this airport does have a shower. Great, where’s my towel?
So actually, there is a shower in your airport, and you don’t have a towel. Well, carry one of these – it can double as a blanket on the plane, a way to wash your face in the restroom, and can also roll into a neck support. It’s small, doesn’t take a lot of space, and dries fast. That’s why we like waffle weave towels. It’s a multi purpose thing that deserve to be in everyone’s travel kit. Grab one on Amazon.
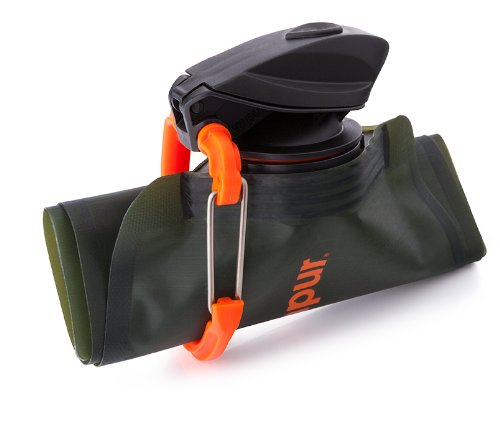
So you’re thirsty and don’t want to buy water. You need a travel water bottle.
This has been essential for all of us. It’s a way to carry a bottle through security and not take up a lot of space because it has to be empty. As soon as you get across, fill it up with water and keep yourself hydrated. That’s why the Vapur Bottle really earns our recommendation. You need one, or three. Get yours on Amazon.
Do you have Amazon Prime?
You can get all of the items above shipped to you for free using Amazon Prime. Try it free for 30 days when you sign up through our website. Try out Amazon Prime.
Amazon Prime has huge benefits – I’ve shipped stuff to myself when I travel to Hong Kong. When you need something and you can only find it on Amazon, prime helps. A lot.
Traveling out of the country and seeing the world can be more than just a dream. Like most, I used to think that travel outside of the US was extremely expensive and it prohibited me from traveling. However, the truth is the opposite. You can have amazing experiences on a budget. You just need to know how and where to look.
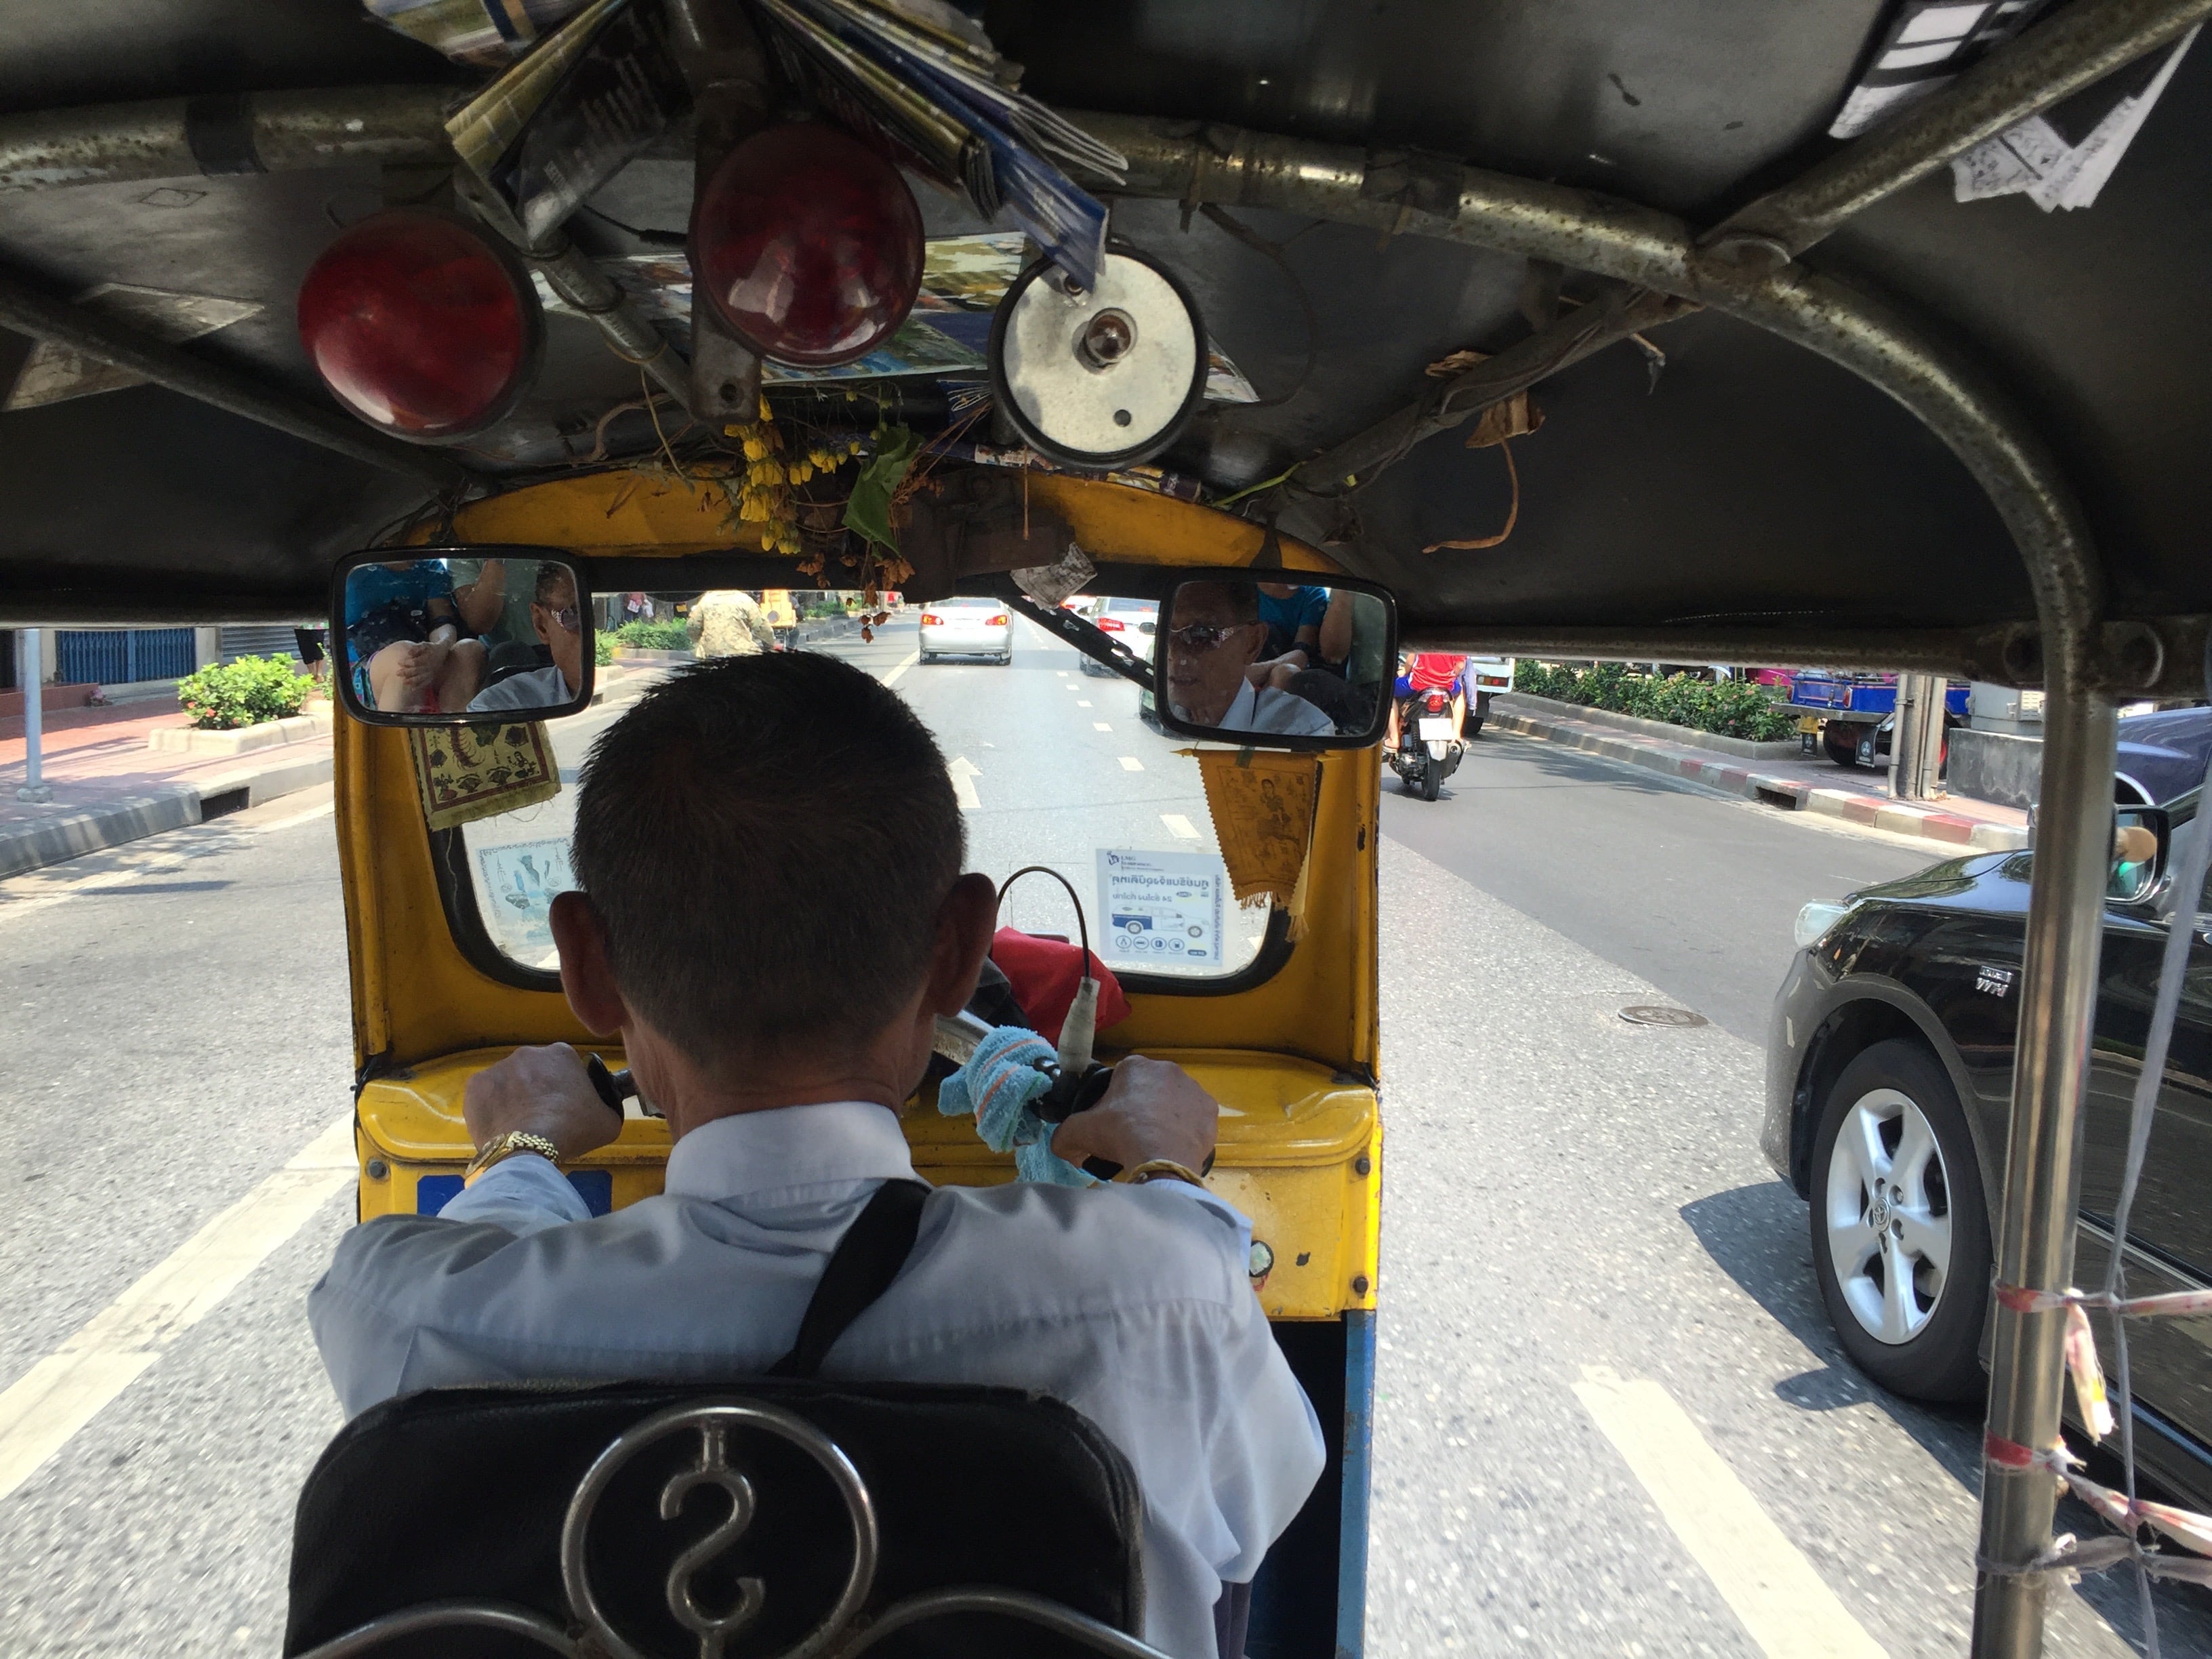
Cruise through the streets in Bangkok, in style.
Travel involves sacrifices…
…But it doesn’t have to feel like it. Just like any other project, travel has goals. Ask yourself “what I do I want to get out of this trip?”. If you cannot understand what you want out of travel, it will never be fulfilling.
Interesting new street foods in Bangkok, Thailand
Whether you want to experience new cultures, try amazing new foods, or get away from the office with a beach holiday, it starts with understanding what you want and need.
So, before deciding on any destination, before booking any hotel or flight, understand what you want out of your next trip. Without this, you’ll never feel satisfaction or fulfillment.
Understand the bulk of travel costs
Everyone talks about airfare deals. However, deal or not, airfare is not the majority of your travel expenses. Hotels and lodging are. Hotel prices and deals are less visible, less frequent, and more predictable than airfare. Read on to learn how to find the best deals.
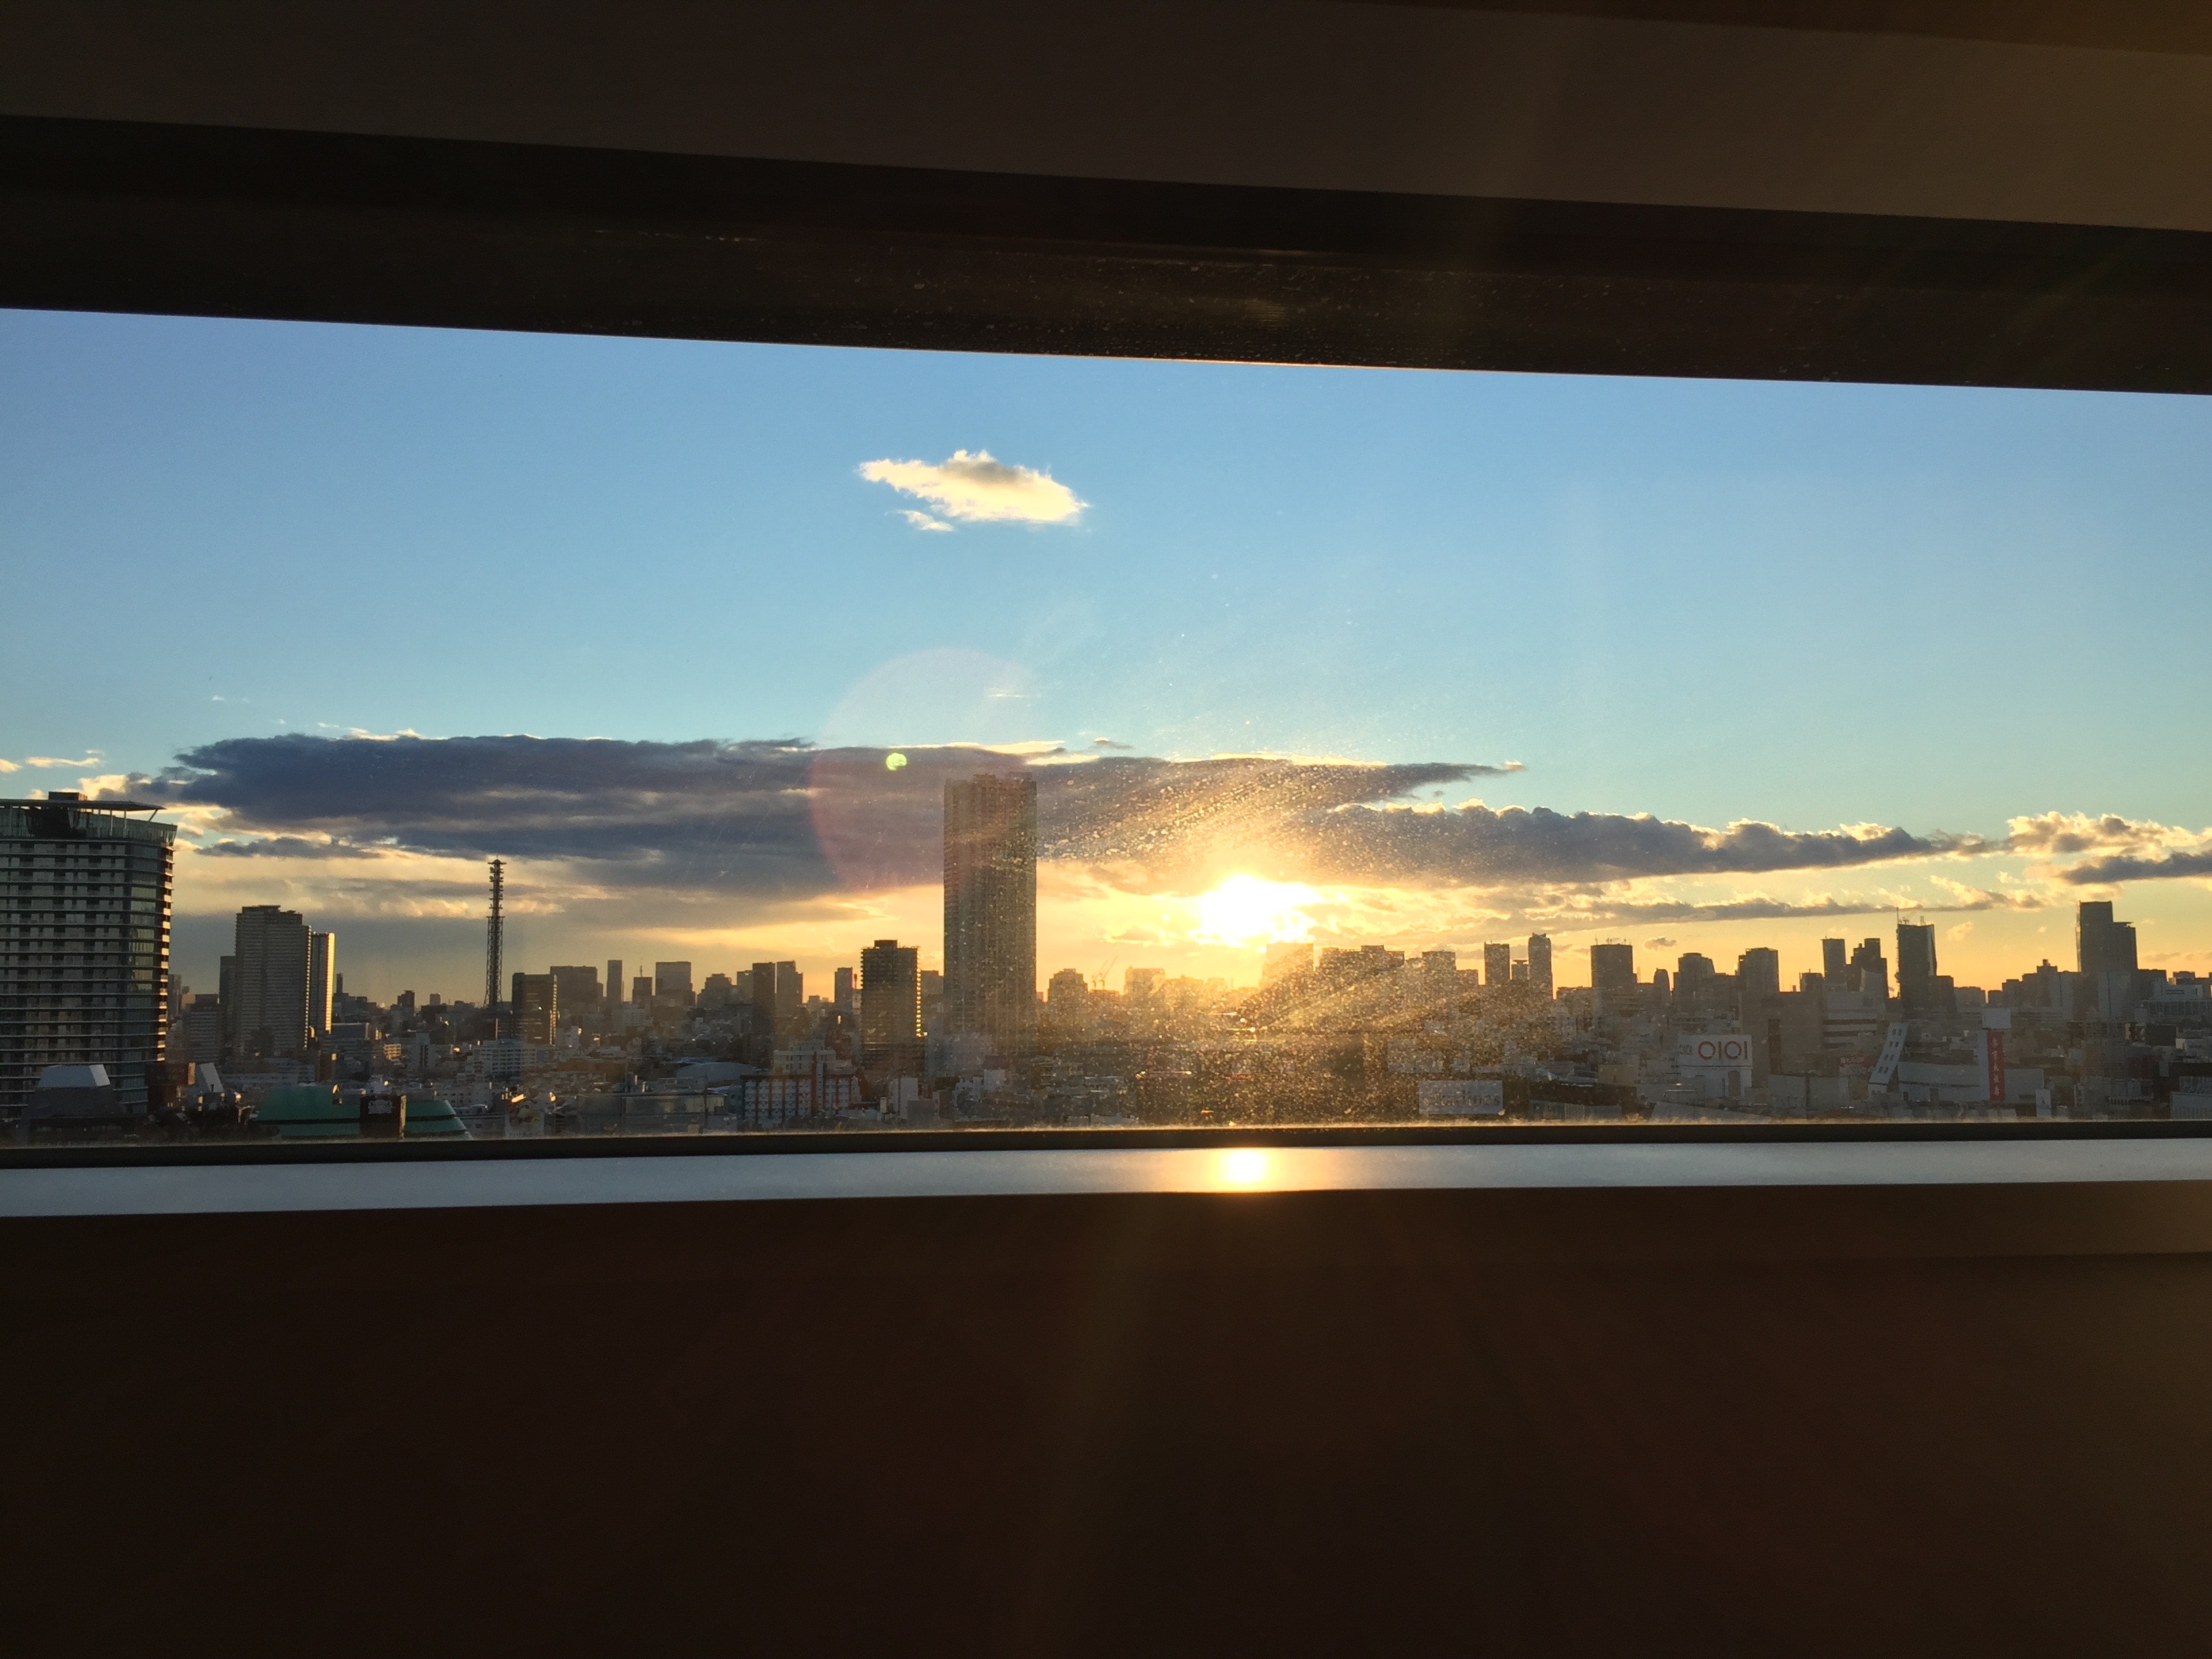
View from the Hotel Gracery Shinjuku in Tokyo
Most people are deterred from travel because of airfare costs. Since it’s often the first purchase in a trip, it’s also the first cliff to climb. Unless you find a sale on airfare that is 50% of the normal prices, work backwards to plan your trip.
Some places are cheaper than others
Jiufen – a mountainous-coastal city east of Taipei in Taiwan. It’s amazingly beautiful, and affordable.
Developed destinations such as Singapore, Hong Kong, Tokyo and Shanghai cost more than those that are not. There’s amazing experiences to be had in Thailand, Taiwan, Vietnam, and Malaysia. Because these places are still considered to be developing, it simply costs less.
How to travel to Asia (and beyond) on a budget and still have amazing experiences.
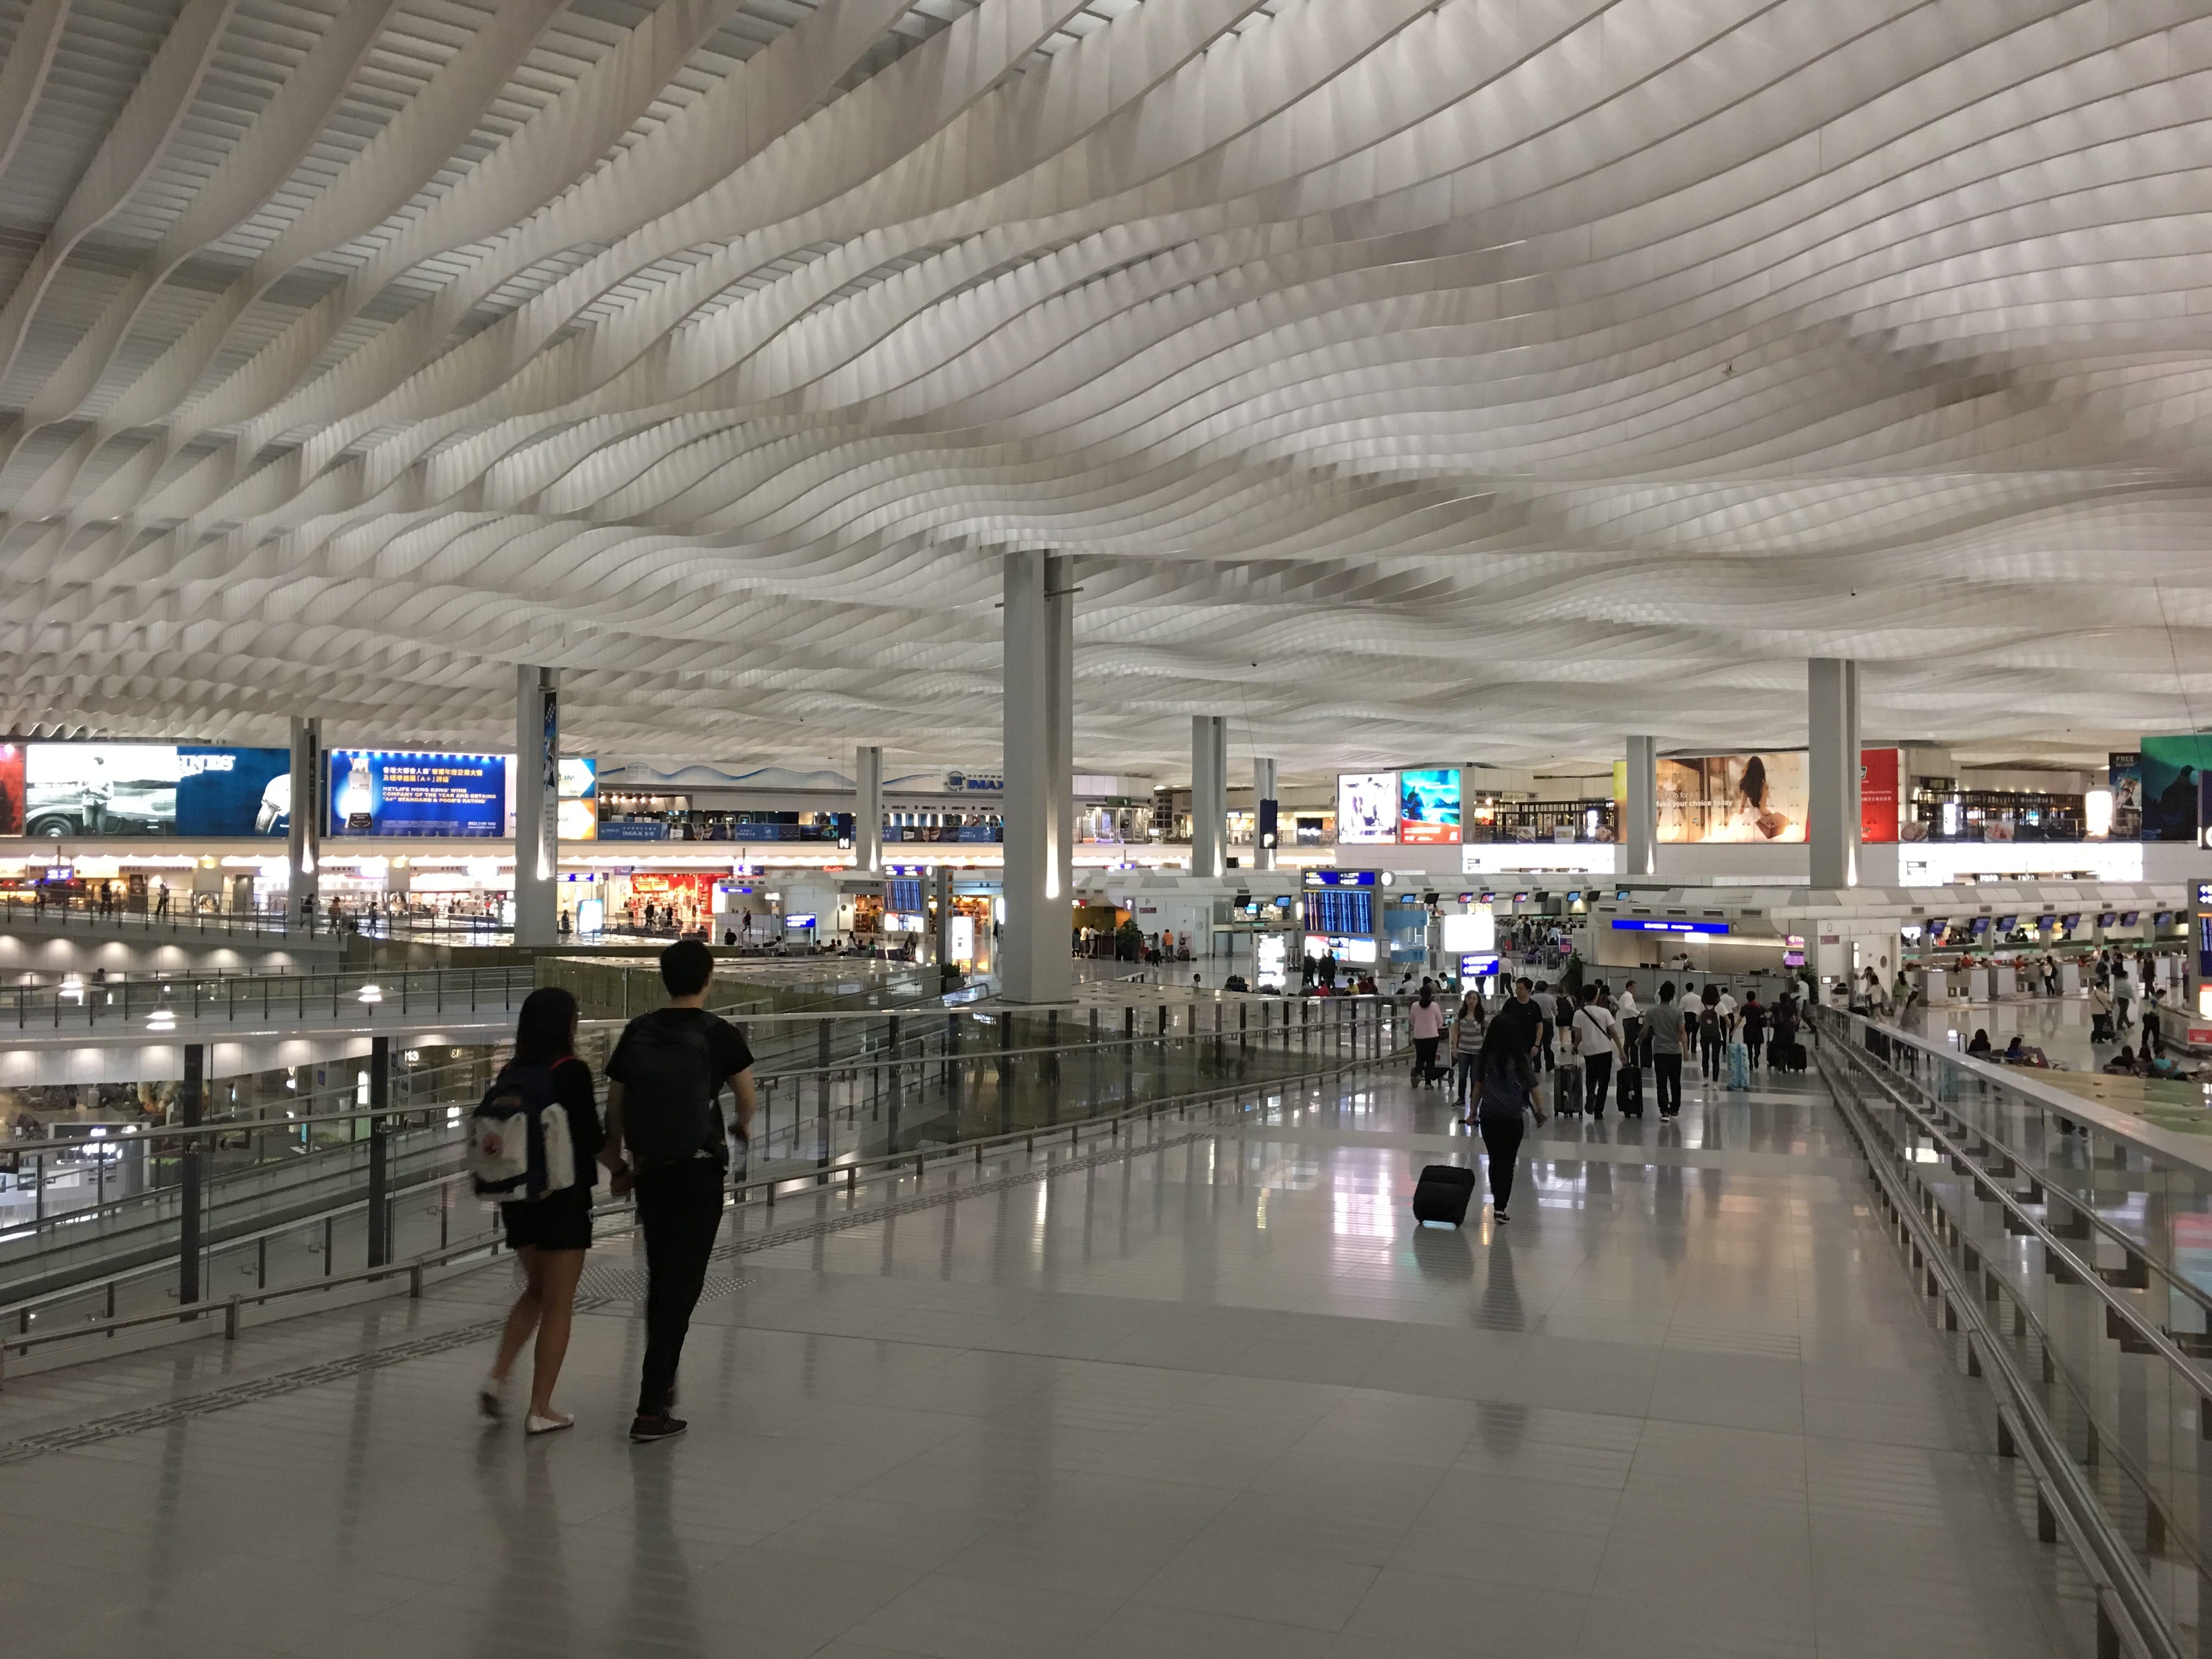
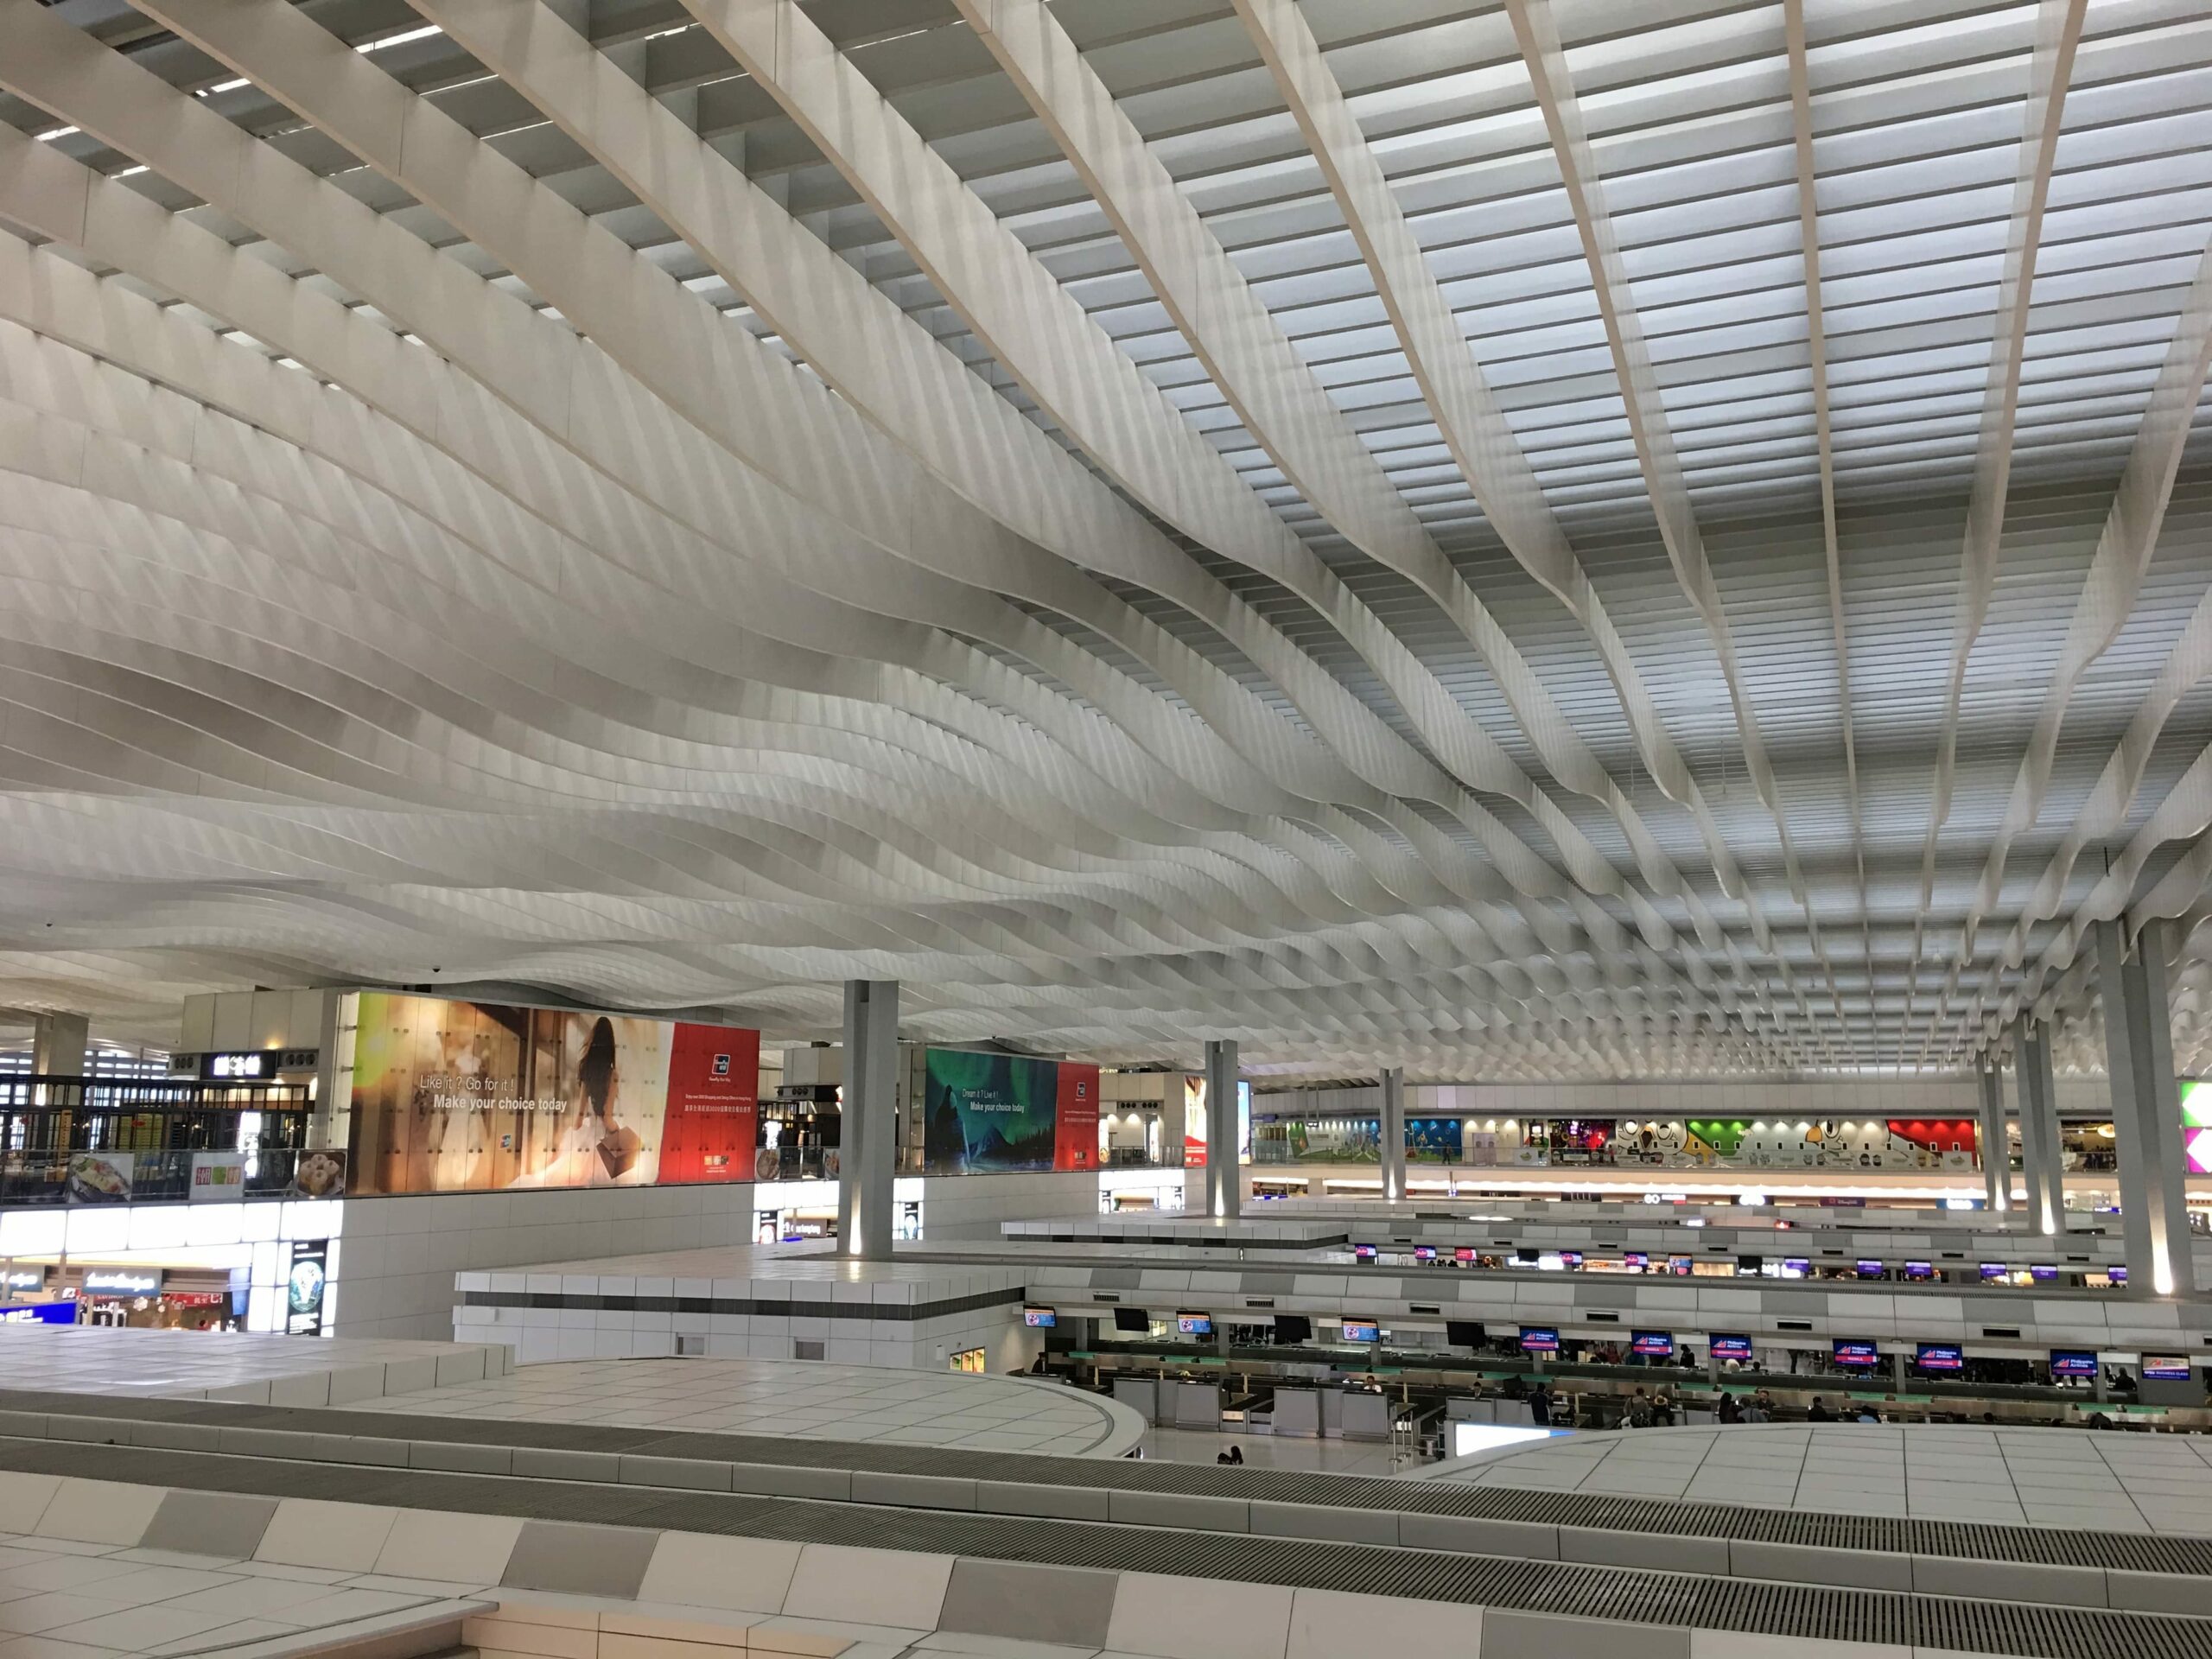
Hong Kong International Airport Terminal 1
You understand your goals, you understand your budget, and your understand the source of travel costs. Now you’ll learn how to find and plan a trip full of amazing experiences.
First: Find your destination
I love to use TripAdvisor to find interesting things to do in any city. Although there are other, more city specific websites out there, TripAdvisor aggregates the best info from millions of travelers for a first search.
Based on that, here are links to the most popular destinations in Asia:
When you do this, you can get an idea of the relative expense of a particular city or country. Another handy thing that I use to estimate the cost of a trip to somewhere is the Big Mac Index. It’s a great baseline comparison for the overall food/lodging for two different countries.
Second: Find your hotel on multiple booking sites
Different booking sites will have different prices on the same hotels. It’s highly recommended to check a couple different sites before you book.
Generally, I start my research on Hotels.com. From experience, they have the best website, and best options in finding hotels. After finding a couple hotels I like, I will then check Expedia and Travelocity.
One of the most commonly known secrets is member-only pricing. If you create an account on any of those websites, you’ll be able to access secret prices to different hotels. They are generally 10-20% cheaper than the normal price, and are limited time. And, almost always, the secret prices are the cheapest of anywhere on the internet, if there are not a lot of rooms remaining, it’s safe to book right then and there, without needing to compare prices.
This is always a rule. The only exception is if I have loyalty to a particular hotel chain.
Third: Airfare is its own game
Because airfare is a huge barrier, it’s easy to change your perspective. Understand where the hubs are, and how flying to a different country first can open up possibilities.
If you’re locked into vacation days and traveling certain days, flight deals won’t help. But there are two ways to help find a great deal.
The other thing is to purchase packages on Expedia. Package deals have built in savings. You also have the flexibility to choose flights, and choose the hotel. These have led to some extraordinary deals that seemed almost too good to be true. But because you’re booking from a reliable site, it was true.
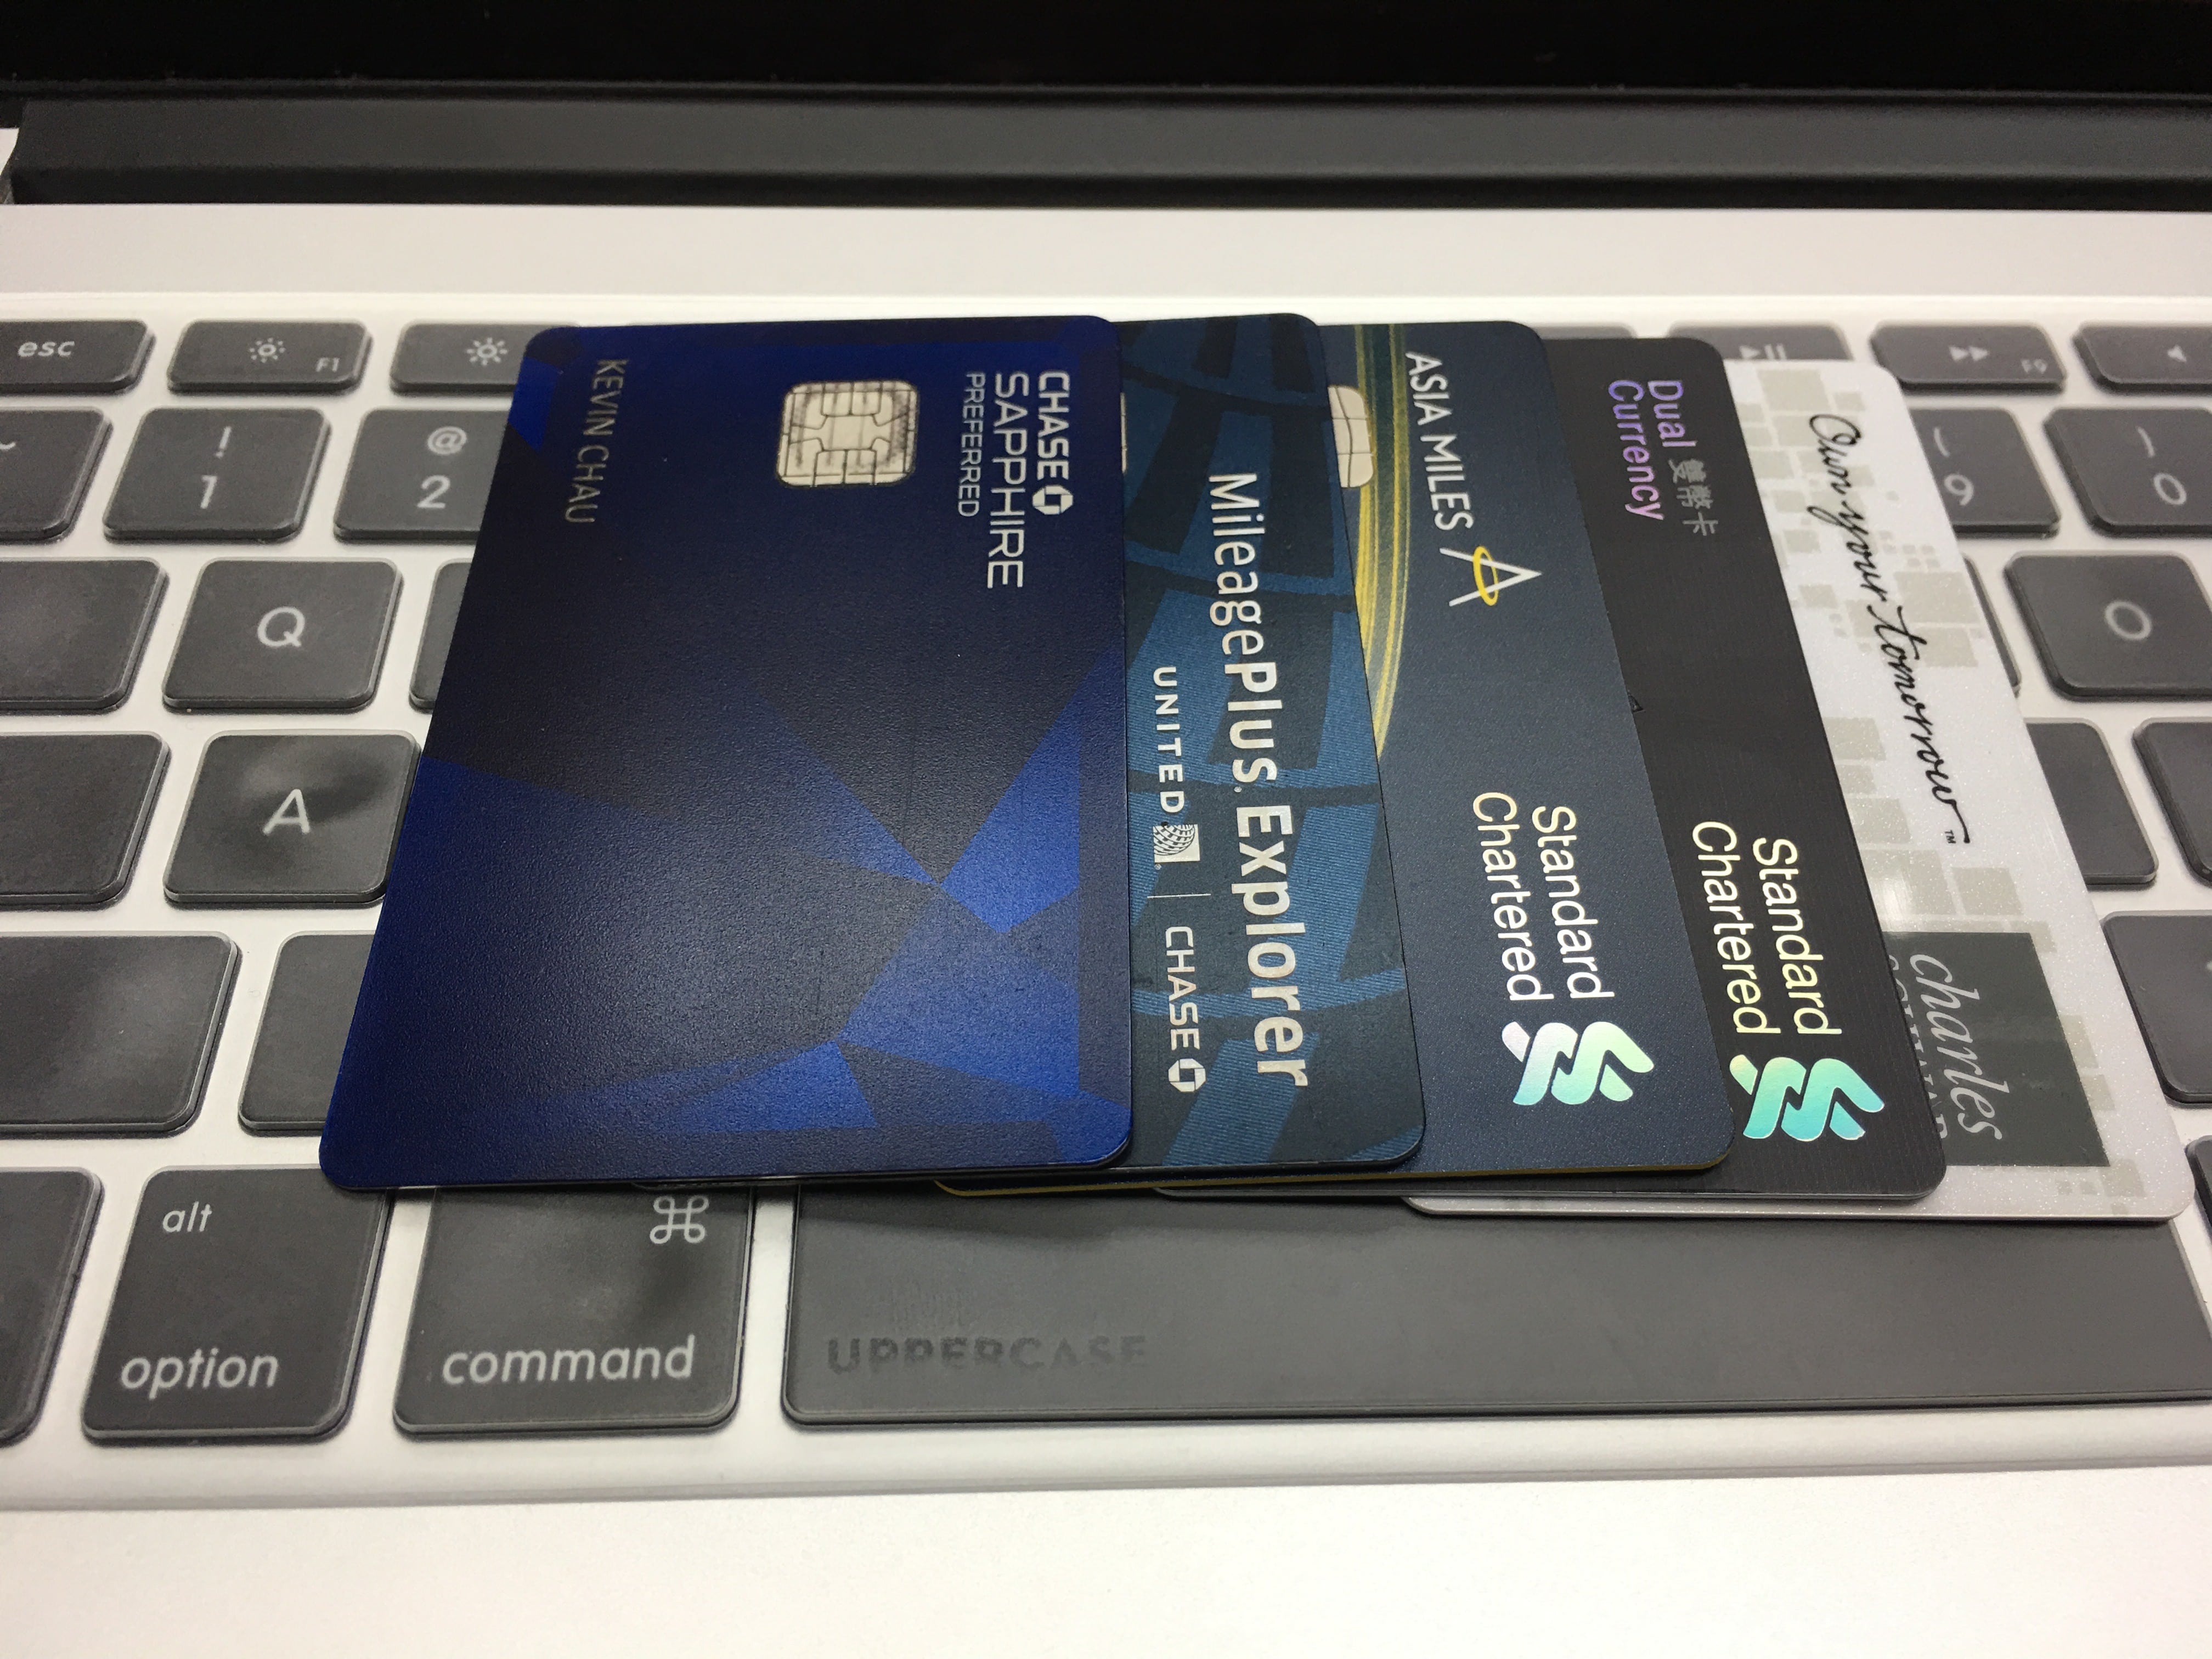
Credit cards can help you towards a free trip
These are just some of my favorite cards I’ve used to earn free travel.
Credit cards with rewards for travel are commonplace. But it may seem like it would take forever to earn enough miles for a free trip.
This is where bonuses come in. Put all of your everyday expenses on a credit card, meet the bonus minimum spending, and earn bonuses up to 50,000 miles – enough for a whole trip!
With this card, I’ve flown business class on ANA, absolutely free.
Final tip: Make it a group trip
Since lodging is the most expensive part of the trip, bring friends or stay in a hostel. When you take part in ‘group’ activities, you divide the costs, and you’ll get more experiences for your money. Maybe you’ll meet new friends in the process too, if that’s your type of thing.
Here at The Boarding Call, we travel. We travel a lot. Much of that time is spent flying inter-Asia routes, which means choosing a Low Cost Carrier (LCC), for flights under 5 hours. It just simply isn’t worth it to burn miles on these short flights sometimes. What that means for us, is flights outfitted for a Spartan, lack of creature comforts, and a more bring-your-own mindset. We love our travel accessories.
So, starting off with the easiest to buy, no brainers – to the more well thought out items. These are our must have items in the travel accessories checklist.
Battle tested… in both business and economy class.
The Absolute Must Have Travel Accessories and Equipment Checklist as recommended by the folks at The Boarding Call who have flown way too many LCC flights for their own good, list.
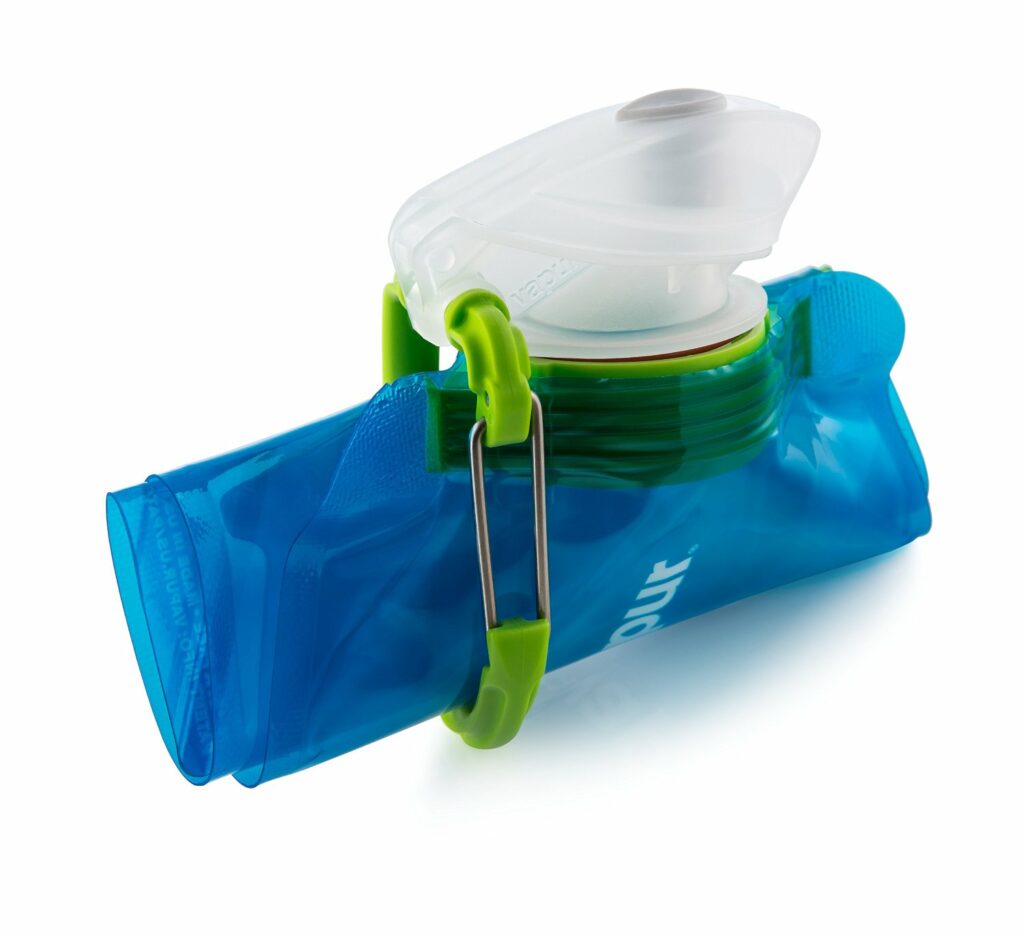
A space saving, collapsible, rollable, water bottle.
First on our list is hydration. If you’ve read our guide on How to Survive Economy on International Flights, hydration is a top priority. Since the security restrictions were put in place after 2001, you can no longer easily bring liquids through security. Now, it’s also been adopted in Japan, and other countries as well. Our favorite, and we have three of them, is the Vapur Eclipse Water Bottle.
Surprisingly durable, easy to clean, and easy to stow away. This bottle earns our recommendation. Buy it on Amazon. Scroll on for more travel accessories.
A head cushion that’s also an eye mask, a scarf, and a makeshift neck pillow.
We don’t like neck pillows. They’re awkward to use, push your head away from the seat back, and really don’t offer that much support. The good ones are bulky and a pain to carry around, the easy ones to carry around never satisfy. Our solution is to just not use one. Use the bendable wings on the head rest, use the cabin of the plane if you’re in the window seat, and use one of these.
Since we’ve purchased our Studio Banana Things Ostrich Pillow Light, our neck pillows have been collecting dust. We’ve even started using these on our commute on the train. They’re not terribly ugly, not weird like the original one, and definitely does all the things we want. Oh yeah, and it’s definitely comfy.
Because of how versatile it is, and how small and light and easy to carry, this saves our weight and space. It earns our recommendation for creature comforts when the airline didn’t give you any. Buy it on Amazon.
If you really need a traditional neck pillow, we recommend this one, it’s tried and true. We just think the Ostrich is better. Interested in more travel accessories, scroll on!
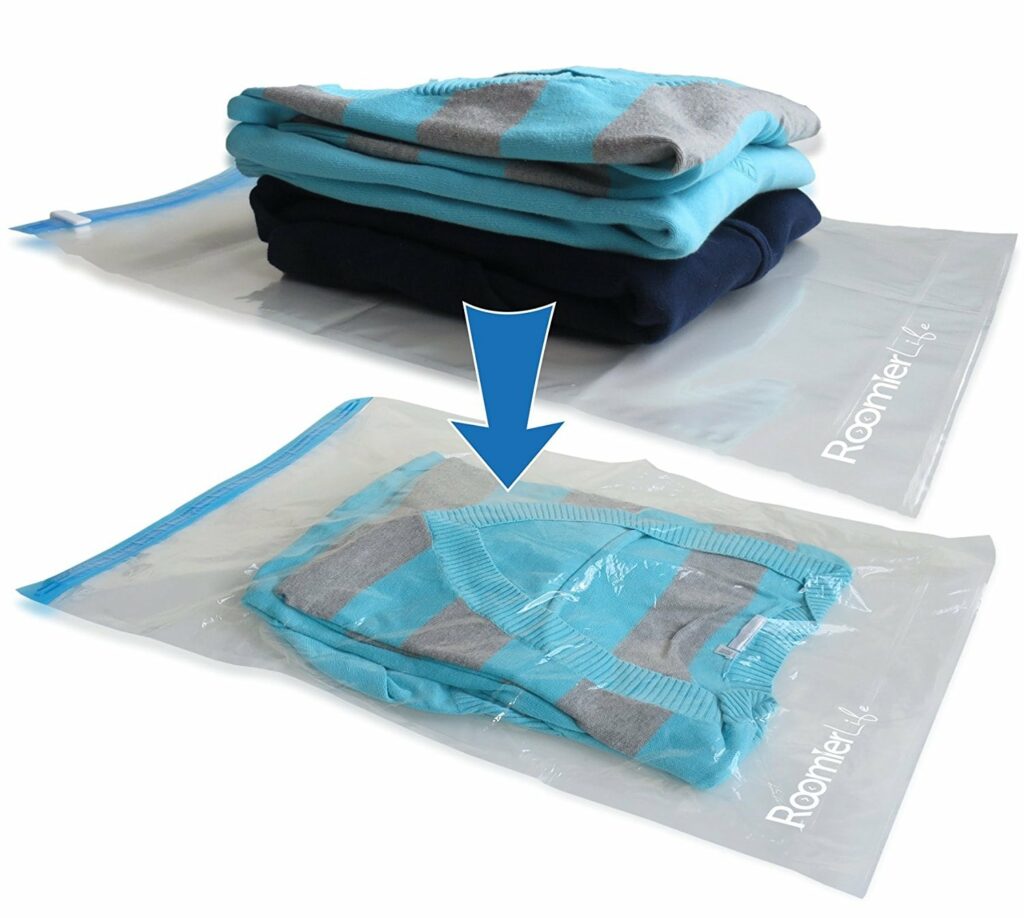
The “oh no, I need all this stuff but don’t want to purchase checked baggage” magic bag.
If you’ve flown LCC’s before, you know exactly what I am talking about. Purchasing checked baggage defeats the purpose of flying an LCC. Once you’ve added two ways of checked baggage, you might as well have flown on a flag carrier or full service airline. Fortunately, the Japanese have invented vacuum pack storage bags that don’t need a vacuum cleaner to use. It’s quite ingenious, and we love ours. We have more than we can count.
Medium is the perfect size for your carry on, Large is great when you need to tackle bulkier items, like winter jackets and fluffy, bulky gear you take with you when you travel to Inner Mongolia in the middle of winter. This kit comes with 4 Large and 4 Medium. Buy it on Amazon. Scroll down for our favorite travel accessories for power.
My phone is dead and I can’t find the USB ports on this plane, oh wait! There are none because it’s an LCC!
Yes, we’ve been there and we’re used to it. Fortunately, power banks exist. Although there are many, we recommend two. A big one for when you need power for the whole flight, and a small one for when you don’t.
There are many brands that you can buy, but we trust our devices and our sanity to Anker. They are hands-down, the best, most reliable, and durable power banks we’ve ever used. They have all the right markings on them, so when the security agents in Bangkok thoroughly inspect yours, they won’t chuck it in the rubbish bin.
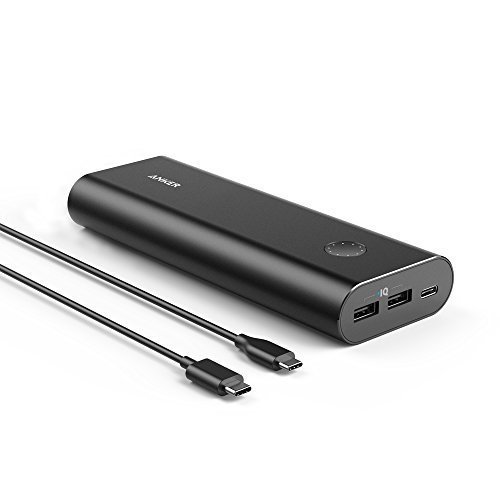
First, the big one:
This 20100 mAh Anker Power Bank has been with me for two years now. It’s powered my phone, my seat-mate’s iPad, and my MacBook for long-haul flights. All at the same time. It’s taken falls onto concrete, and even served as a makeshift hammer when I needed to pound a hinge pin back in place. You would not catch me without this on a trip, ever. Only available on Amazon.
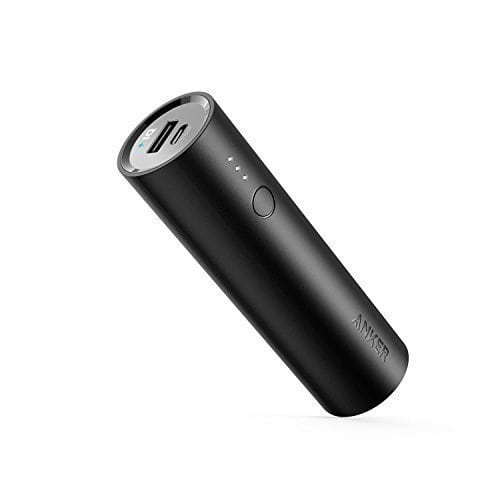
Next, the small one:
Just like the big one, this has all the right markings to make it past security. It’s durable, too. However, this is the one I carry with me in my pocket, and every day. It carries multiple charges for my phone, enough to last me two days without needing a power outlet. About the size of a large lipstick for ladies. Once again, only available on Amazon.
Now that we’ve gotten the must haves out of the way, there are a few things that we find are less disposable, and more researched purchases. Although we try to use all of our items until their end-of-life, the ones below are the ones we have sentimental value with.
A wallet that holds everything, including the kitchen sink, but small enough to fit in a jacket pocket.
Our search for the perfect wallet ended with this. Paired with a slim card holder to quickly tap at train station gates, this is our recommendation for the do-it-all, and look doing doing it, wallet. The Bellroy Carry Out.
This thing does it all. It holds your cards, your cash, another country’s cash, your passport, and coins. It even holds your phone, and has a place for a sim ejector and an extra SIM card. It has a magnetic smaller wallet that you can detach and take with you on lighter days.
We can recommend no other wallet. This is the one. Get one for yourself, or two. Keep scrolling for more travel accessories.
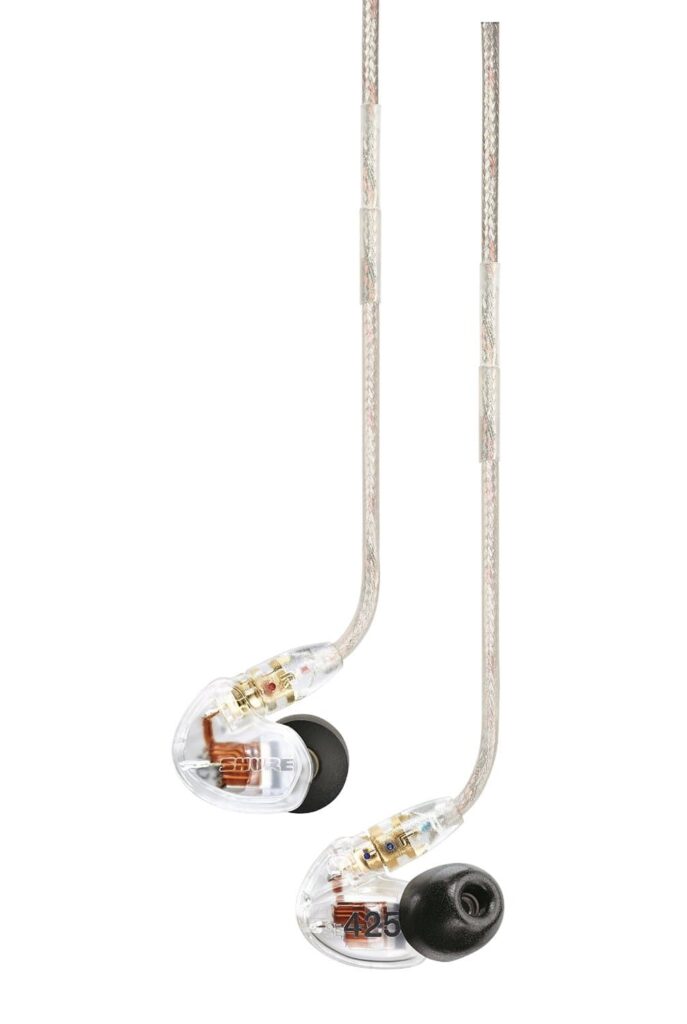
Have you ever tried sleeping with those big Bose Headphones? Yeah, doesn’t really work well, so try these.
I’m just not sure how people do it. Especially when you need to lean your head on anything. Sleeping with any big headphones just doesn’t work. We prefer earphones here at TBC, but sometimes you just need some isolation from the cabin noise. We recommend the Shure In-Ear-Monitors for flying. Everything, else – the AirPods I just got are mighty nice.
When it comes to Shure, any one in their range of models is fine. Just get the one that fits your budget. They all have replaceable cables, great noise isolation, and a plethora of tips for you to find your perfect fit. Not to mention a great warranty and excellent service. Our happy medium is the SE425.
My favorite is dual driver, great sound staging, excellent bass, clear and non-fatigueing highs. Yeah I’m a bit of an audiophile. Find the best deal on Amazon.
The iPad doesn’t fit into my workflow, but the MacBook Pros are too big and heavy to carry around.
Honestly, this is the best laptop I’ve ever used. Even though my workhorse is a 15″ MacBook Pro, I don’t feel like I miss out on anything when I travel only with my 12″ Retina MacBook.
It’s light, it’s powerful enough, has a great battery, and most importantly, runs all of my MacOS apps. It comes in many different colors. But my favorite feature is that I can use my big Anker power bank to keep this thing running for days when I’m away from an outlet, or on a plane. That’s the power of USB-C.
All I need is this and a few dongles. I’m set for being on the move. You can get it on Amazon, but you really should buy it from Apple directly.
What credit card should I use to make these purchases?
It’s also no secret that we travel a lot with miles here. Luxury, BusinessFirst cabins on ANA, United, and more. We’re trying to get on Singapore suites next.
Our highest recommended card is the Chase Sapphire Preferred – Earn 50,000 bonus miles (good enough for international business one way, or domestic first round trip!). When you meet the minimum spending requirement in the first 3 months.
These are almost all of my travel necessities, minus for photography gear, luggage, and some odds and ends. Those are all personal preference and should be felt and touched before purchasing. Just email me if I missed anything.
Want the latest updates? Subscribe to our newsletter, The Boarding Announcement on the right side of the page.
Tokyo is a magical place to visit. If you’re not already from a big city like New York, Hong Kong, London, or Paris, etc.. The feeling you get as soon as you step foot out of the station is unlike any other. There’s a buzz in the air, something for every sense, it’s sensory overload in the best way possible.
And even if you’ve traveled to a big city, Tokyo is still on another level.
The Travel Bits
If you already bought your ticket, the hardest part is done. Japan has visa-free travel for most major countries: US, UK, Canada, EU, Hong Kong, Australia, etc. There’s nothing else else you need to do for getting to Japan.
If you’re still searching for flights – Expedia often has package deals to Tokyo – bringing your overall cost down. Haneda is the recommended airport as it’s in the heart of Tokyo City. Search for flights and hotels on Priceline and Travelocity.
I always recommend staying in a hotel for your first trip to Tokyo. The basic level of service in Japan is steps above any other country. You’ll best experience Japanese hospitality in a hotel, rather than in an AirBNB.
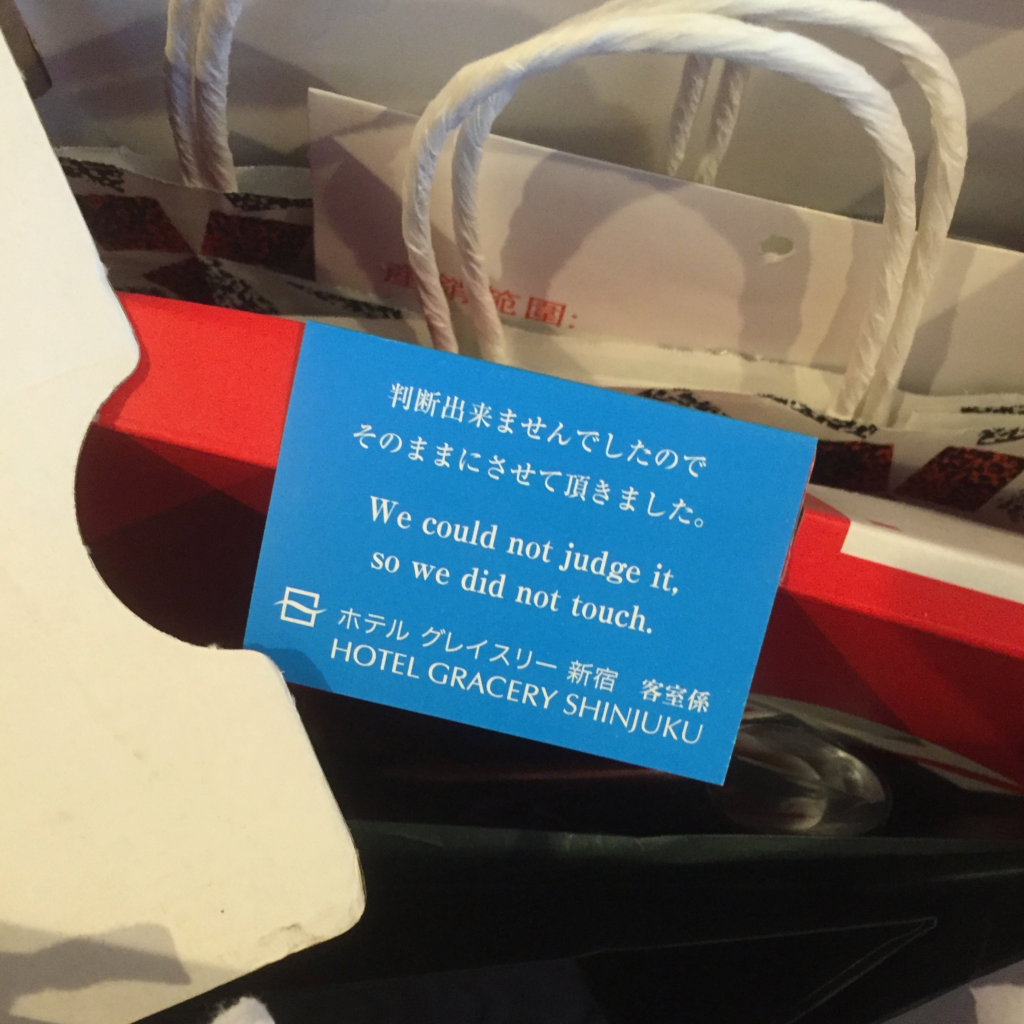
The result of leaving a bag of trash nearby the garbage bin.
Once you land in Japan – there’s plenty of transportation options to get into town.
What to Do: The Basics
Let’s get it out of the way – it’s impossible to see and experience all of Tokyo in one trip, let alone your first trip.
1. Get a Suica, Pasmo, or other transit card
There are a few different ones, but every person has a least one in Japan. They are all more or less the same. Get one as soon as you land at the Airport, at the train ticket office. You can reload it at any 7-11, Family Mart, and other convenience stores. As well as in any station.
Just like the Hong Kong Octopus, Seoul T-Money, and Taipei EasyCard, you can use your Japanese card to pay for train rides, pay for food and purchases in stores, and buy things in any station.
2. Dedicate a day to at most 3 neighborhoods.
Tokyo is made up of 47 neighborhoods. Each one with it’s own unique feel and personality. The well known ones are massive, and you could spend a couple days there and never be bored of what you’ll find. Bring comfy shoes, and be prepared to walk.
47 Areas of Tokyo
Japan-Talk has a comprehensive guide on the 47 neighborhoods of Tokyo. It’s recommended that you explore the major ones; Shibuya, Shinjuku, Ginza, Roppongi, Asakusa, etc., and also pick a few smaller ones to check out.
3. Eat with an open mind
If there is one thing to be said about food in Japan, is that it is the perfection of the ingredient. Everything that is prepared has been done in a way that best allows the main ingredient to shine. Eating all of your food, and leaving nothing behind (yes, rice included), is a sign of respect to the food, and the chef.
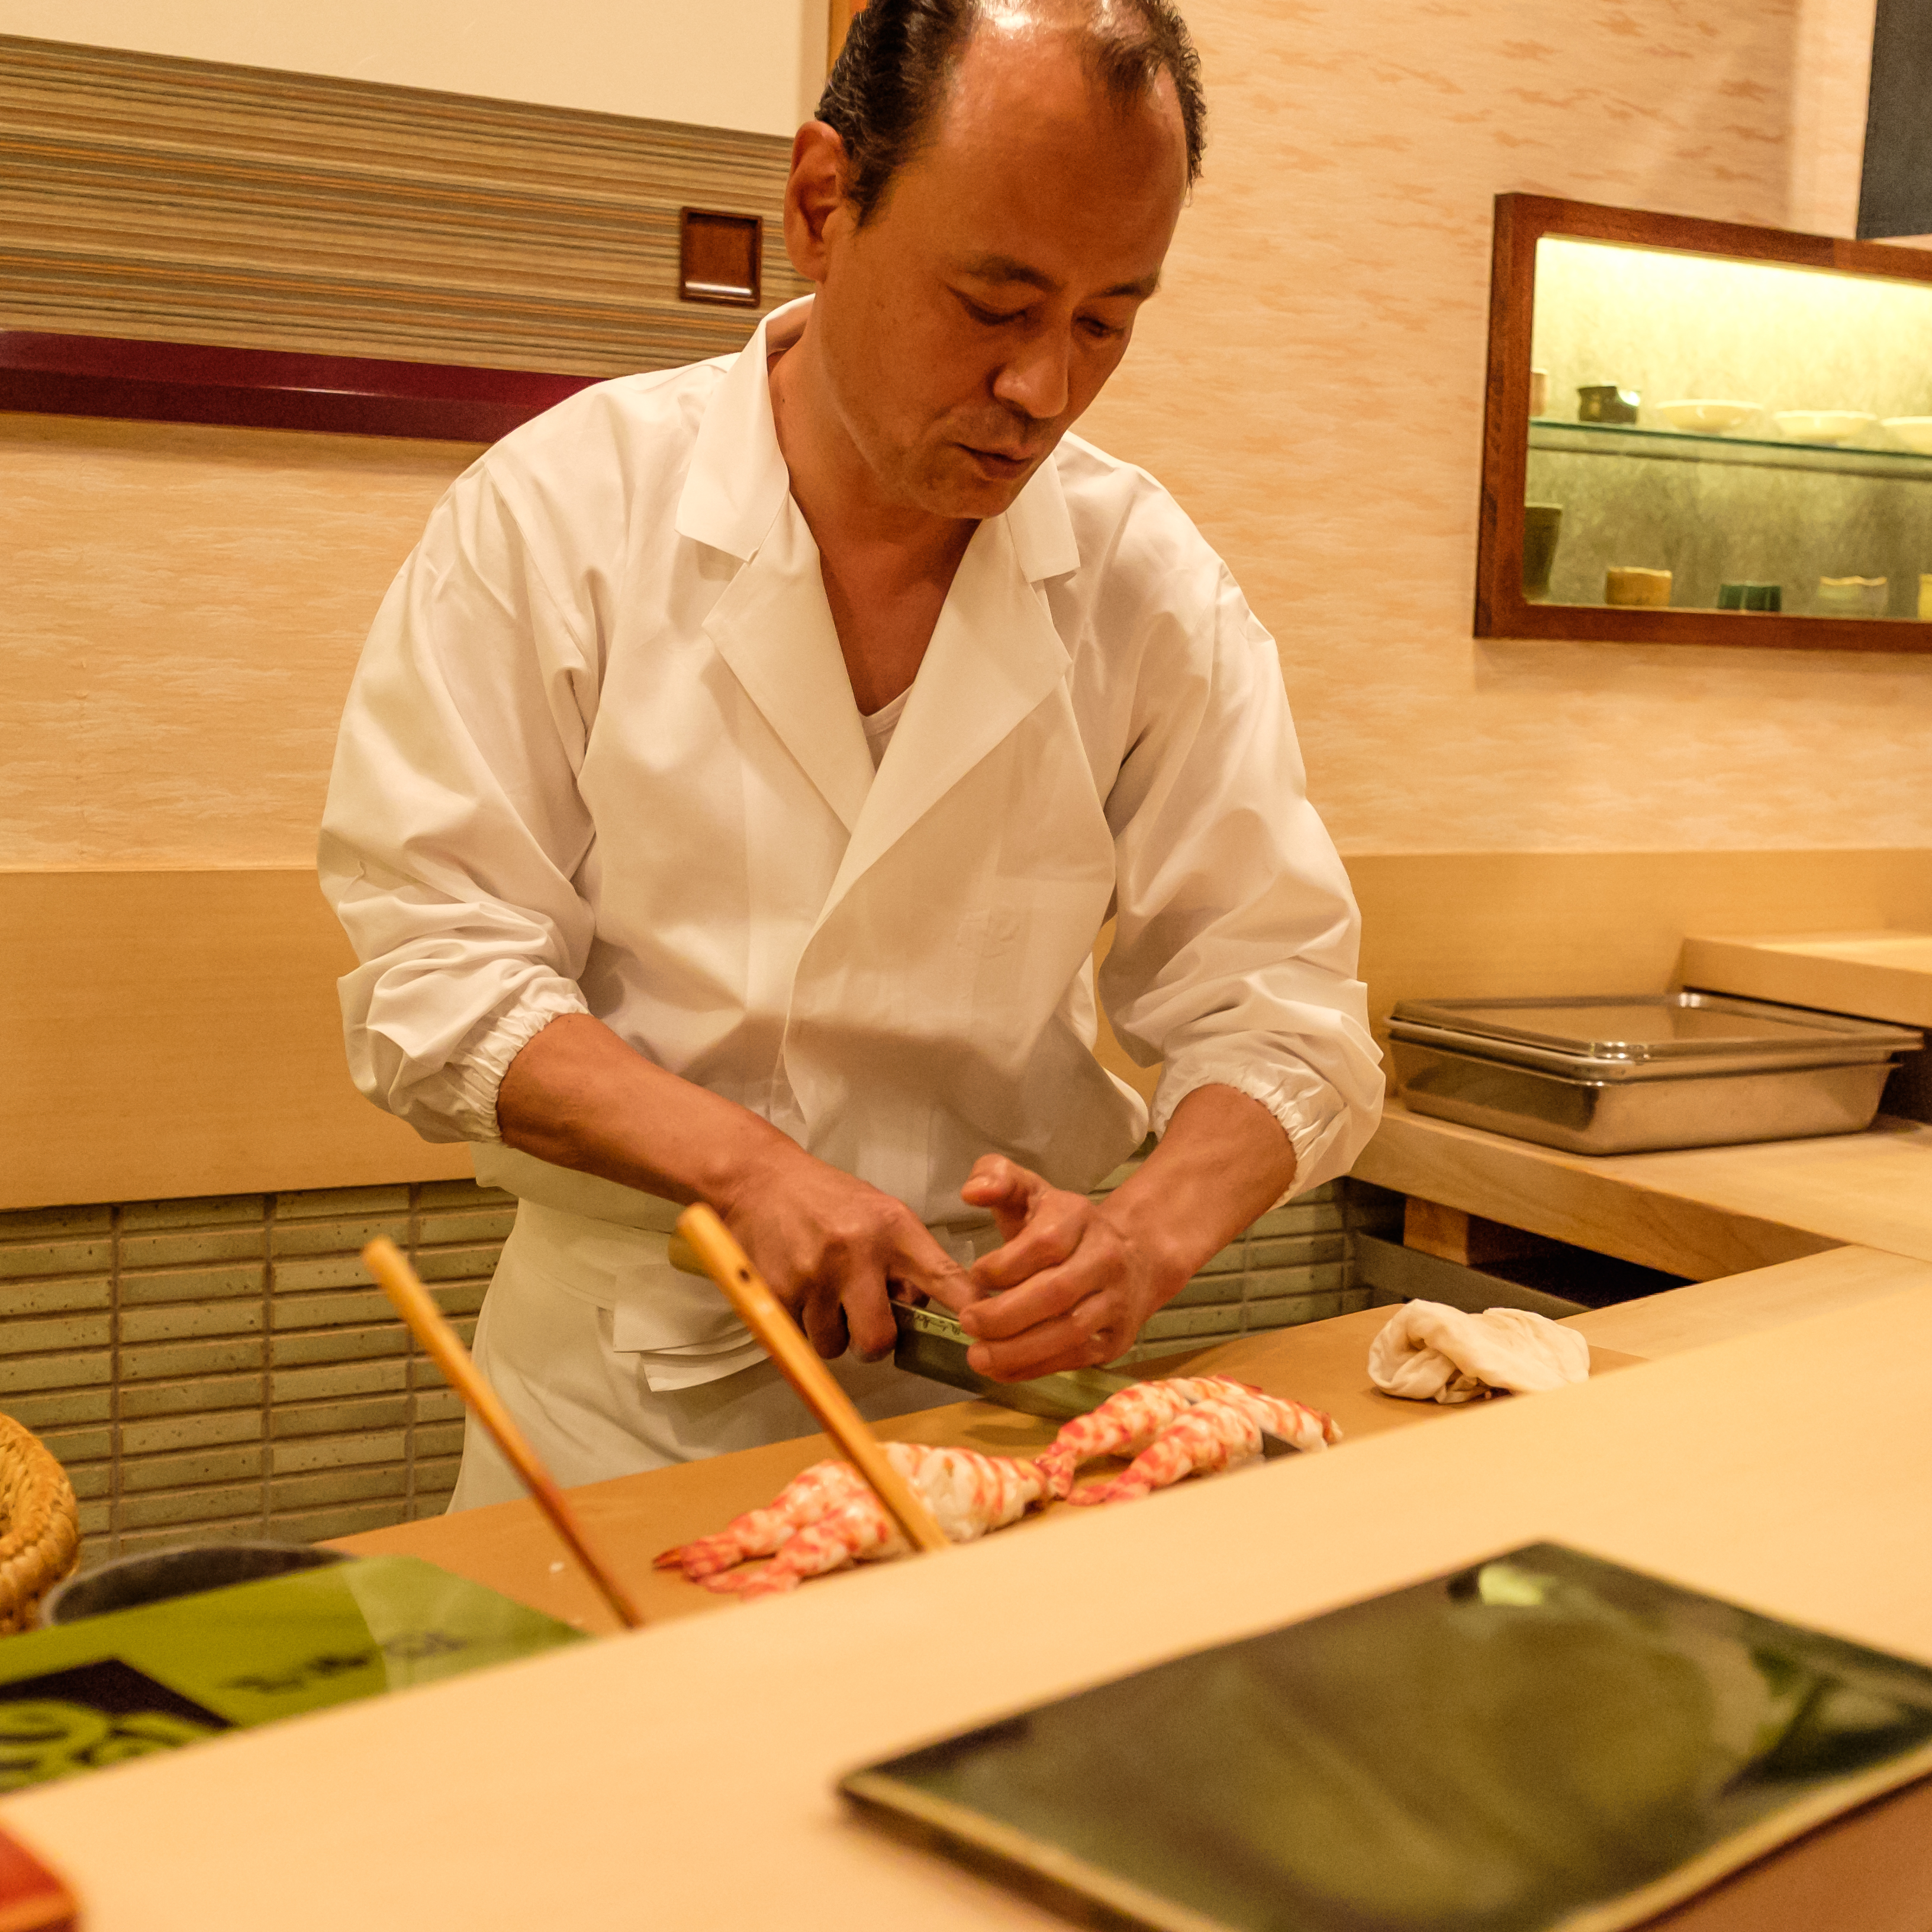
Takashi Ono Preparing Ebi
I have been to Sukiyabashi Jiro, where a tourist elected to not try Tako (Octopus), because she had a bad experience with the texture previously. Not only was this a surprise to the staff there, she later tried it and was delighted to say the least. Don’t let your past experience of Japanese food in your home country affect your experience of Japanese food in Japan.
Come with an open mind, and empty stomach.
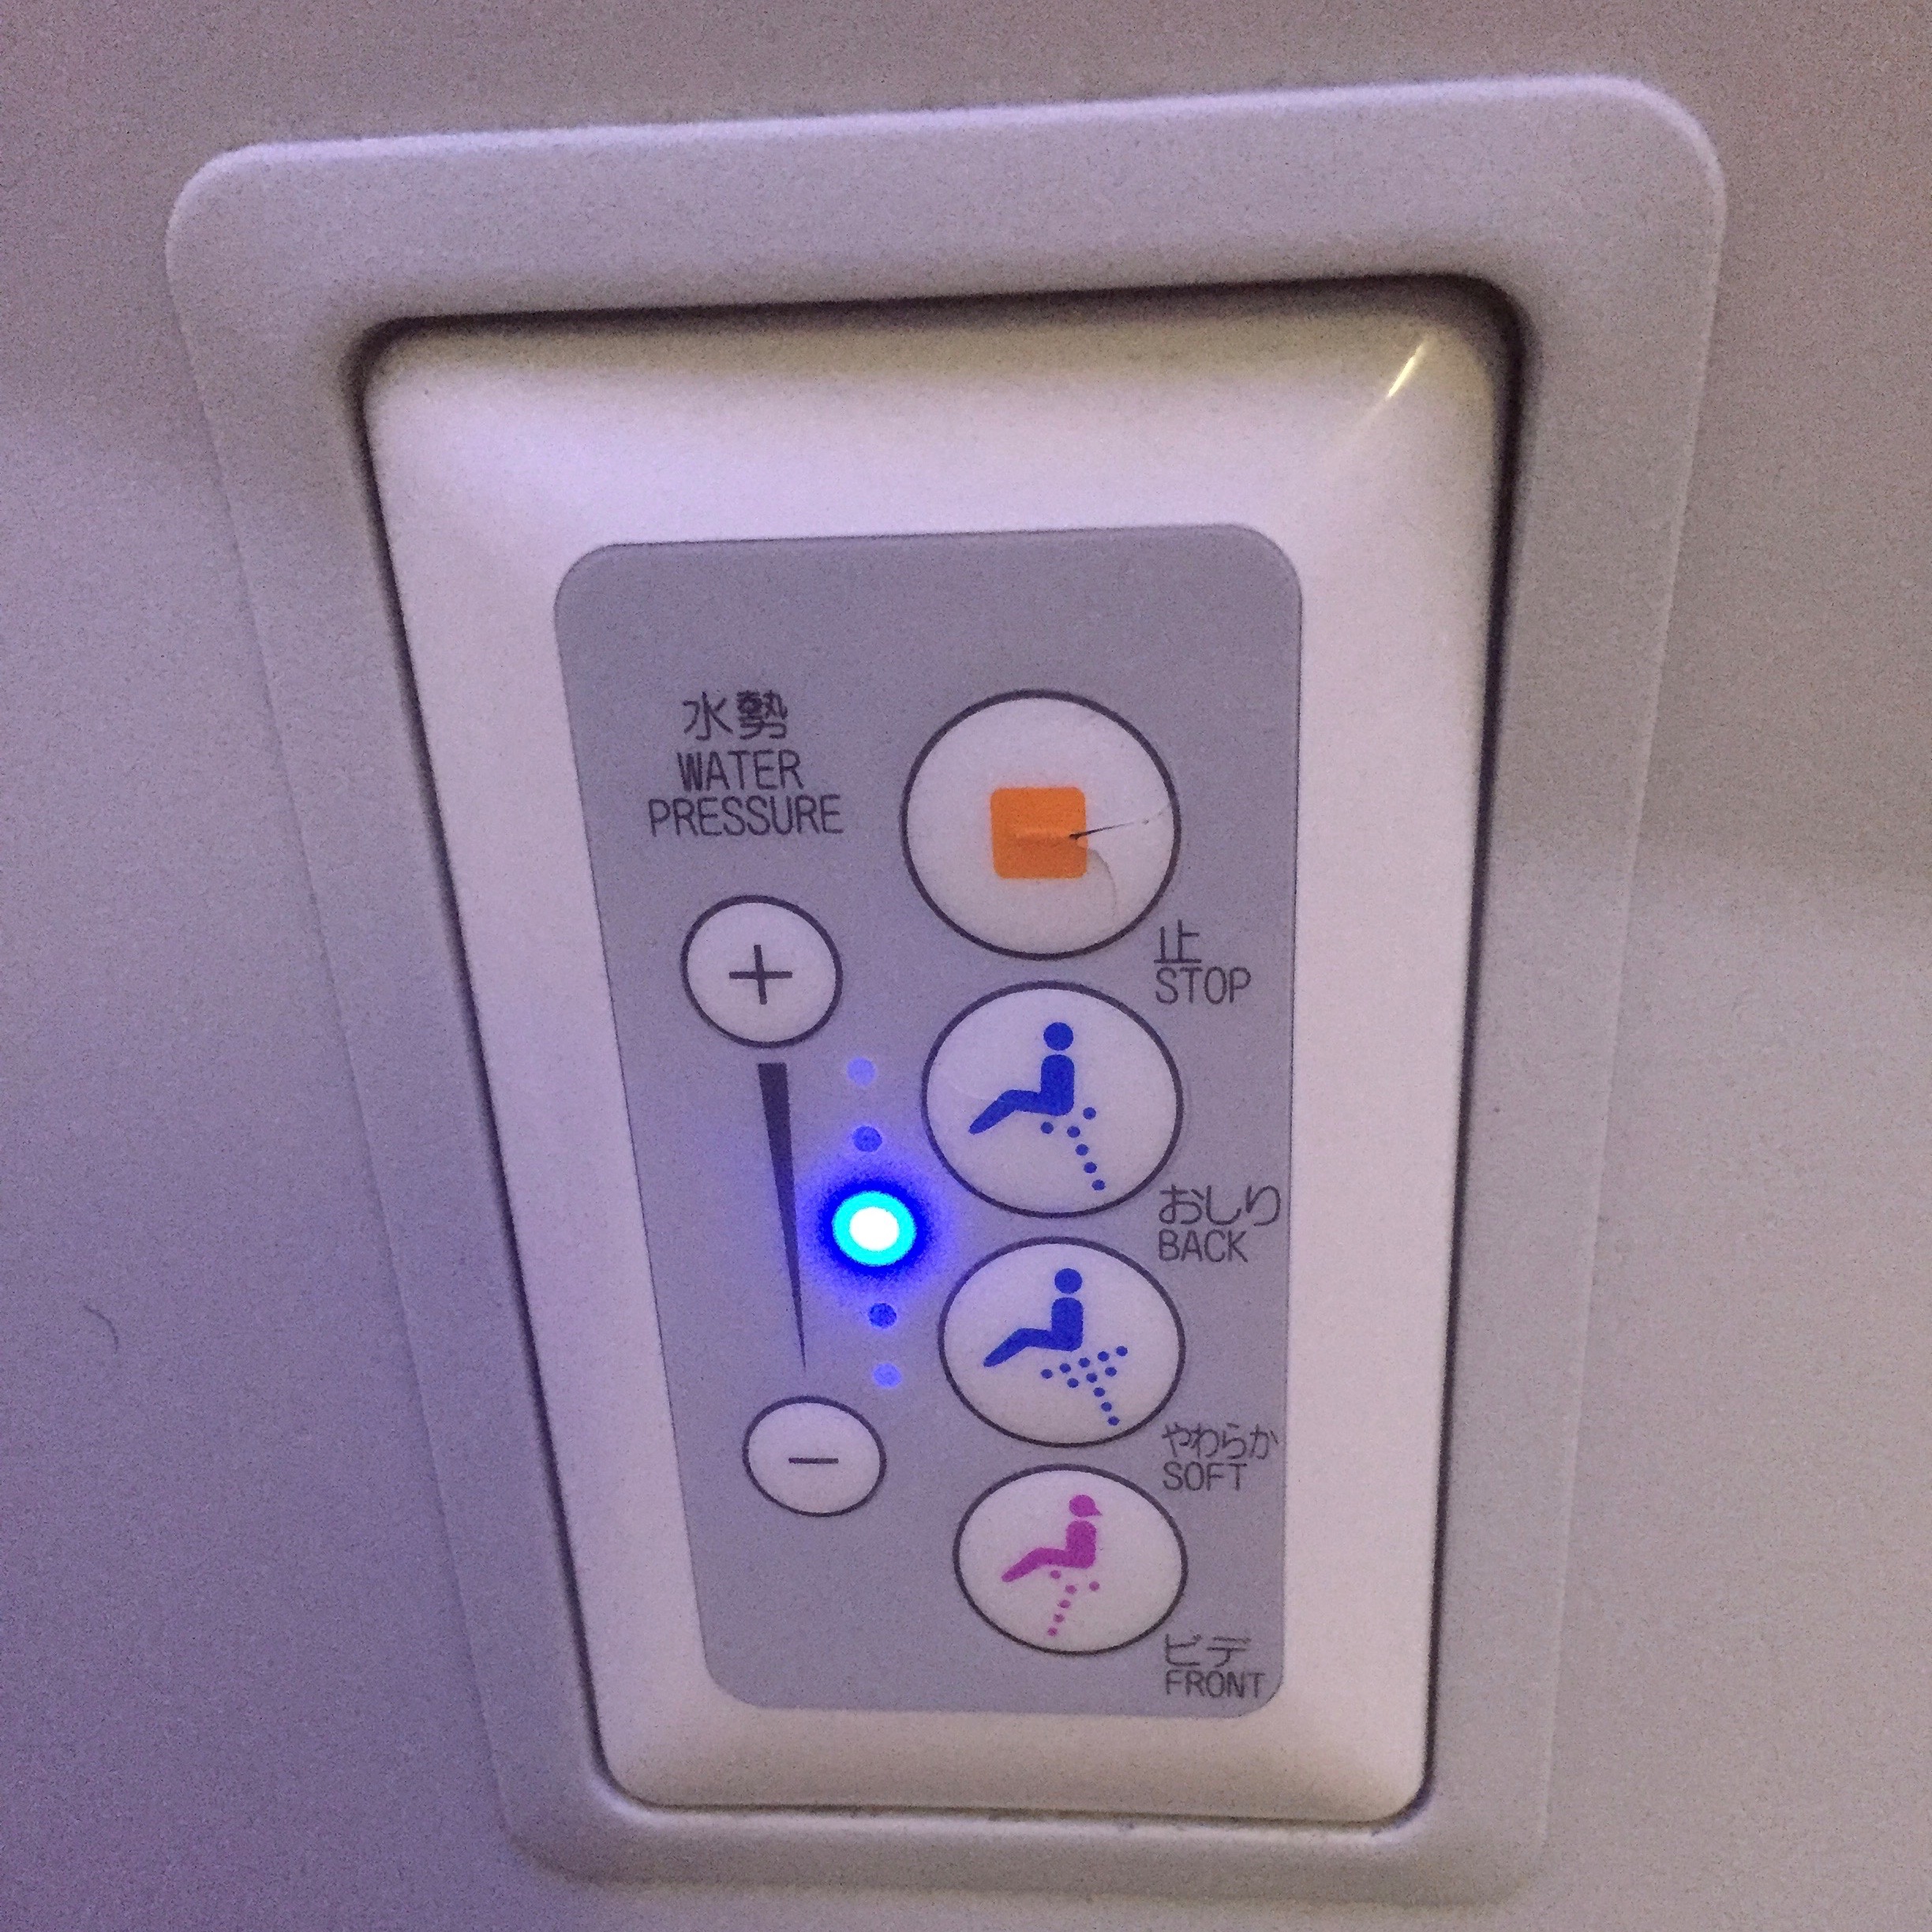
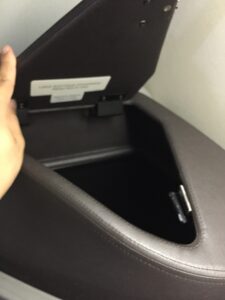
4. Try the Japanese toilet
Something that is inherently Japanese – the bidet seat. A lot of foreigners I know are put off by this invention, a toilet that sprays water at your rear-end.
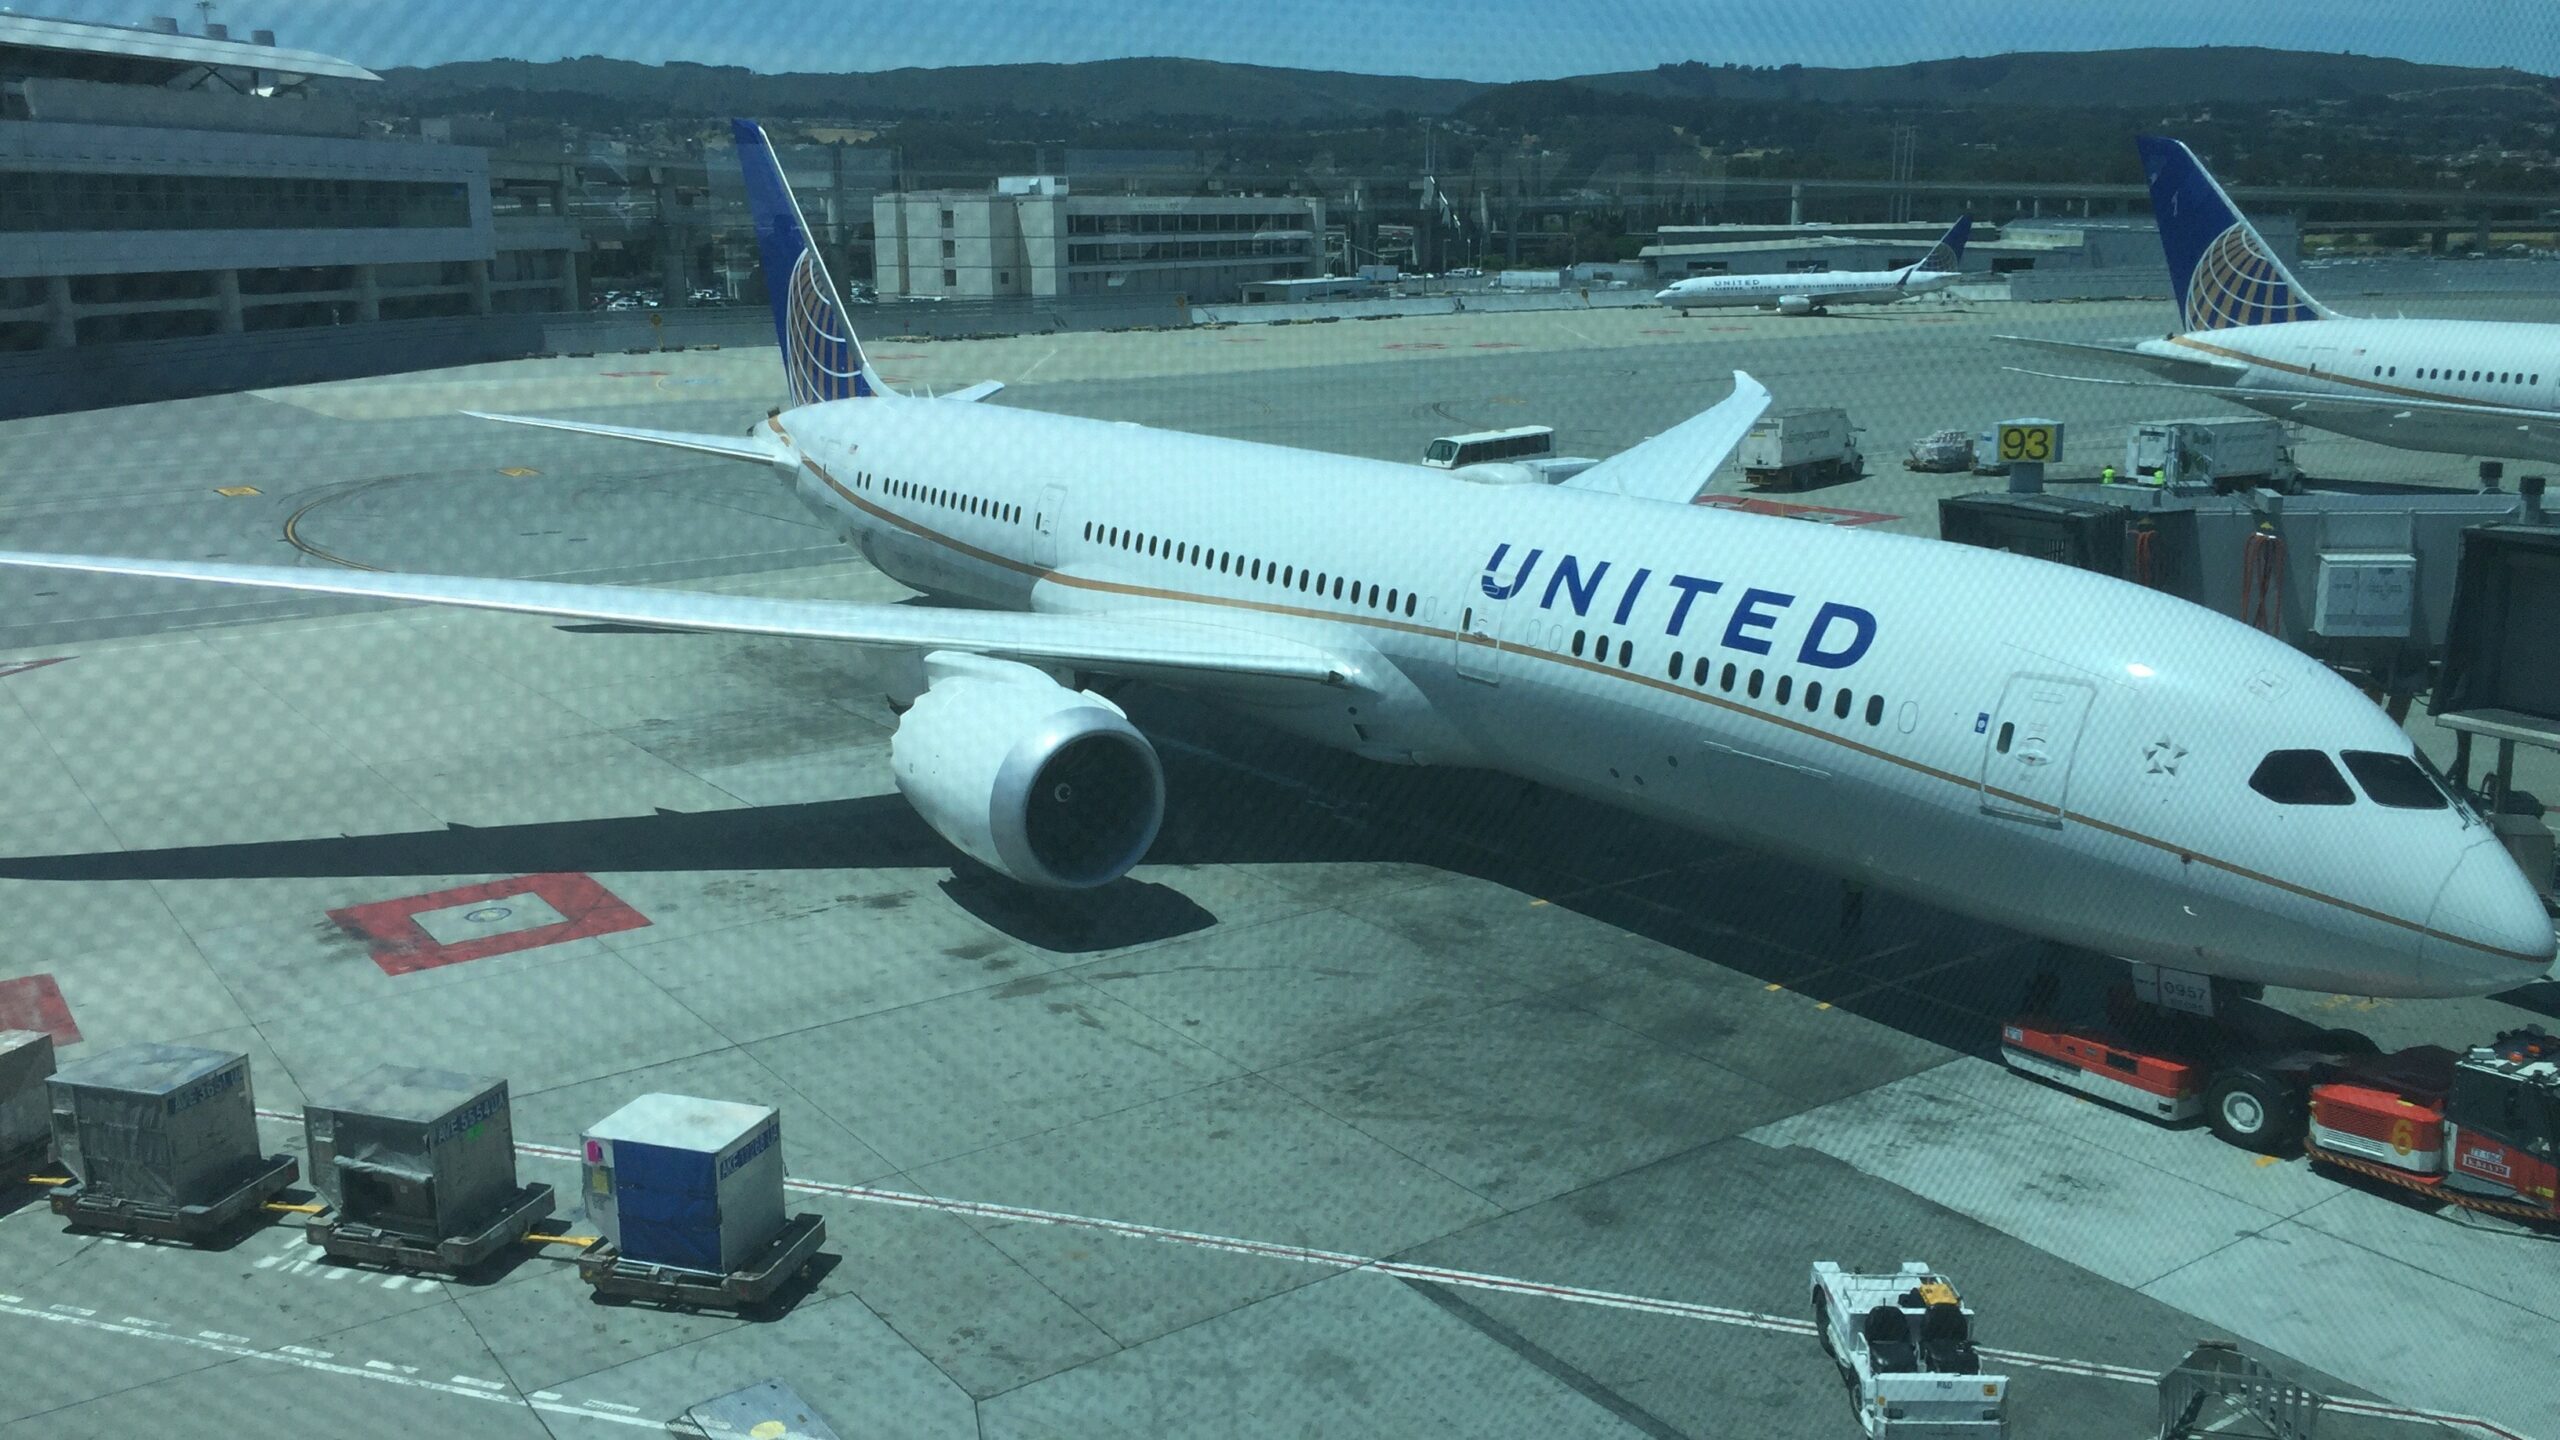
Toilet controls on an ANA 787-8
These have gained so much popularity in Japan, that they’ve started to install them on Airplanes. If you do some reading on them, they’re much more hygienic than they seem. They self clean multiple times during your session and get you way cleaner than any tissue can.
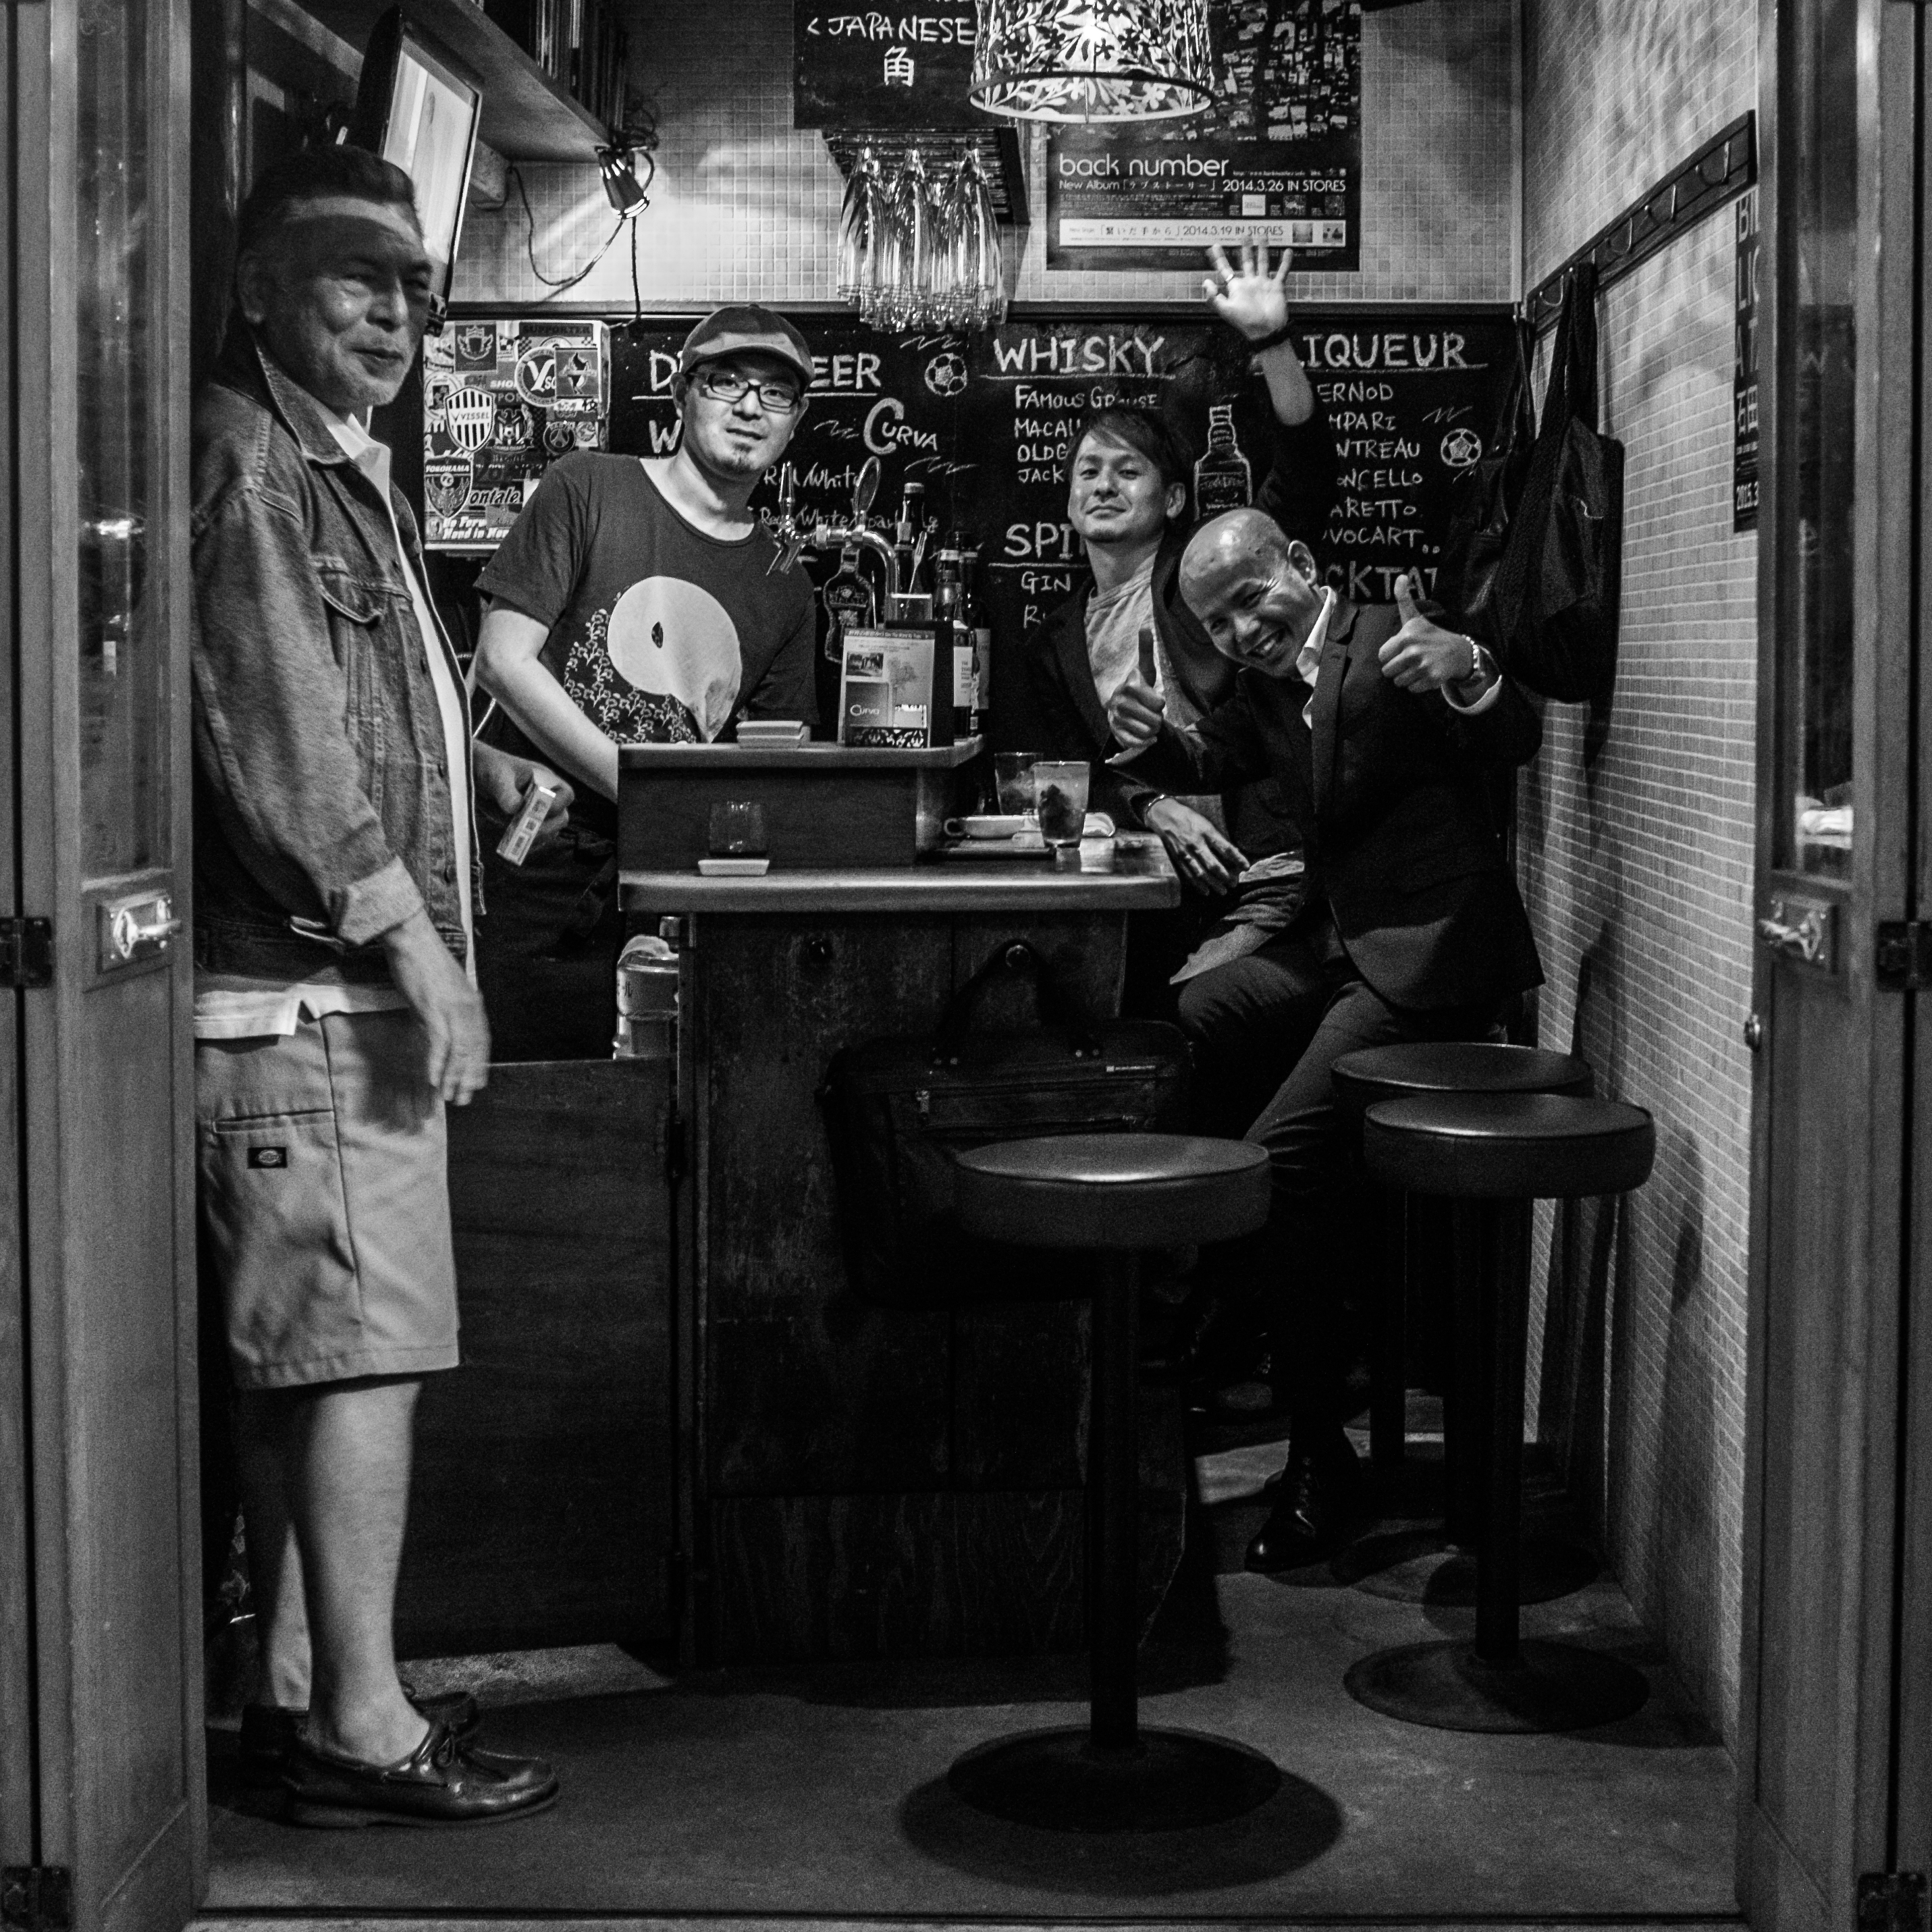
5. Visit some tiny bars
Shibuya Drunkard’s Alley
There are things you won’t know about until you seek them out. Tiny 4-5 seat bars are no exception. There are two notable bar areas for these; Golden Gai in Shinjuku is larger, more popular, but also more high key. Drunkard’s Alley in Shibuya is smaller, but a lot quieter. Either way, you’ll want to check it out.
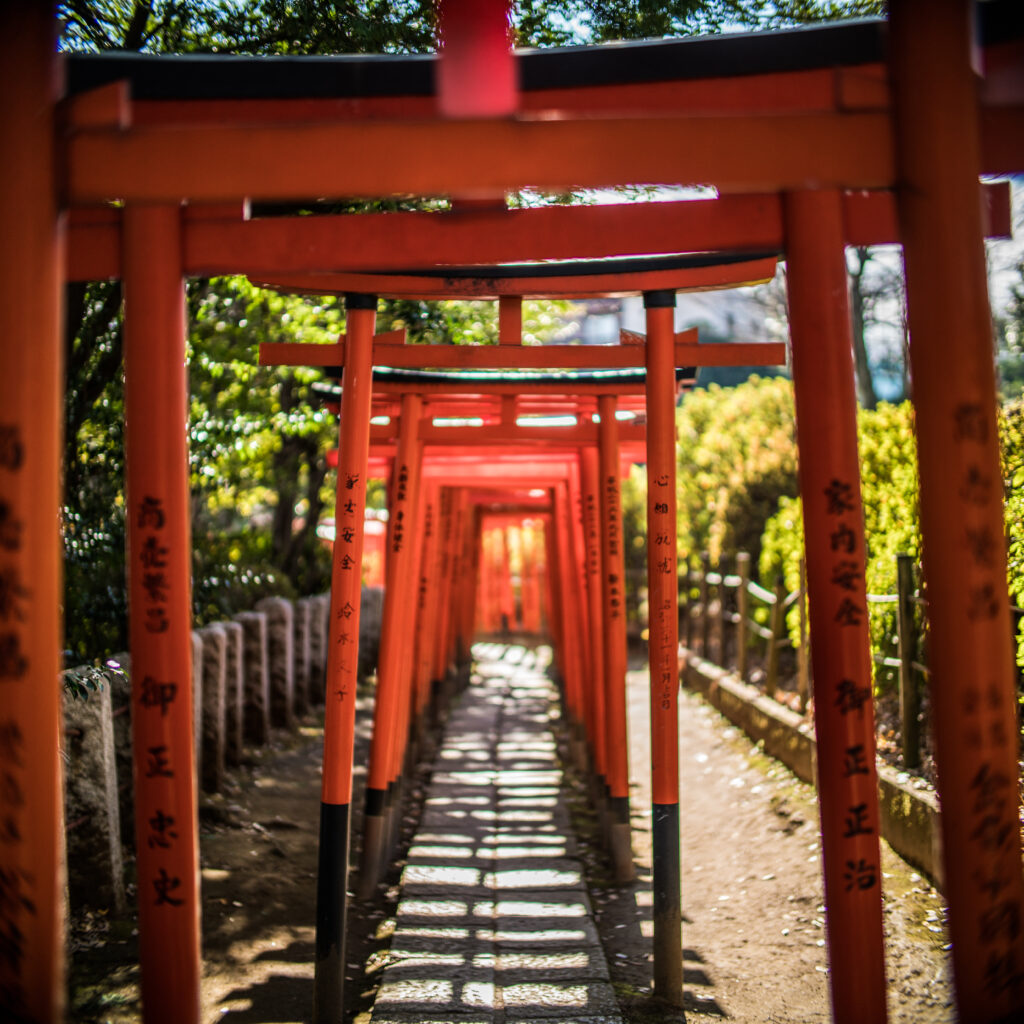
6. Visit at least one shrine
Shrines and temples are everywhere in Japan. Coming in all shapes and sizes, you’re bound to find at least one. Visit one, and buy an Omamori – a luck charm, as a token from your visit.
Where to see the Tokyo from above
Having researched sky decks, viewing platforms, and viewing towers, I’ve come to conclude that there are two that can be easily recommended. One for a nominal fee, and one free to the public.
Free: Tokyo Metropolitan Government Building
The view from Tokyo Metropolitan Government Building
Located in Shinjuku, this is open to the public for free. Like most of the sky views in Tokyo, you’re behind glass, and you’ll have an almost 360 degree view of Tokyo City.
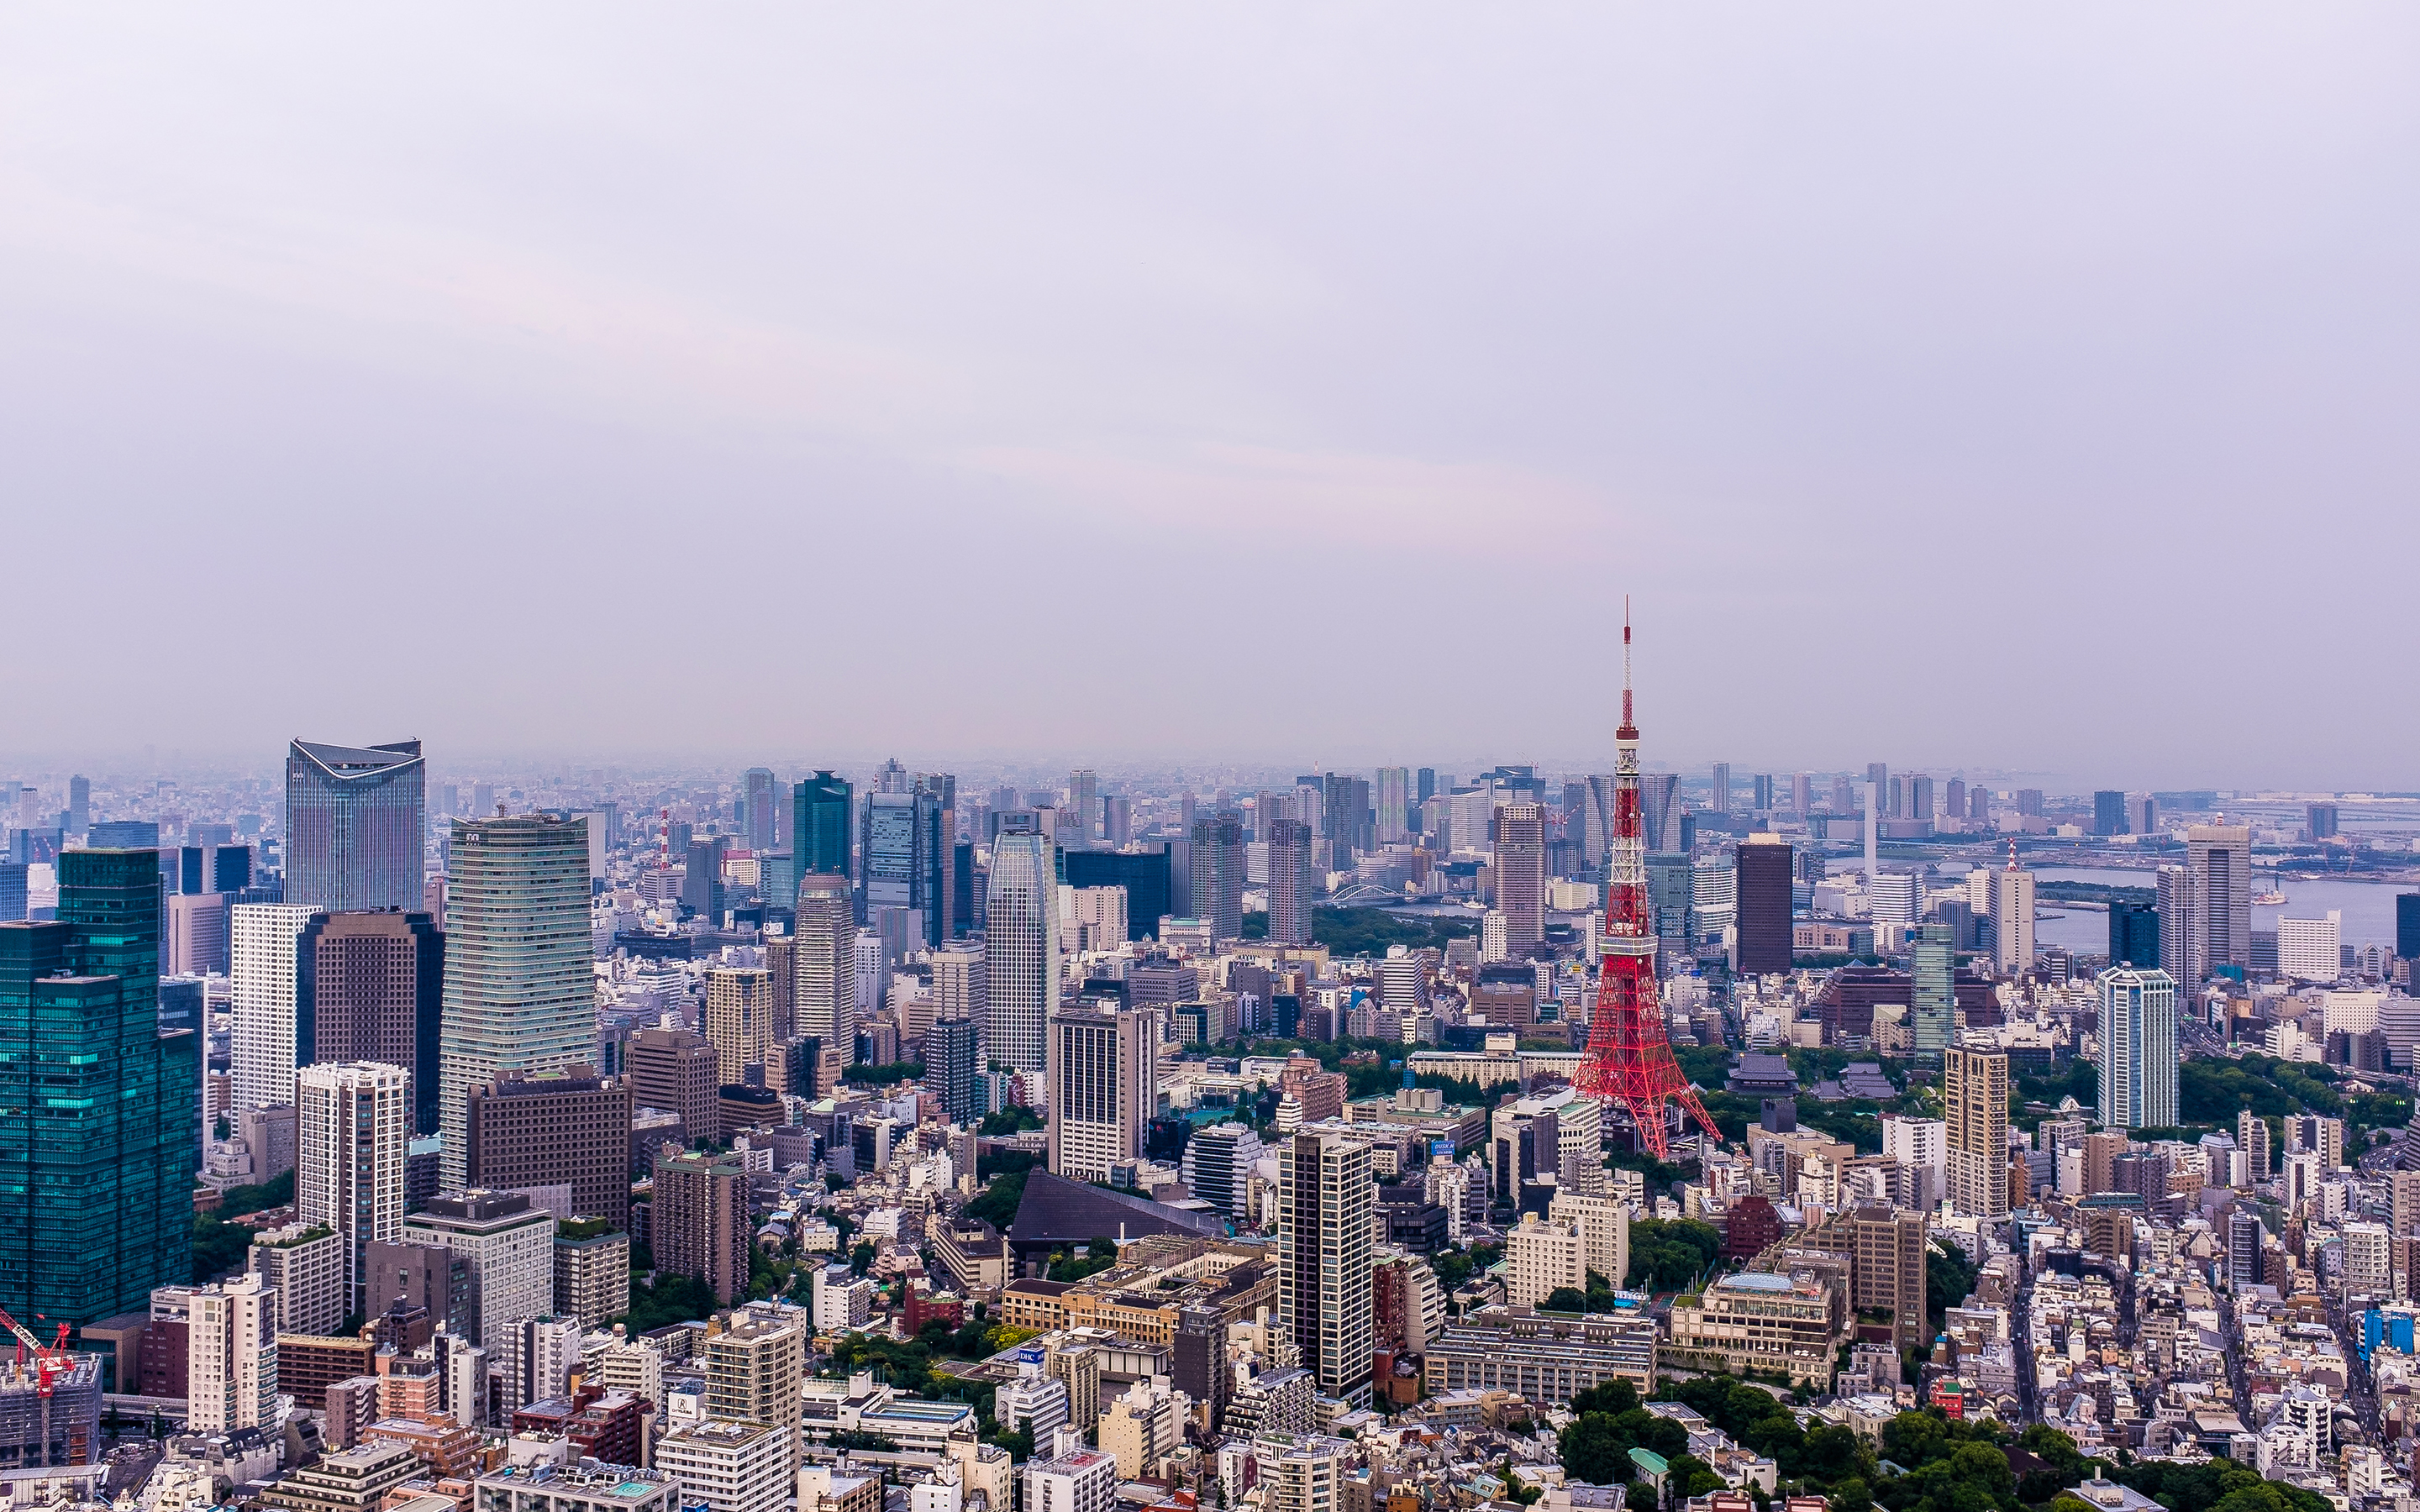
Paid: Mori Tower
The view from Mori Tower
In order to go to the sky deck of Mori Tower in Roppongi, you need to purchase a ticket to the museum. The outdoor sky deck is a small additional fee. But this is the only place where you can get an unadulterated view of Tokyo. You’re outside on the roof of a building, with no glass between you and the city.
Leaving Tokyo
You’re going to want to go back as soon as you get on the train to the airport. You’ll be back, guaranteed.
Seoul is one of the easiest destinations to travel to in Asia. You can get by with knowing little to no Korean. Most people in Seoul either spoke some English or Mandarin Chinese. In fact – it was surprising to me that there were so many Koreans that spoke Chinese!
It’s also a city where getting around is insanely easy. The subway metro system connects the whole city together, Taxis are abundant, and everything is affordable.
One of the benefits to Inter-Asia travel is the vast amount of culture you can experience from a 5-hour flight. Hong Kong is one of the most central locations you can pick as your origin city. A 5-hour flight gets you to Japan, Korea, Taiwan, Mainland China, and all of Southeast Asia.
And thus, Seoul is one of the premier destinations as it is extremely tourist friendly, without tourist traps and gotchas.
Booking your flight and hotel
Although I flew Hong Kong Express for this trip, I cannot recommend it as it’s not the most comfortable budget airline. Deals can be found usually starting 1-2 months before your expected travel date. I really recommend looking for package deals on Ctrip, or package deals on Expedia.
Though both sites have the same choice of hotels, the airlines are different. I found more major carriers such as Asiana and Korean Air on Expedia, while finding more local airlines such as Dragonair, Hong Kong Express, and Hong Kong Airlines Ctrip.
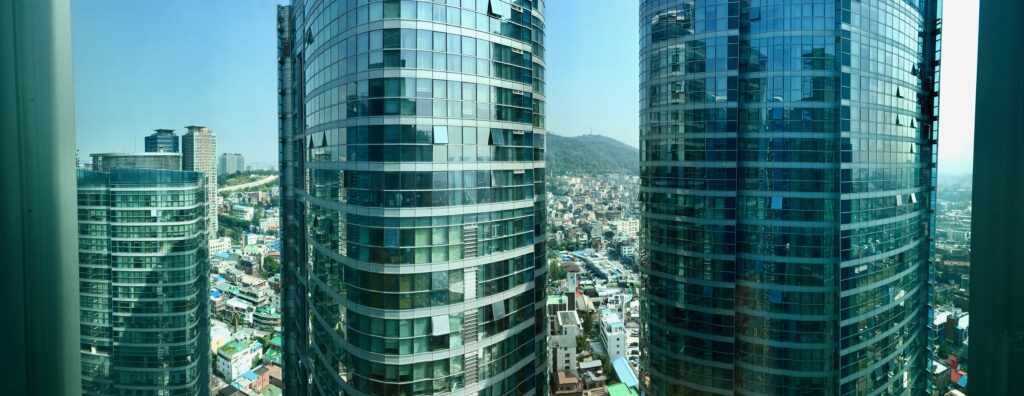
View from Four Points Sheraton Namsan Seoul
The best areas to stay in are near train stations with more than one line – Seoul Station, Dongdaemun, Chungmuro, and most places in downtown Seoul, north of the river.
Seoul Subway Map
Getting to Seoul from Incheon Airport
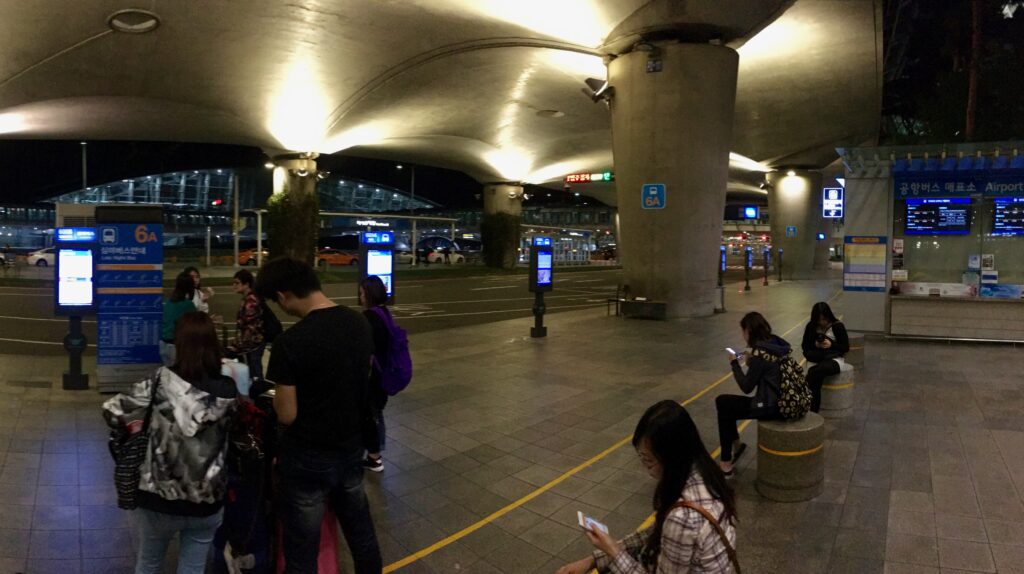
Like most major Asian cities, Seoul has an airport that is a bit of distance from the city center. The most convenient way to get into the city is taking the KTX airport train, which costs 12,500 KRW, or roughly $12.50 USD. However, if you arrive after 11:45pm or so, you’ll be taking the late night bus.
Incheon Airport will have signs in English and Chinese to guide you to the right transportation after you leave customs.
Outside Seoul Incheon Airport
Getting around Seoul
Immediately after arriving at Incheon Airport, you’ll find a CU convenience store that’s open 24-hours. Buy a T-Money card and load it up with enough to get you into the city. The T-Money card is the single tap-to-pay card for public transportation and certain merchants.
With this, you’ll have access to buses, trains, and even taxis. It’s really a must have.
What to eat, see, and do
You’re probably no stranger to Korean food. Kim chi, Korean BBQ, spicy tofu soup, and bulgogi are probably all things you’ve heard of before. In Seoul, you’ll find all of that. Here are a few snippets of food, tourist attractions, and places to visit.
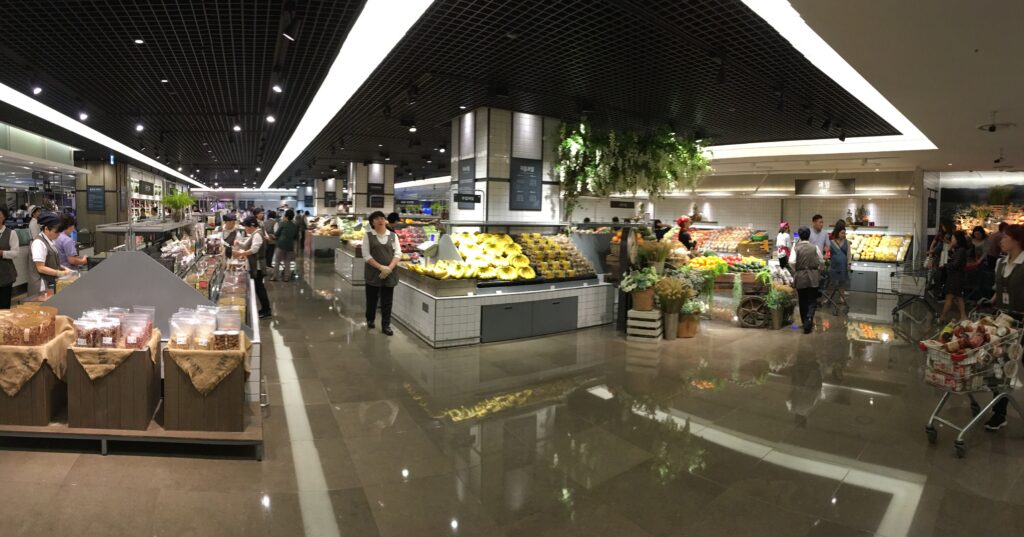
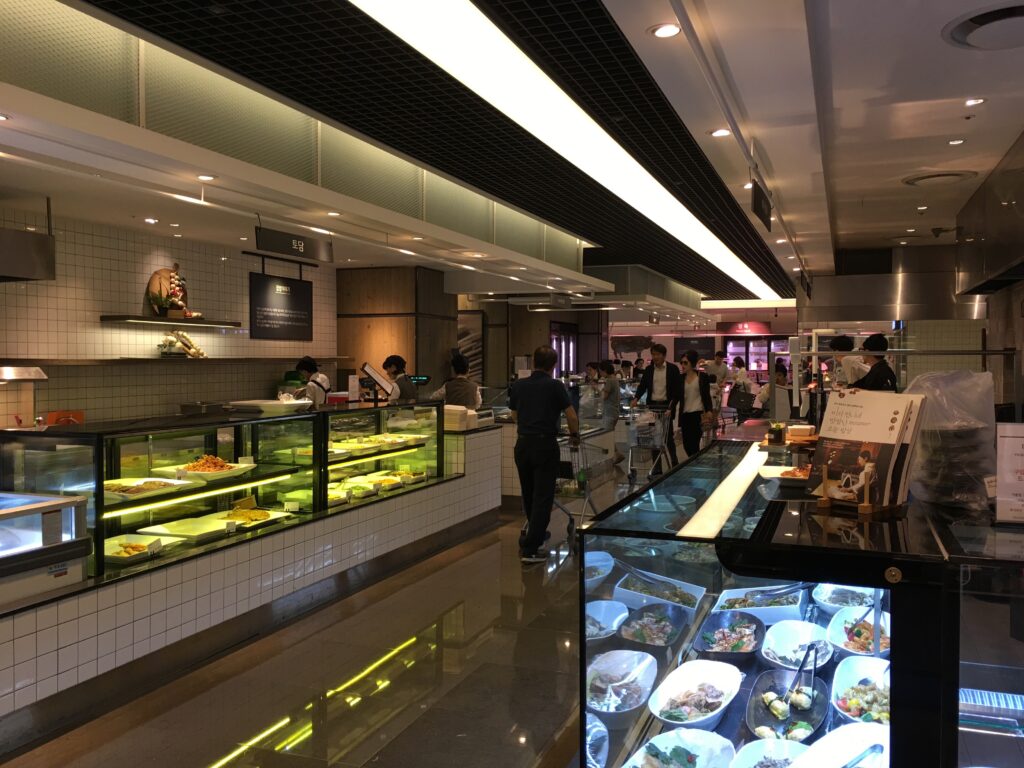
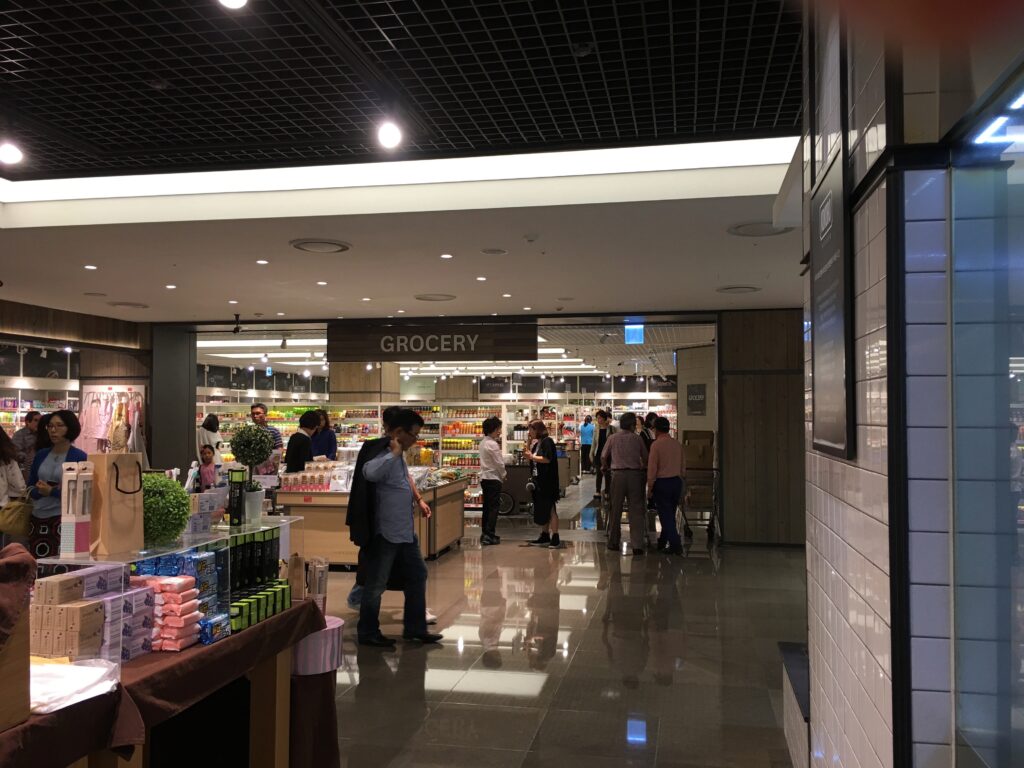
Hyundai Department Store
If you’ve been to Japan, you’re familiar with the multi-level department stores that have everything from furniture, electronics, to clothes, food, and beyond. Well this is the Korean version. ranging anywhere from 8-12 floors of non-stop shopping. You’ll find amazing everything at the Hyundai Department Store (Yes, THAT Hyundai). They have locations all over Seoul.
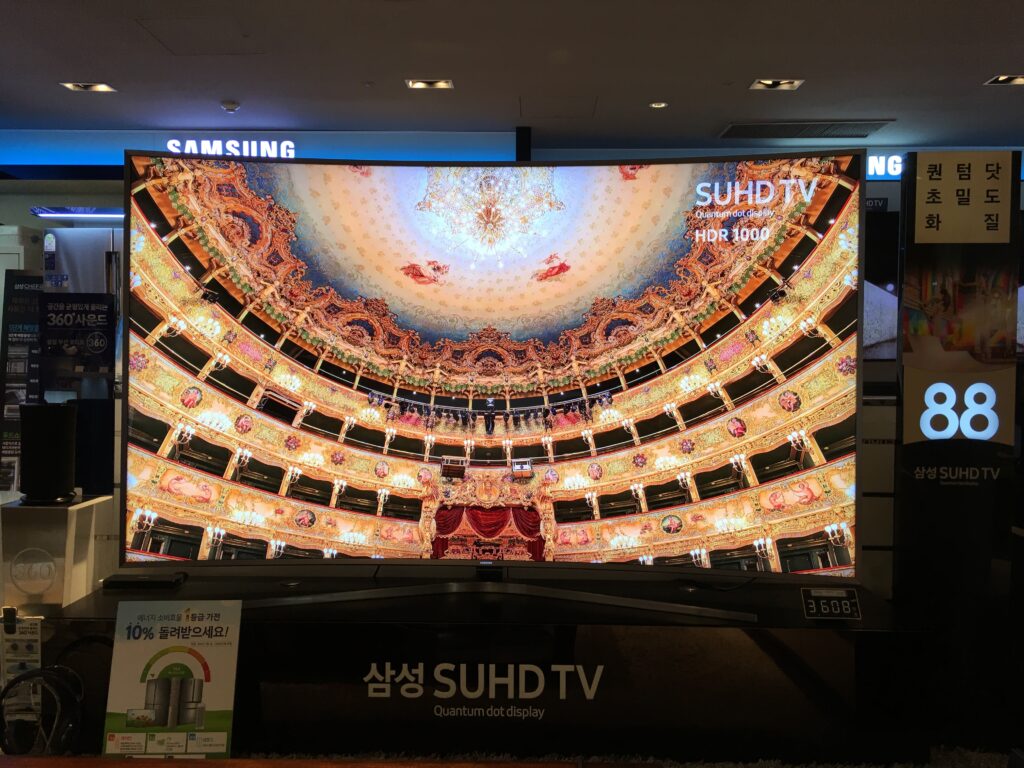
Samsung TVs
Fresh Fruits
Fresh Foods
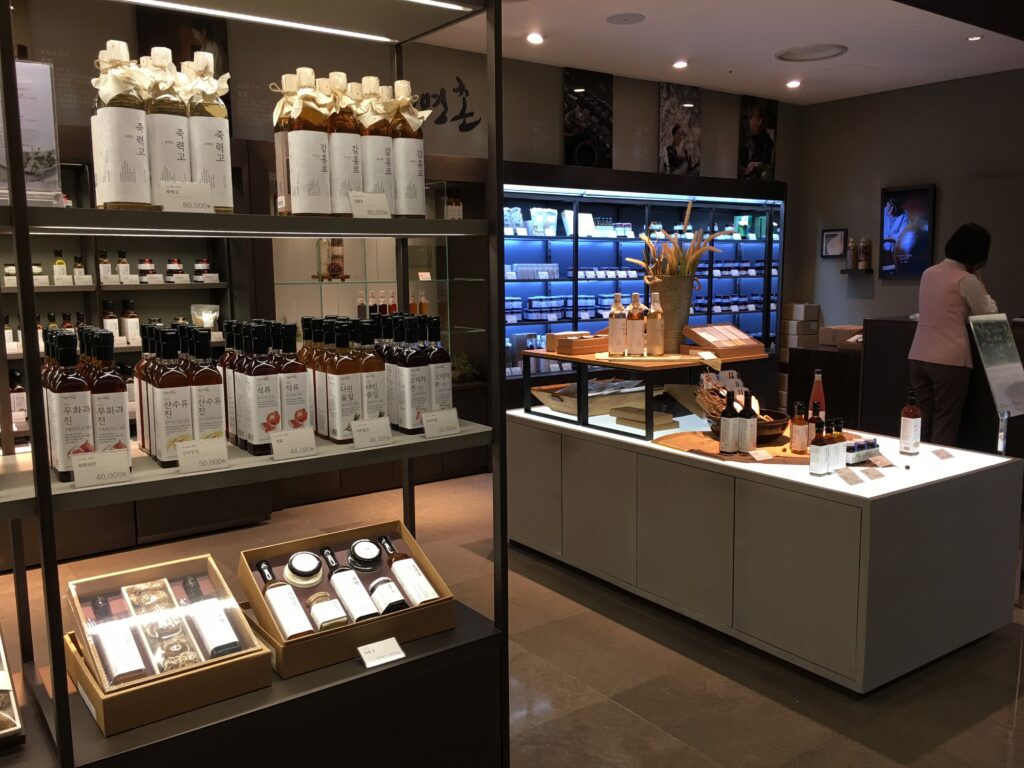
A Range of Oils
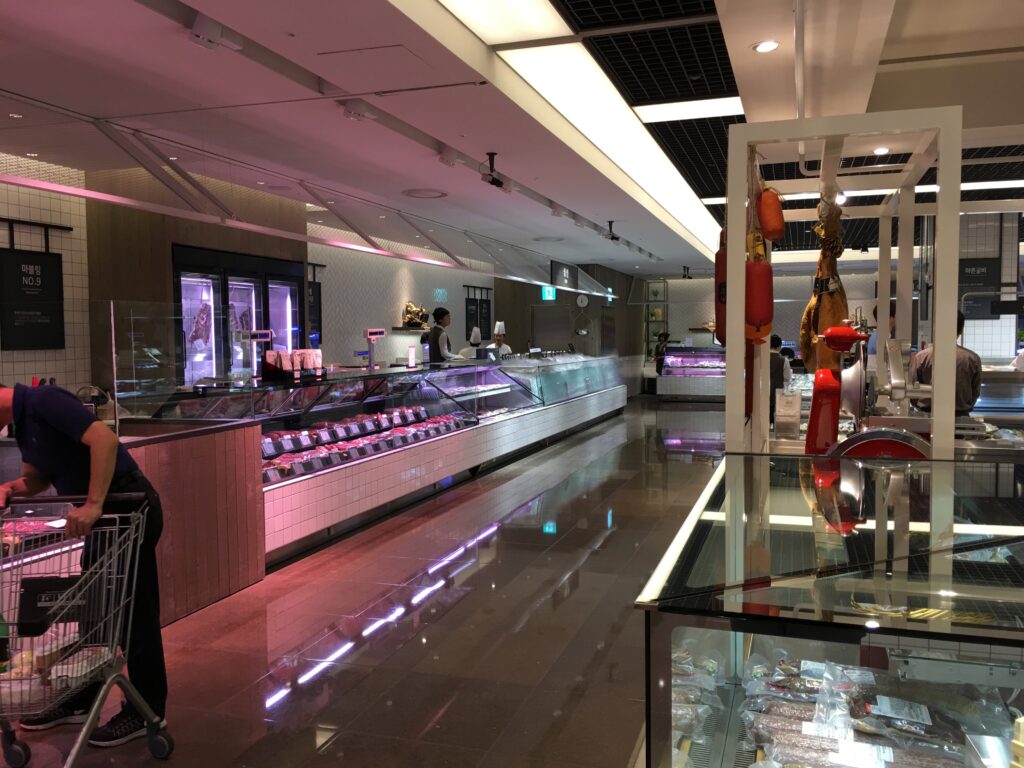
Korean Beef and Pork
Groceries
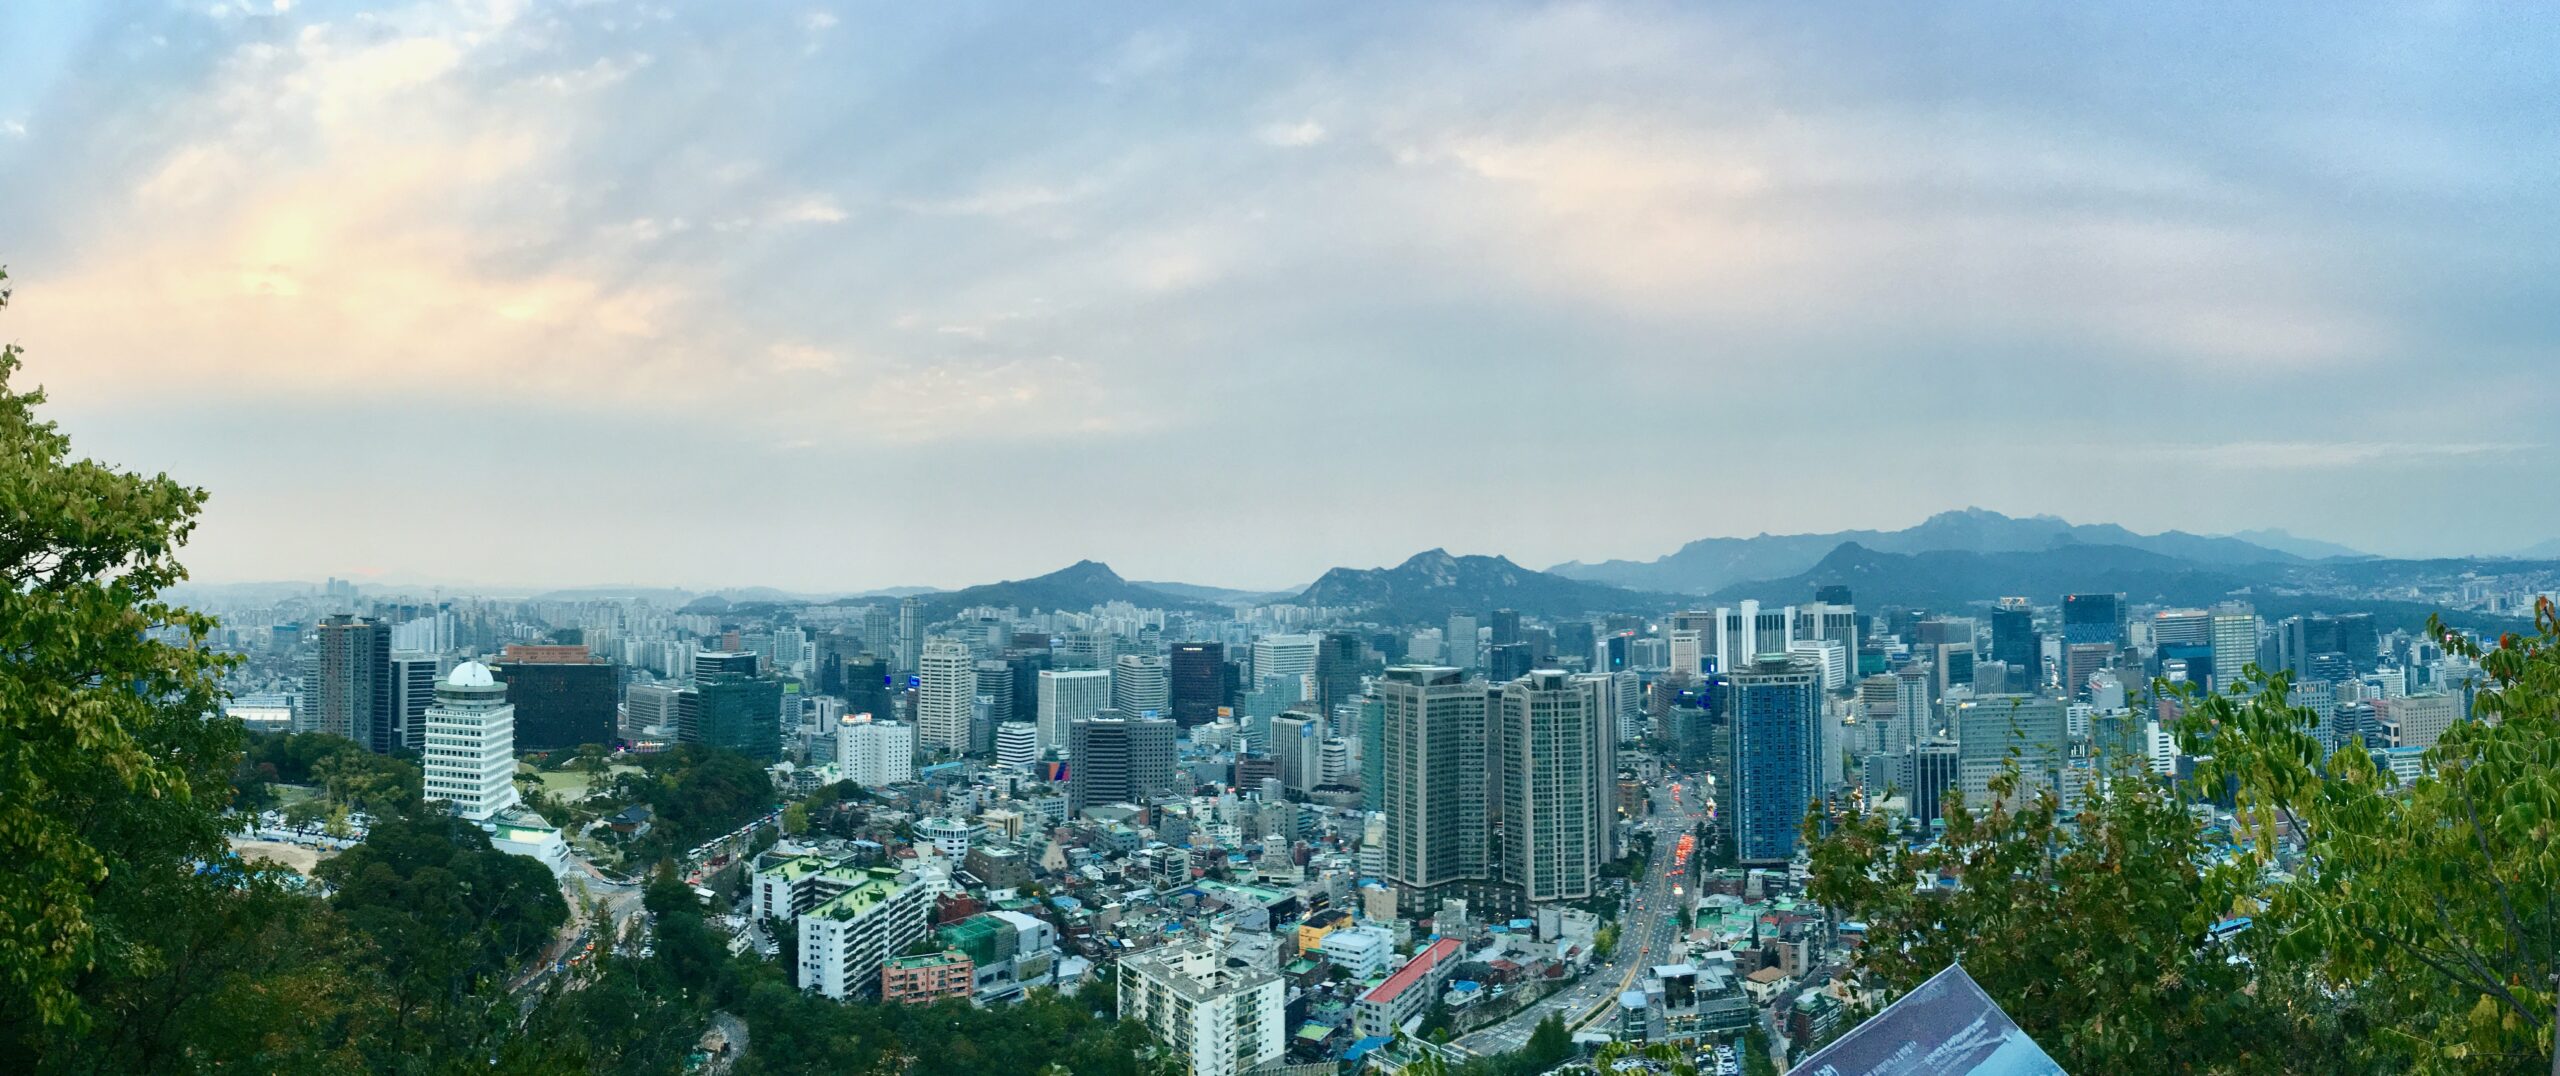
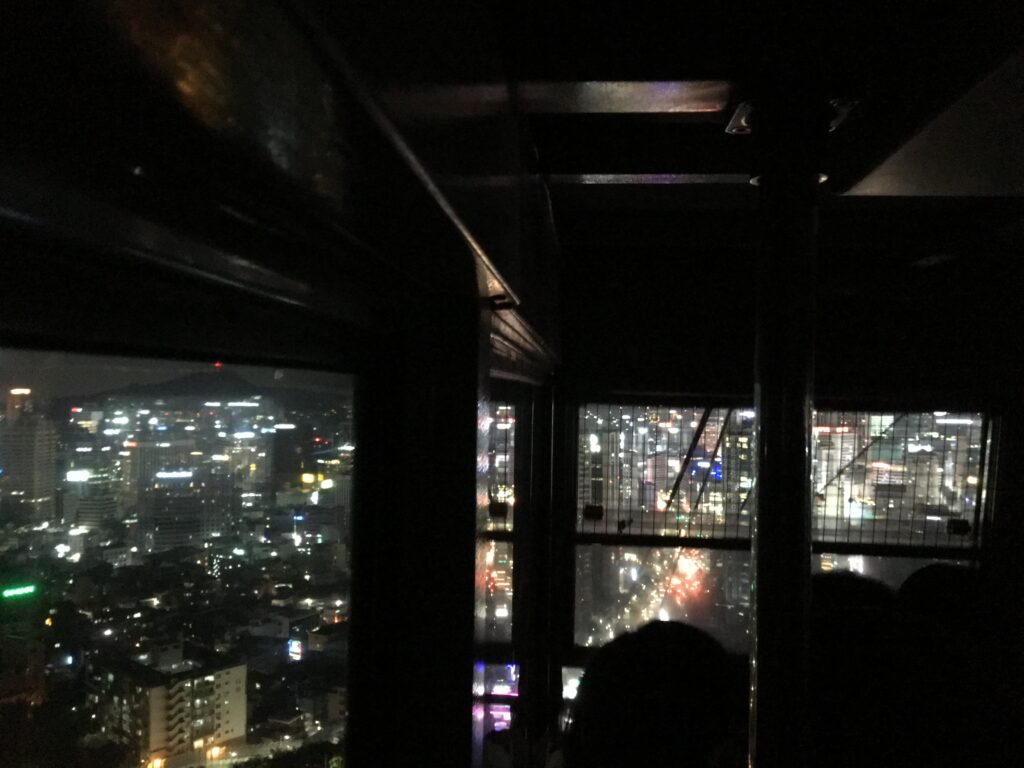
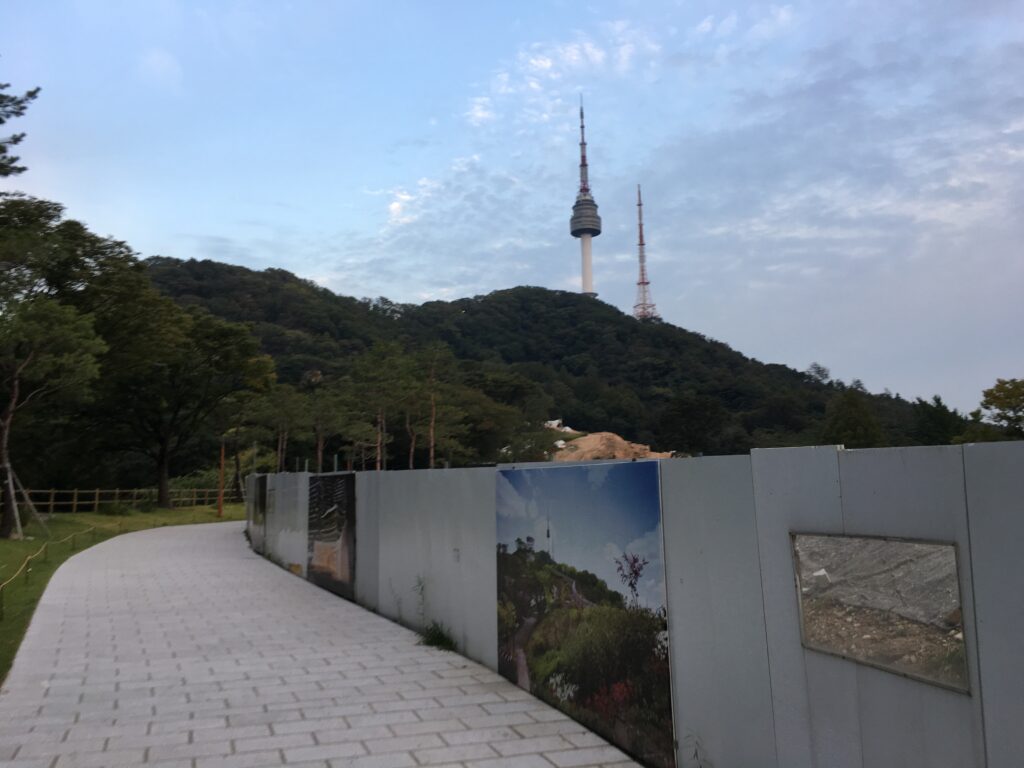
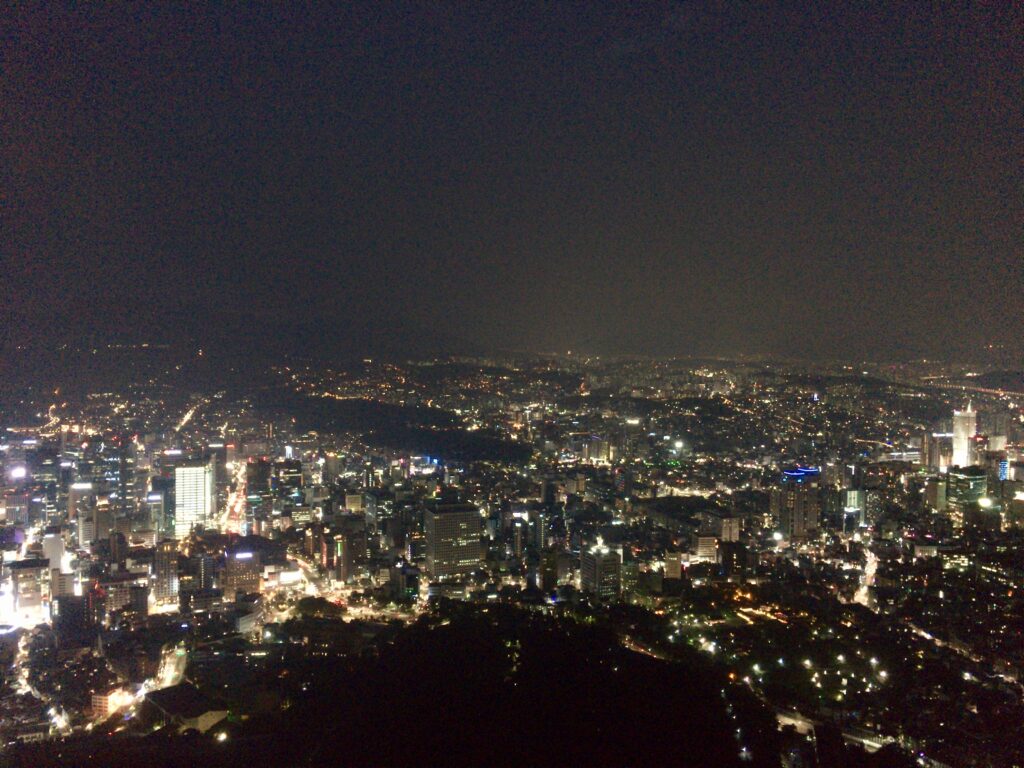
N Seoul Tower
Formally called Namsan Tower – This is the best skydeck view of Seoul. There are many ways of getting up to the top, including a paved hiking trail. The recommended way is to take a taxi from Seoul Station to the Namsan Cable Car. From there – you can take the tram if the line is not long. And if it is – just walk up. It only takes 30 minutes.
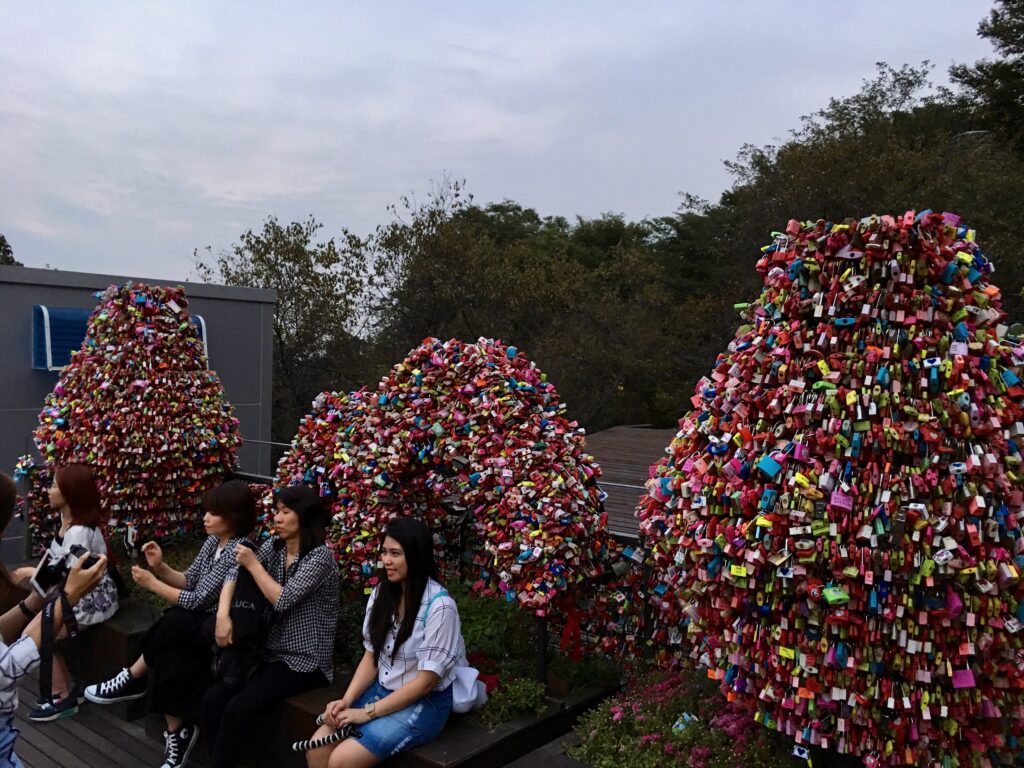
At the top, you’ll see a plethora of love locks, food, and drink. Visit the ticket office to buy a pass to go up.
Namsan Cable Car
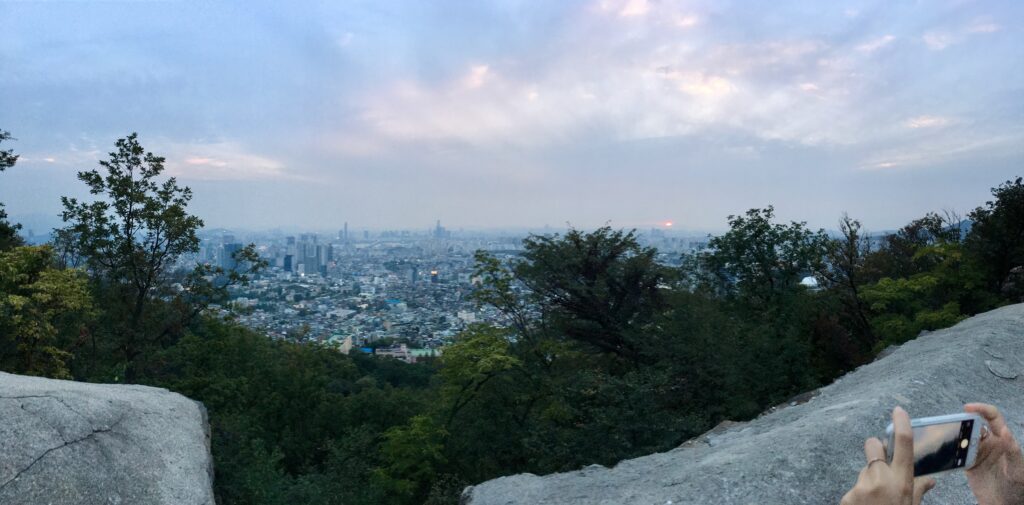
N Seoul Tower Hike
View during the N Seoul Tower Hike
N Seoul Tower Skydeck
Love Locks
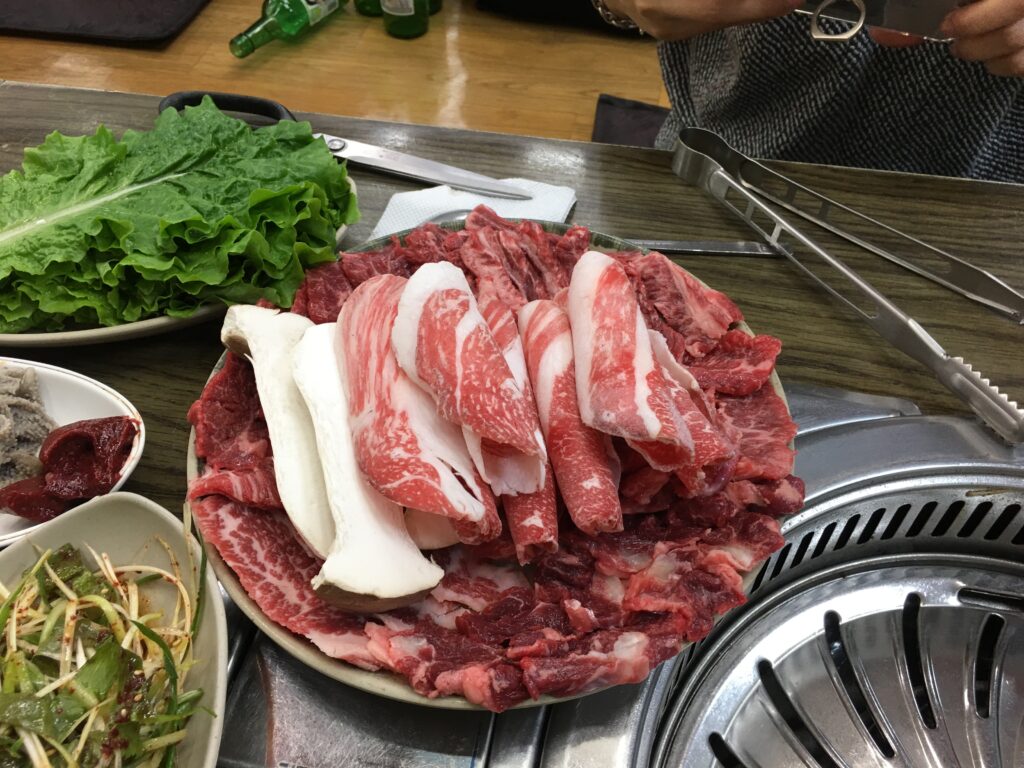
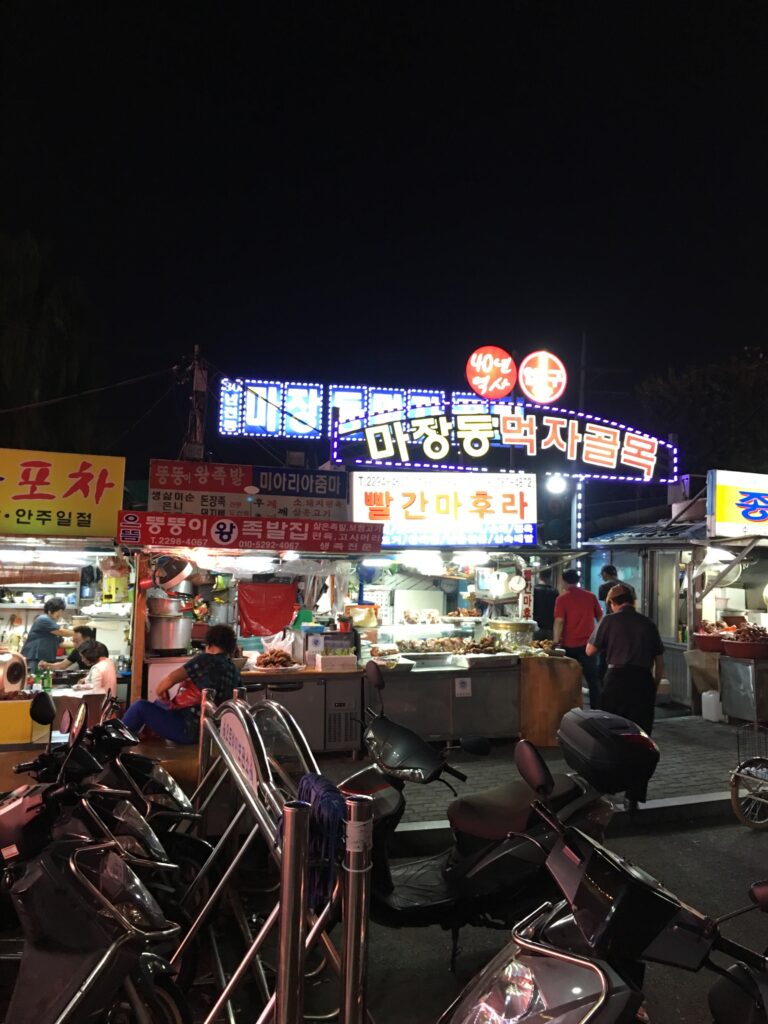
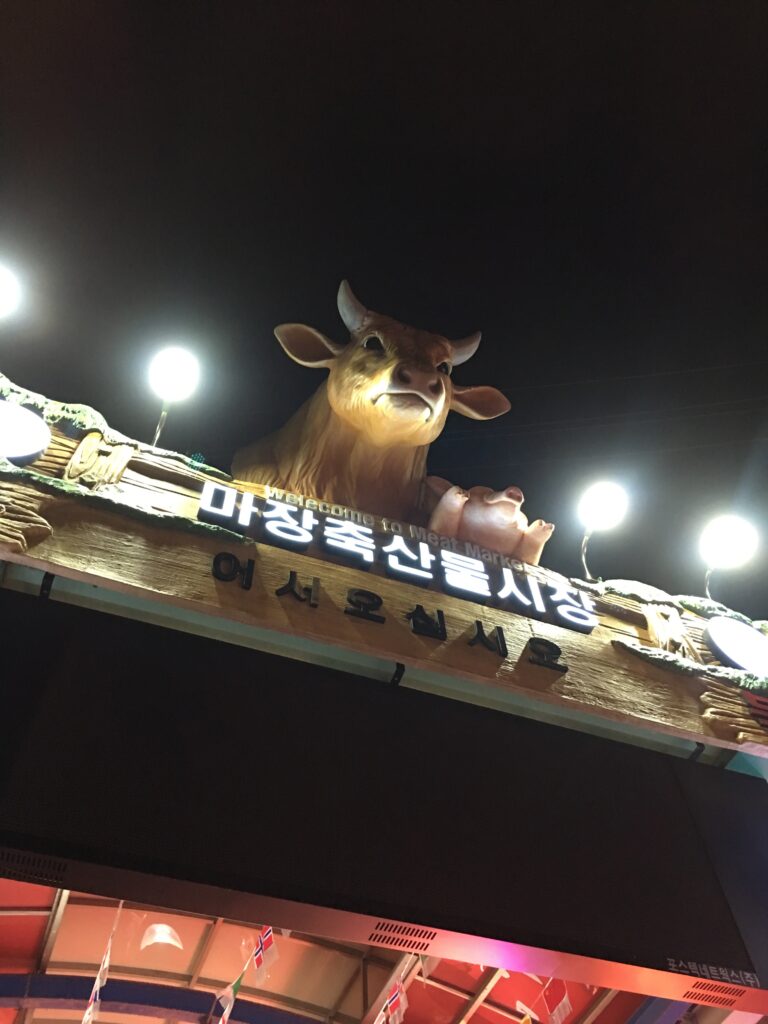
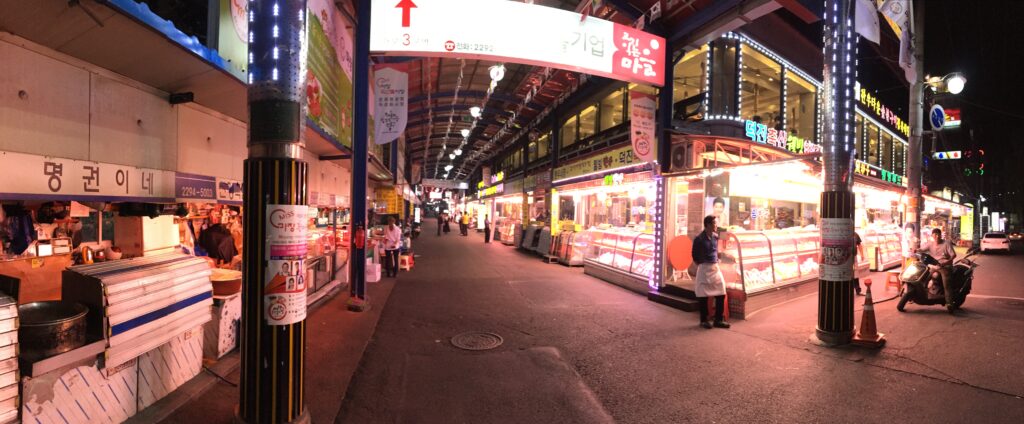
Majang-dong Alley and Meat Market
Here you’ll find the highest quality of Korean meats, and a selection of the best Korean BBQ restaurants that focus on the quality of meat. Definitely do not miss it. Here’s how to find it.
Majang-dong Alley
Highest Grade Korean Beef
Majang-dong Alley Gate
Majang-dong Meat Market Gate
Majang-dong Meat Market
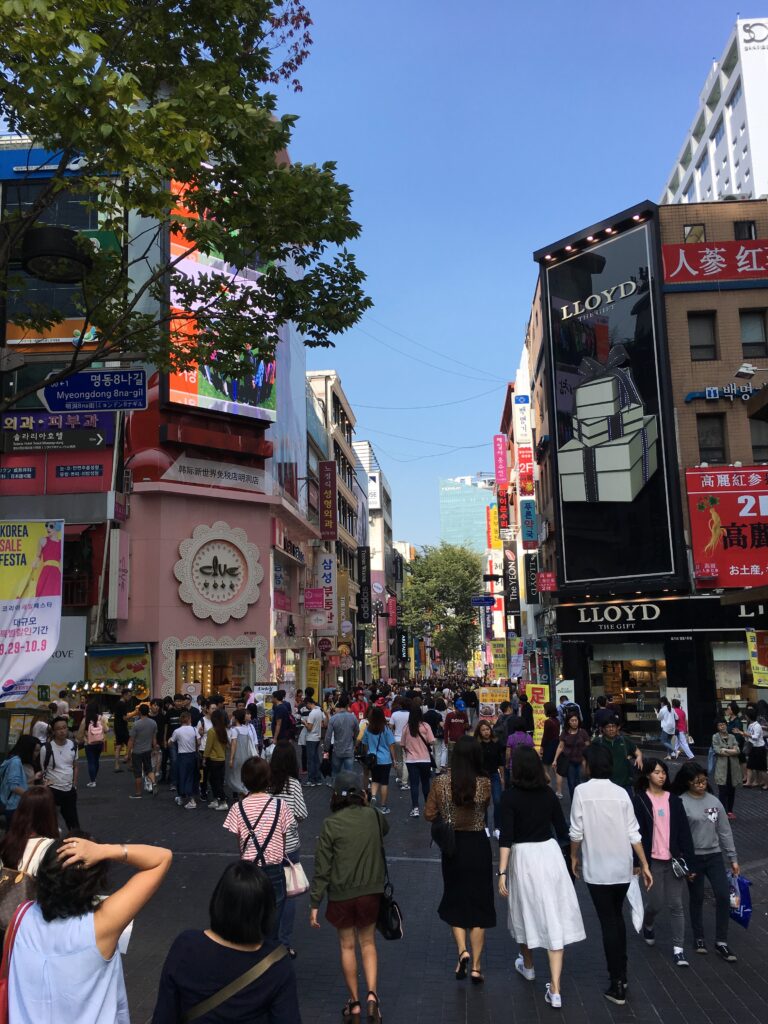
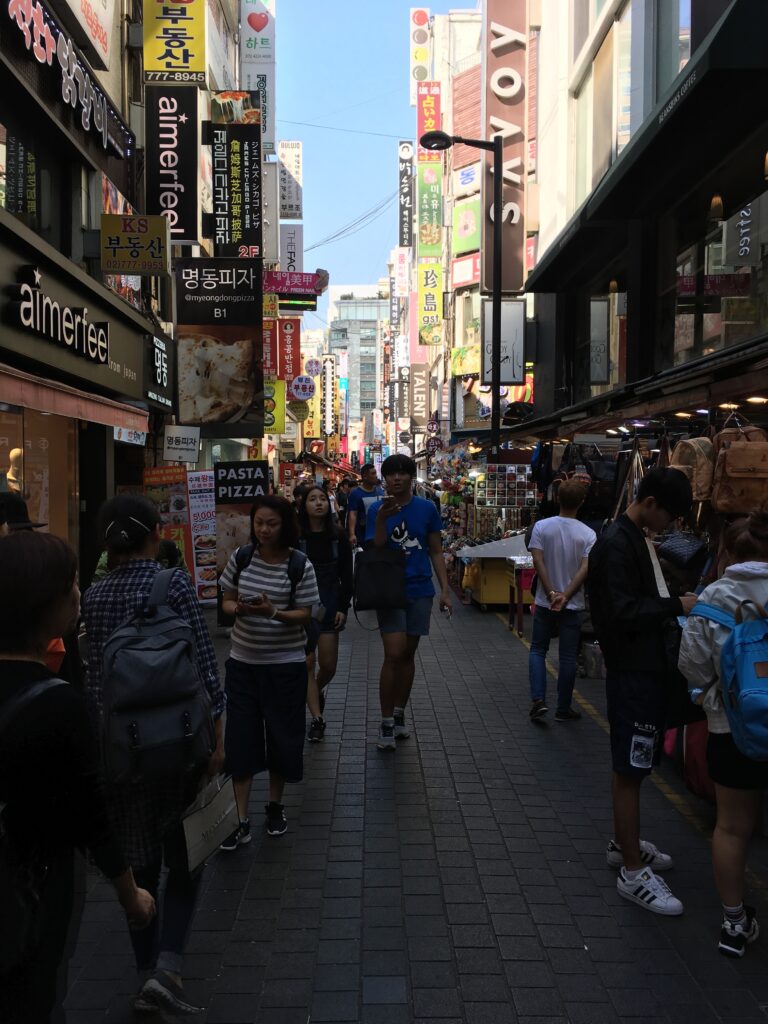
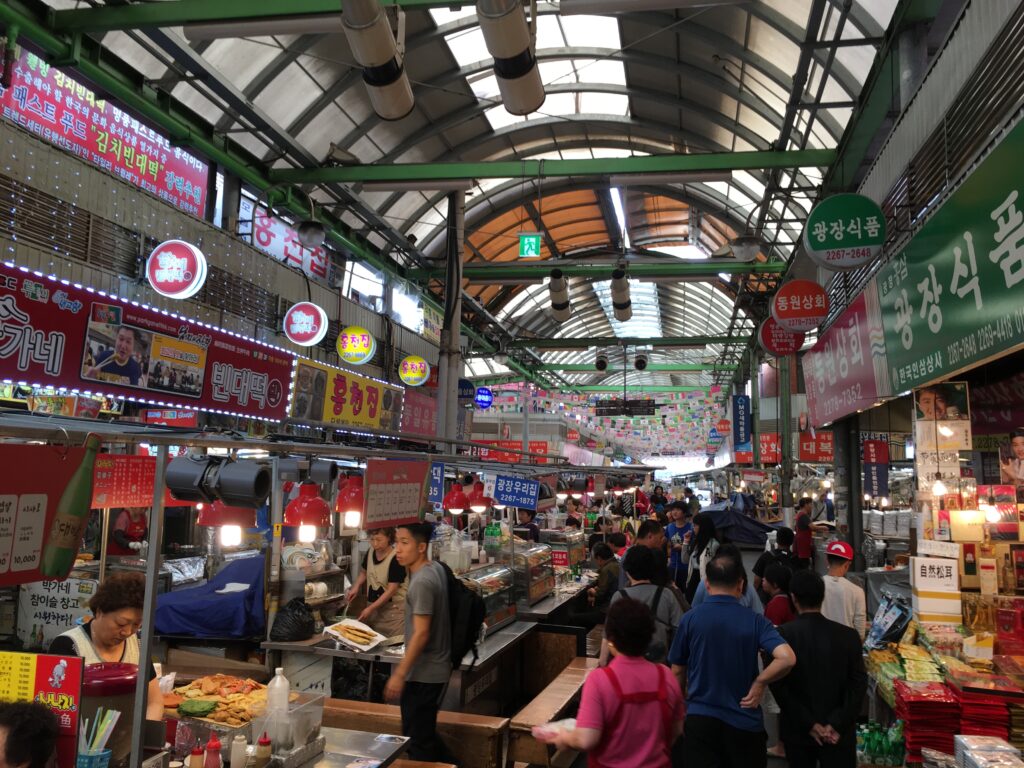
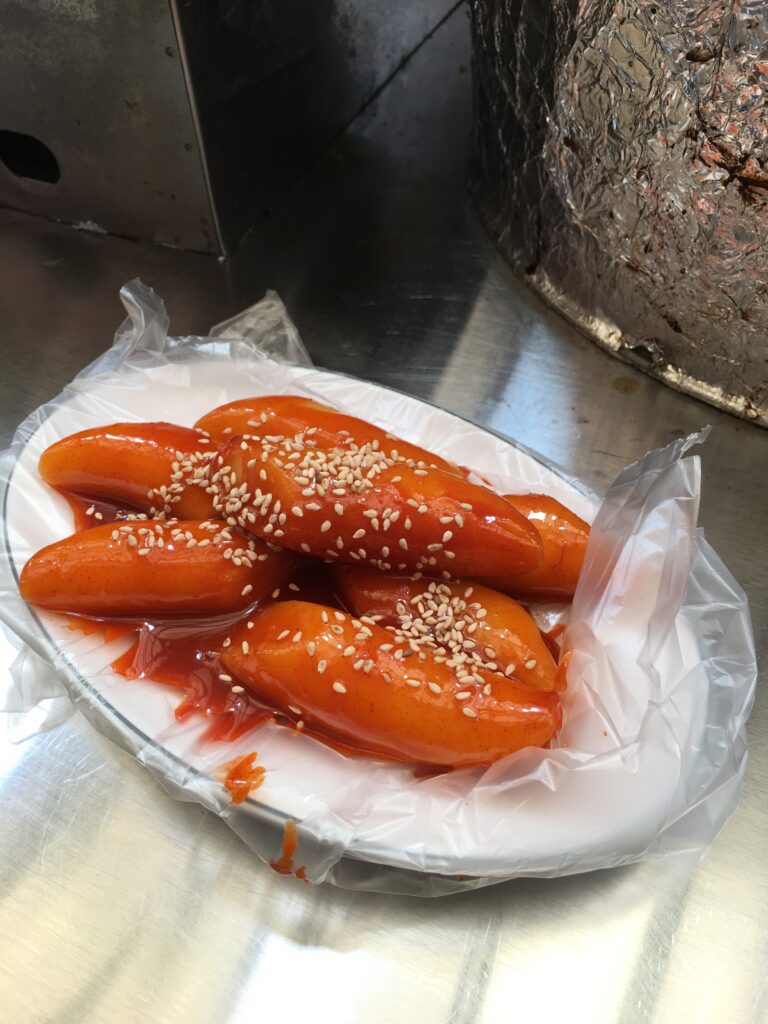
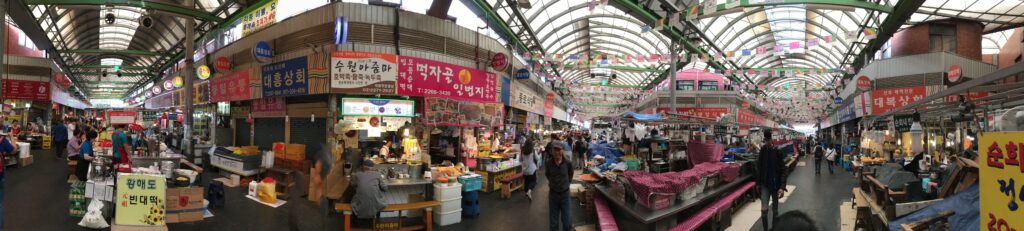
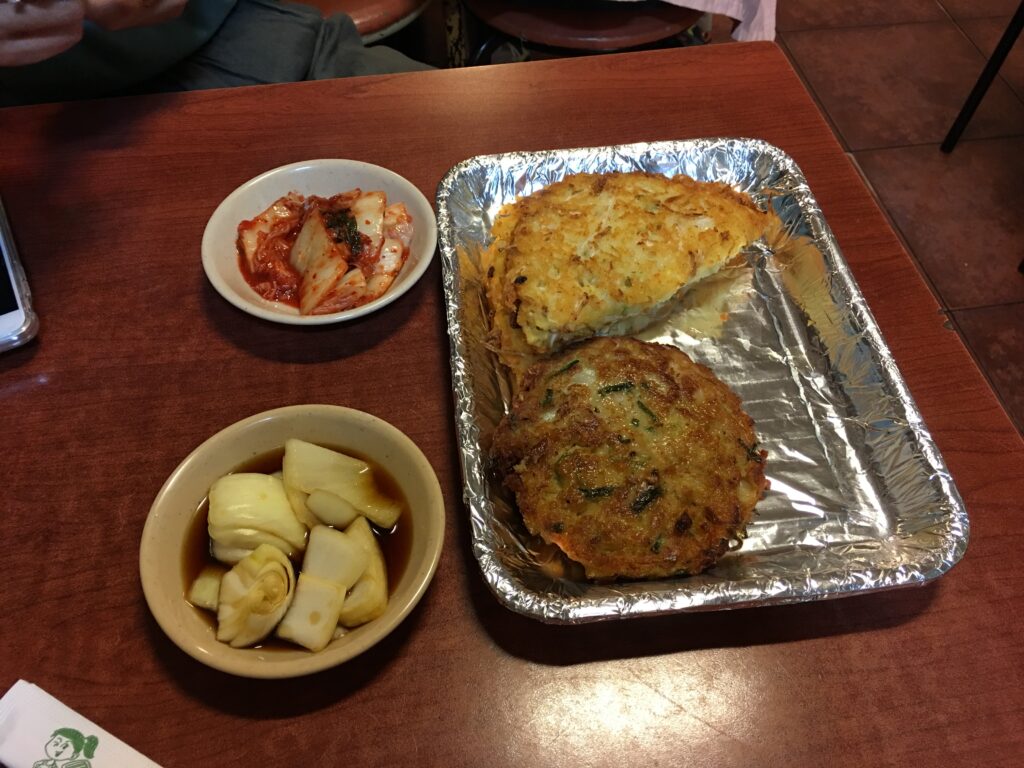
Dongdaemun Market and Myeong-dong Shopping
Go to Dongdaemun for traditional Korean street food. And Myeong-dong to get your shopping on.
Over the past few years, United is starting a transition from 3-cabin to 2-cabin international flights. With the exception of a few routes, more and more routes are 2-cabin.
With that said, Global First will eventually only be found in history books. Leaving only Business First as the highest available premium cabin.
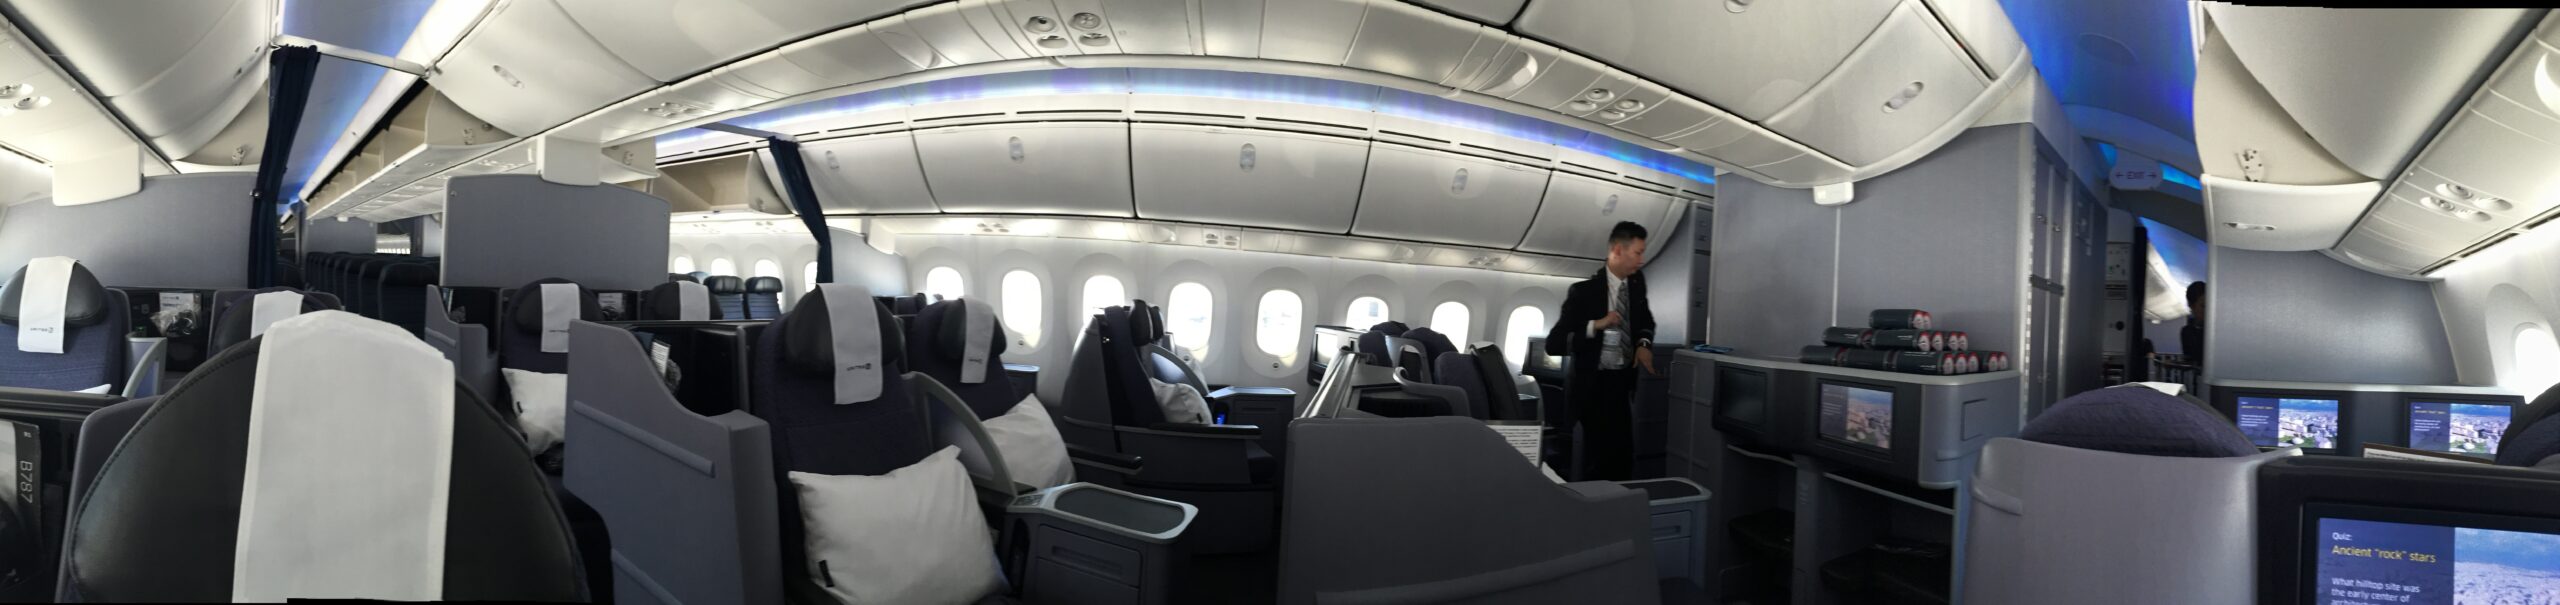
All Business First is not Created Equal
This is the key distinction! All equipment the same (777-200), 2-cabin and 3-cabin configurations do not have the same Business First seats. Where Global First is found in a 1-2-1 layout. Business First in 3-cabin flights is 2-4-2, while in 2-cabin flights, it’s 2-2-2. This is a huge difference.
Although both types of Business First are lay-flat seats. 3-cabin 2-4-2 Business First seats are 20 inches in width, and 76 inches in pitch/length. While 2-cabin Business First is 23 inches in width, and the same 78 inches in pitch/length as Global First. In fact, 2-cabin Business is 1 inch wider than Global First.
United Global First on a 3-Cabin 777-200
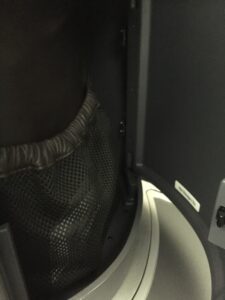
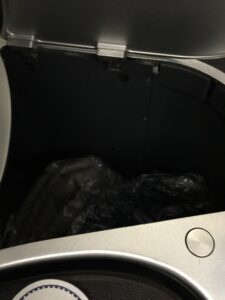
Having flown on 2-cabin 787-900’s, and 2 and 3-cabin 777-200’s. 2-cabin Business First seats are not far off from Global First in terms of overall comfort. Aside from marginally better privacy, an extra seat pad, and more storage, it’s not far off. I do not mind 2-cabin Business First at all.
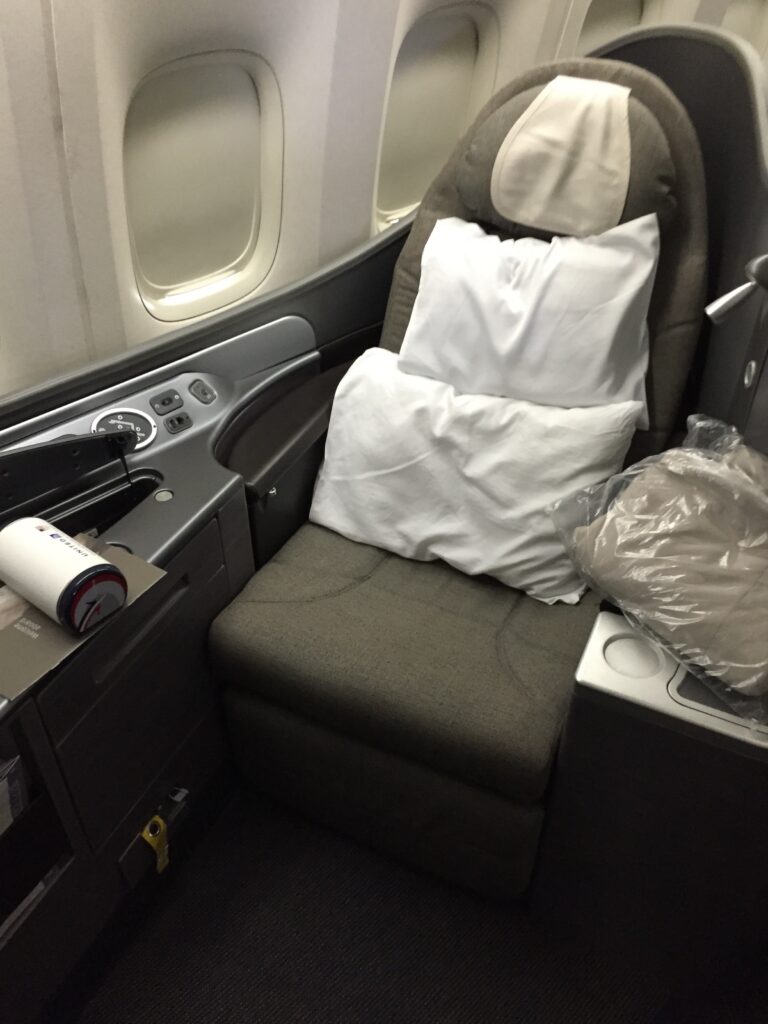
A Secret to Global First
However, there is one secret to Global First seats that you won’t find on Seat Guru or other seat information websites.
There is a hidden 6 inches of seat width in Global First. The armrests can be pushed down and made flush with the seat. This made a huge difference when sleeping. Although Seat Guru lists 2-cabin Business First as 1 inch wider than Global First, they do not have height adjustable armrests. Simply put, you have a total of 30 inches of width where it matters – your hips.
How to Find 3-Cabin Flights
More and more routes are being replaced with 2-cabin flights. Older 3-cabin 777 routes such as ORD-HKG, and SFO-HND will eventually be replaced by 2-cabin 787s. Two example routes you can search for on Expedia are SFO-HKG on the 747-700, and ORD-HKG on the 777-200.
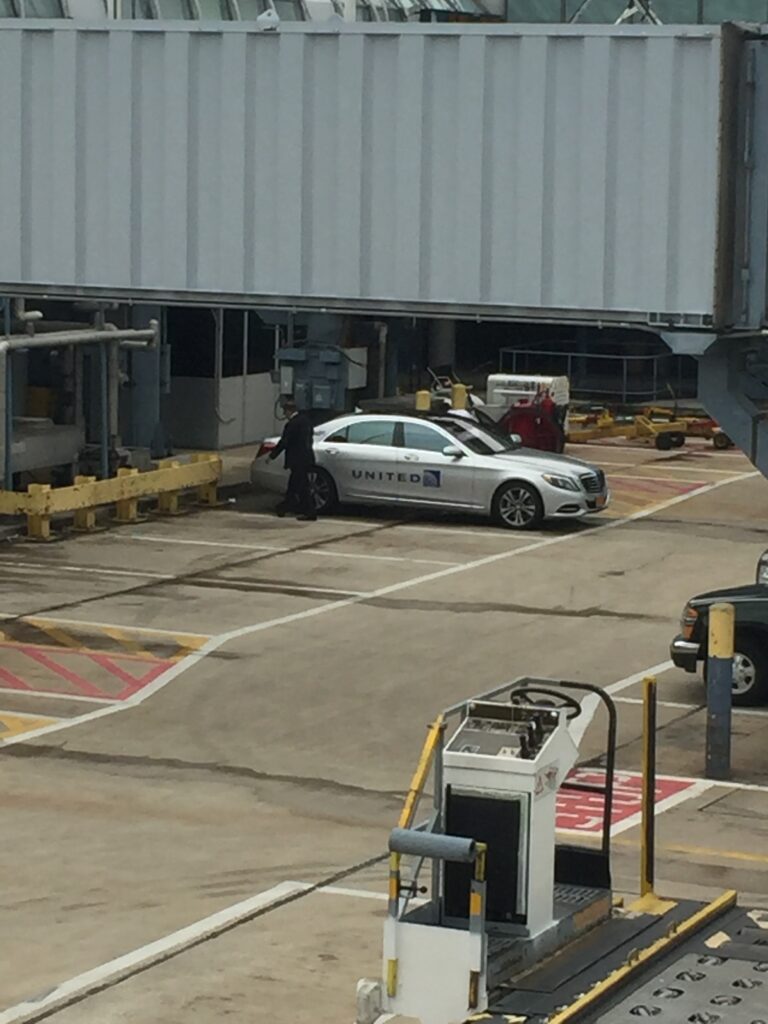
Global Services is not Going Away
Global Services Mercedes S-Class
Global Services continues operating as usual. And with United Polaris eventually coming into service, the 2-cabin experience will be elevated.
International flights can be 8 hours long. With the longest routes pushing 16 hours. You can survive economy by preparing ahead of time, spending a little money, or picking the right plane. International journeys will be made easier, and all you have to do is a little preparing.
Survive Economy on a Boeing 787
If you have the option, fly on a 787. New technologies make surviving economy easier. The same technologies are coming to the new 777X, and Airbus is following suit with the composite A350. They all have higher cabin humidities, higher cabin pressure (lower pressurized altitude), and are noticeably quieter than previous generation planes.
Everyone knows the desert-like feeling of flying. The moisture being sucked from your skin, your nose and mouth get dry, lips get chapped, and dehydration kicks in. What you don’t realize is what it’s doing to your body. It leads to altitude sickness and jet lag. The first time you fly on a 787 – it’s an amazing feeling.
I didn’t realize how much better the cabin air was on the 787 until I flew on a 737 immediately after for a connecting flight.
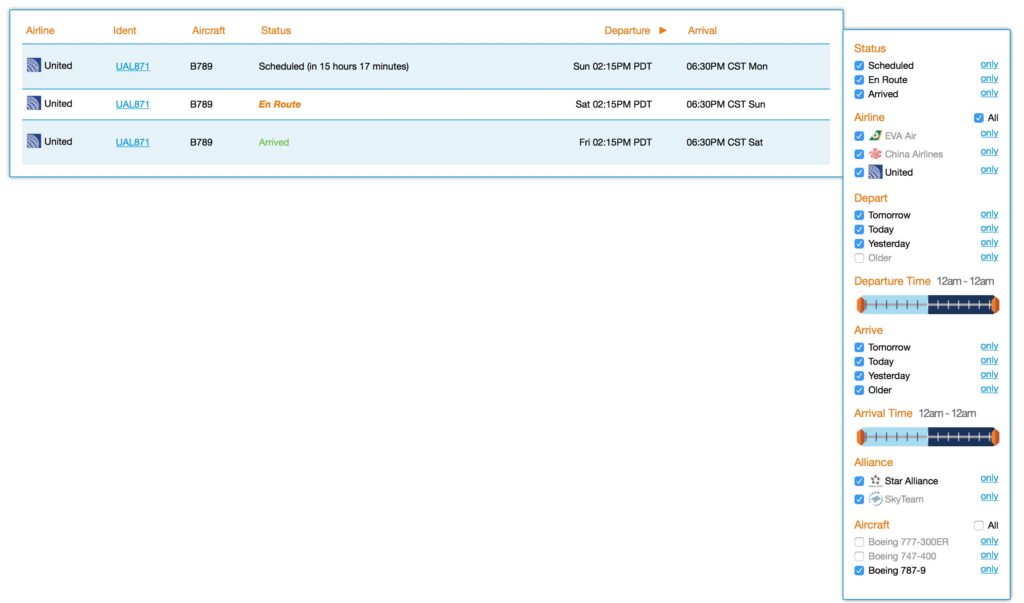
You can use FlightAware to search routes, and filter by aircraft type.
Filter routes by aircraft type on FlightAware
You can then search for those specific routes on SkyScanner.
Upgrade to Economy Plus
Although it’s the main selling point, the secret to flying in upgraded premium economy isn’t the extra legroom. On international flights that aren’t overbooked and depart full, it may be worth the small upgrade to premium economy. You can get a whole row to yourself, lay down and sleep. However, don’t choose to upgrade at check-in. Talk to the gate agent, and ask if there are any empty rows in upgraded economy.
The worst case scenario is you’ll share a 3-seat row with one other person. If you have status, most airlines will upgrade you to premium economy for free. If you don’t, it’s available for a small charge – sometimes worth it.
Avoid Alcohol, Caffeine, and Bring a Water Bottle
Aside from disturbing your body’s internal clock, alcohol and caffeine dehydrate you. The effects of alcohol are also more intense at altitude. Avoid consuming tea, coffee, and alcohol on the day of your flight. You’ll arrive in better shape.
On most international flights, the cabin crew will hand out small bottles of water before they turn down the lights. It’s recommended to bring your own large bottle of water, and when you finish it – the cabin crew will refill it for you (don’t toss out that bottle!).
Alternatively I recommend the Vapur Element Bottles. They roll up to take less space, and you can fill them up before your flight, and during your flight. Not to mention, they’re quite TSA friendly.
The Vapur bottles roll up to take less space.
Bring Your Own Headphones
Unless you’re flying in business or first, the headphones in economy class are utter garbage. If you don’t already have headphones you love, you have two types to choose from: Noise Isolating and Noise Cancelling.
The main considerations for choose one or the other is whether you can sleep in them. Noise Isolating Earphones are small earbuds that won’t get in the way.
It’s completely okay to wear your comfortable clothes. Sweatpants, yoga pants, whatever works. Wear breathable clothing that you can layer. This isn’t just a recommendation to survive economy, but the same applies if you’re flying business or first. Don’t wear jeans, don’t wear dress shirts. Stick with what’s comfortable and something you can sleep in.
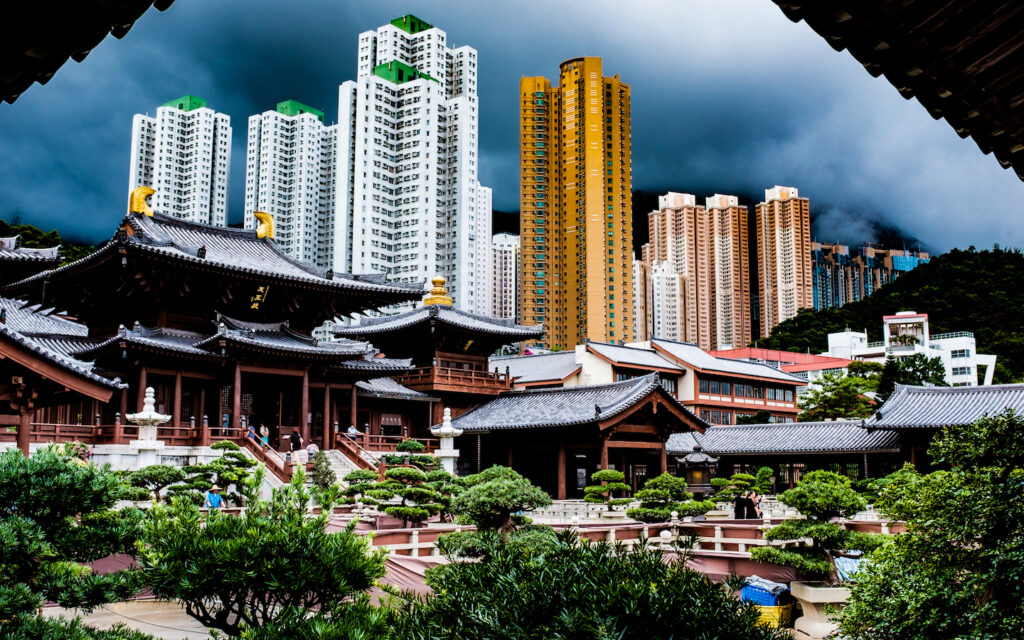
Hong Kong is one of those cities that can appear expensive on the surface. However, dig a little deeper, and it can be done on a slim budget easier than you would think. The overwhelming choice of hotels and high competition for flights make the biggest cost of your Hong Kong trip more affordable than Europe, Japan, and even many US destinations. It is entirely possible to do 12 days in Hong Kong on a budget.
Make a free visit to the Chi Lin Nunnery.
Flights from the US
On the West Coast, the two US airlines with flights to Hong Kong are United and Delta. United flies out of San Francisco, and Delta out of Seattle. If you’d like to fly on an Asian airline, EVA flies to the West Coast, with a transfer in Taipei.
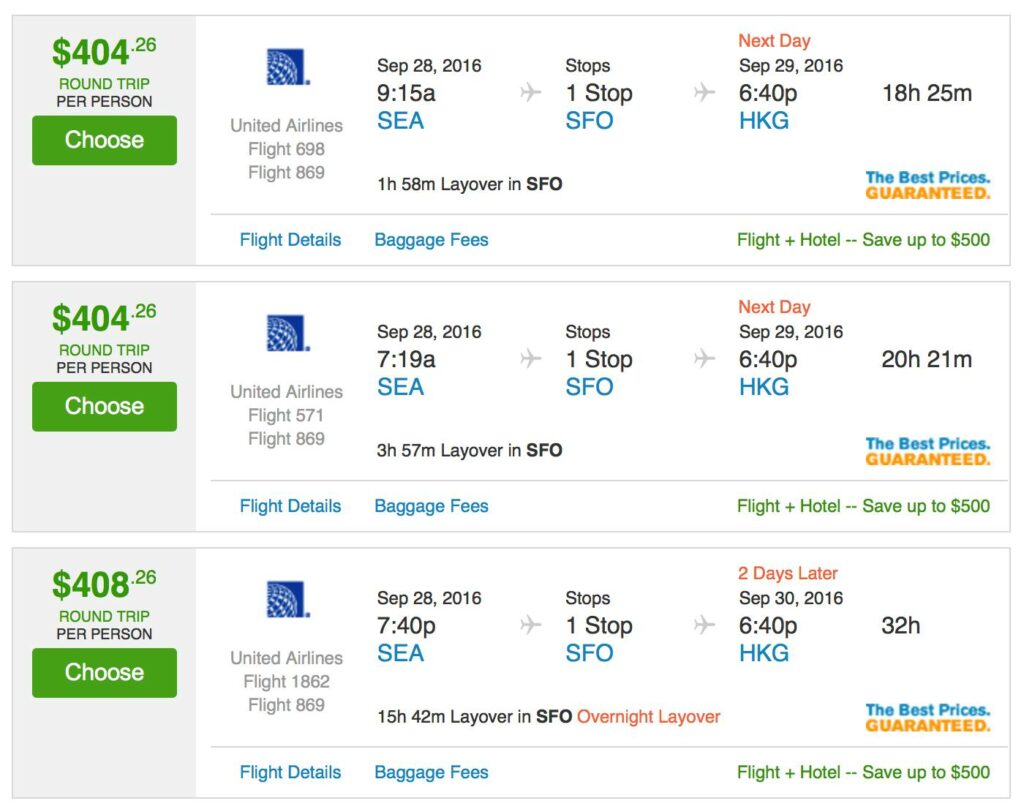
All flights out of the West Coast are normally $800-900 roundtrip. Anything under $600 is a great deal. Recently, there was a price war between United and Delta, with flights edging under $400.
United Flights from Seattle to Hong Kong
United has flights out of Chicago, and Newark for slightly more. For alerts on flight sales, create a deal alert on SkyScanner and subscribe to our newsletter on the top-right side.
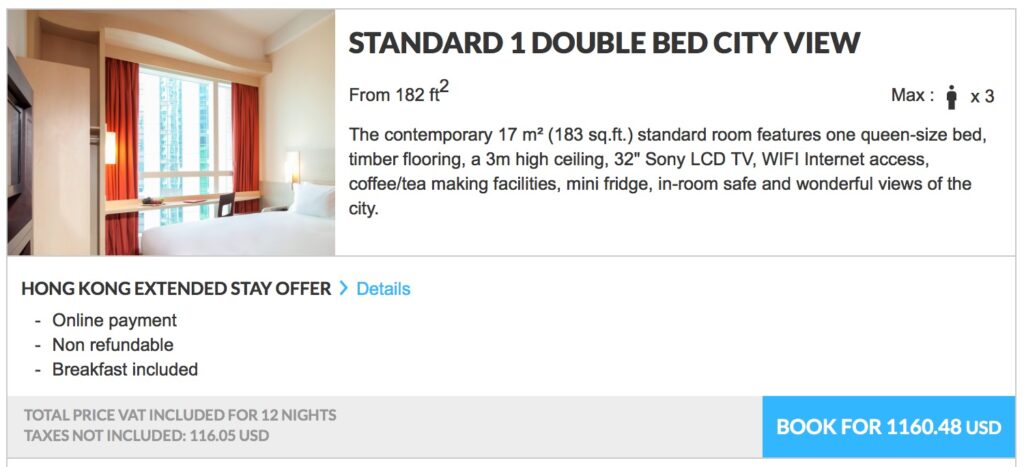
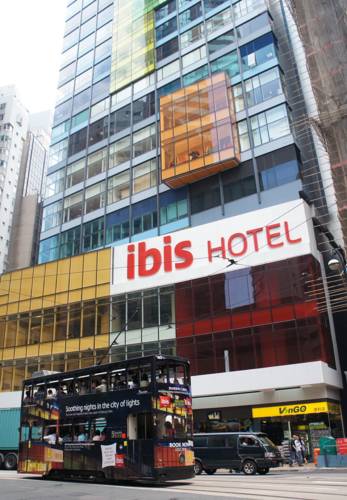
We recommend staying in Hotels over AirBNB for Hong Kong. Our preferred choice for Hong Kong is IBIS in Sheung Wan. It’s a short walk away from everything. They’re also part of the Accor Hotels family.
The cost of getting around in Hong Kong is amongst the cheapest in all developed cities. Before leaving Hong Kong International Airport, make a visit to the MTR counter to purchase your round trip Airport Express ticket for $180, and an Octopus card. For a 12 day trip, around $500 HKD will be enough. You can always add value later in any MTR station.
After taking the Airport Express to Hong Kong Station – there are free hotel shuttles every 15 minutes.
Budgeting for Food and Activities.
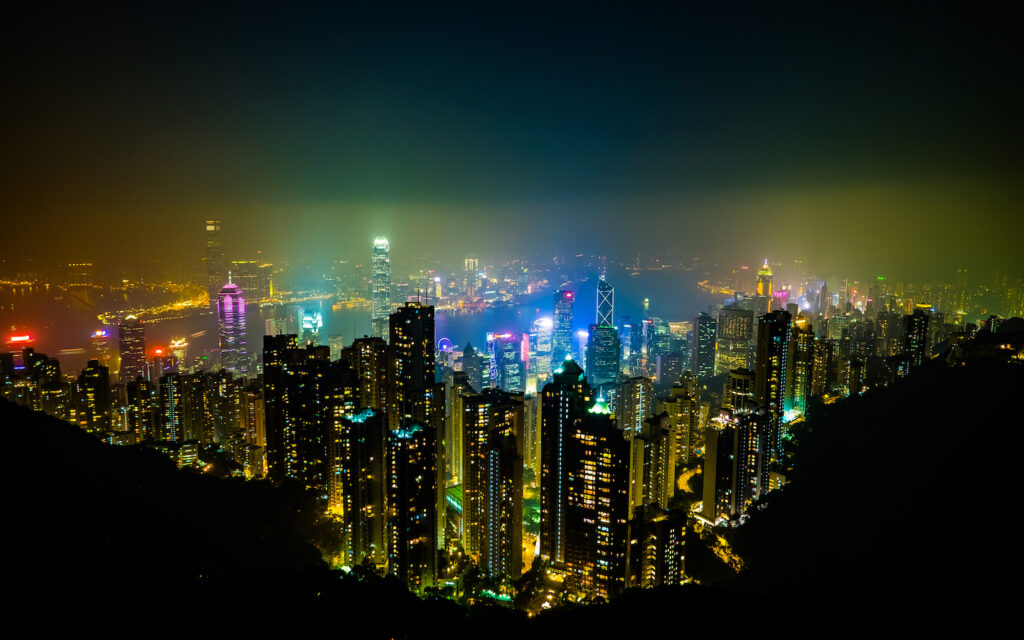
Take the Peak Tram up to Victoria Peak for US$10
One of the amazing things about Hong Kong is the quality of meal for $5 USD. Budget for $20-30 USD per day for food. OpenRice is the recommended way to find local restaurants in Hong Kong. There’s also iOS and Android apps.
There are many things to see in Hong Kong, most of them are free or for a few dollars US. Check out this guide and also check out LonelyPlanet for their Hong Kong travel guide.
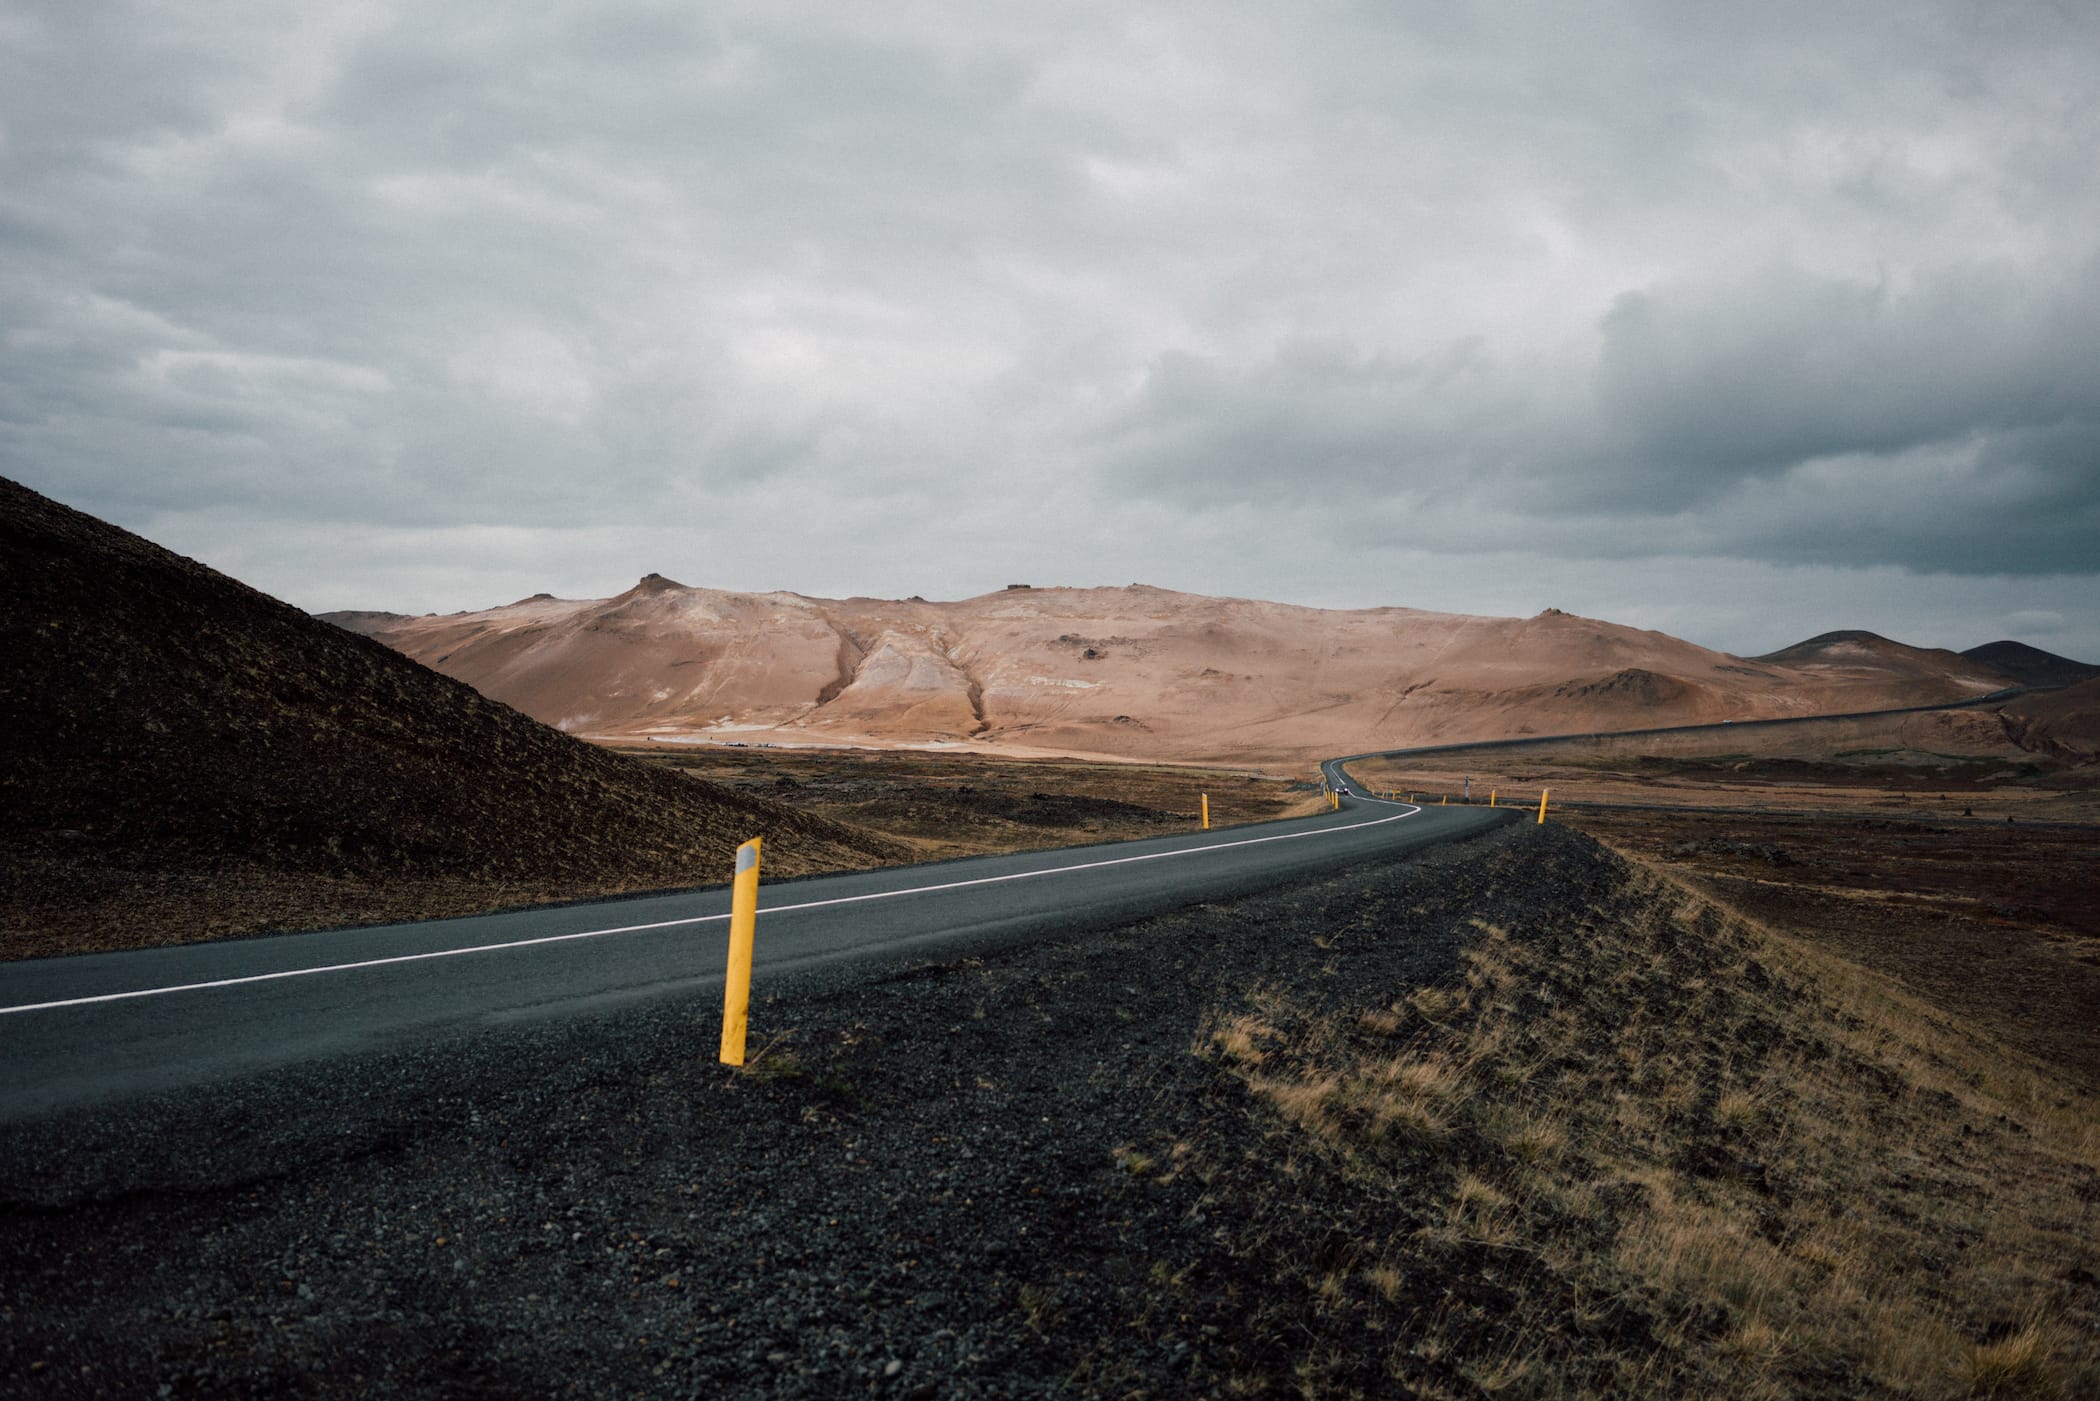
Iceland is a dream for many photographers, it almost feels like cheating when you’re photographing the beautiful landscapes. Iceland however is not a cheap destination. Luckily, there are some way to reduce the cost of the trip. Here’s how I cut about $2,000 from my trip to Iceland. At the time, I couldn’t transfer American Express Membership Rewards or Starwood points to Iceland Air. In fact, until recently it was impossible to book Iceland Air using points. That has since changed, Iceland Air is a partner with Alaska Airlines and you can book using Alaska miles. The value isn’t great and there’s surcharges making it a mediocre value, at best.
Skógafoss Waterfall in Iceland – Click to see the full gallery (External Site)
I booked a round trip flight from SFO to KEF for only $103.10 and 60,000 American Airlines miles. The routing was SFO, ORD, DUS and KEF. I didn’t mind spending a full day in Germany, considering I have a friend to show me around Dusseldorf. The way I acquired these miles was pretty simple: sign up bonuses. Credit card sign up bonuses make it really easy to have thousands of miles with little effort. Citi sent me a generous offer for one of their American Airlines co-branded credit cards: spend $500 in 3 months and receive 30,000 AA miles. With the 30,000 AA miles I had generated with very little spend, I transferred an additional 25,000 SPG points to American. Transferring Starwood points in 20,000 points increments to American adds a 5,000 point bonus, totaling 30,000 miles. This is how I reduced the cost of my trip by about $2,000.
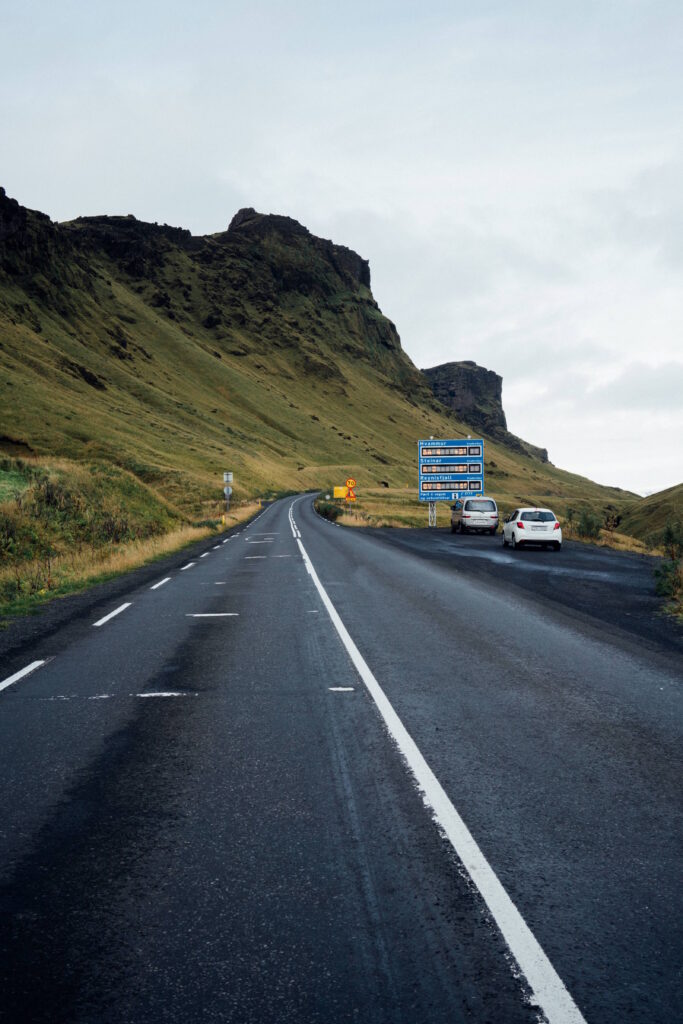
The Road Trip of a Lifetime
If you are visiting Iceland, renting a car is a must. Public transportation is available but it’s only available in the city and it’s impossible to do the ring road via train. I rented a Toyota Yaris from BlueCarRental for 12 days, totaling somewhere in the range of $750 USD. To save money on insurance, I suggest reviewing the car rental coverage your credit card offers and go with that. American Express and Chase offer car rental insurance. After renting the car, I started driving to a super market to pick up peanuts and mandarins. Food in Iceland is expensive. Any stop at a restaurant usually reached $20 USD with very little effort. Picking up snacks was essential in keeping this trip relatively affordable.
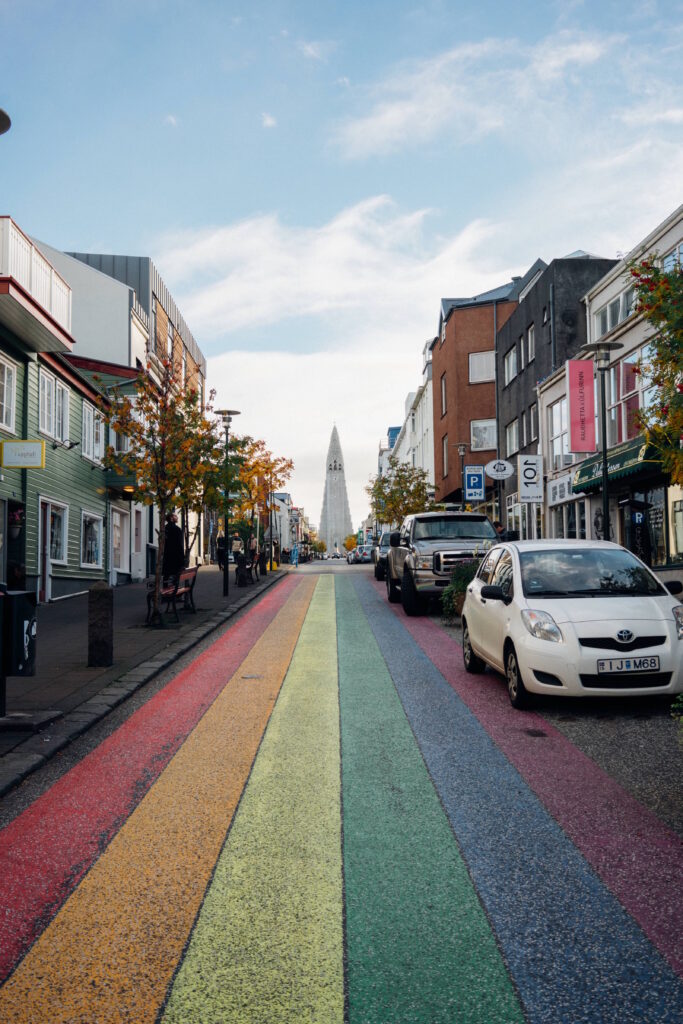
Click through to see the Iceland Story at RicardoDelToro.me
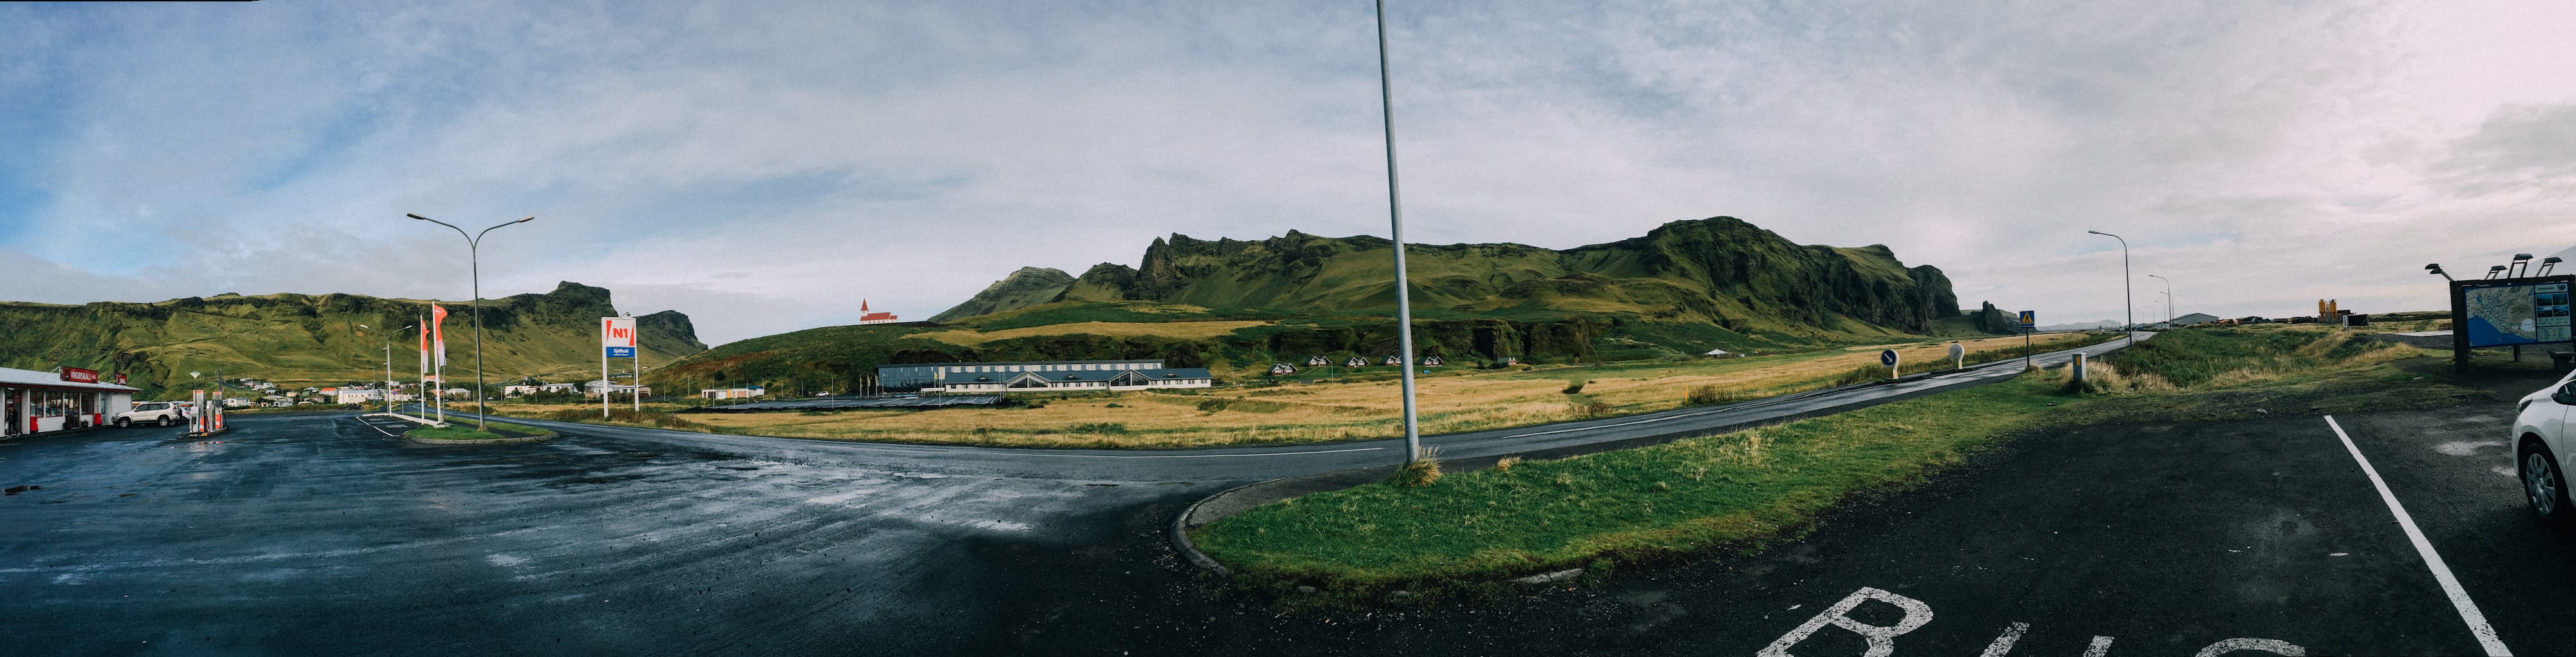
The next biggest expense, apart from accommodation is fuel. Fuel in Iceland is expensive, specially for an American and that’s coming from someone living in California. At the time, I remember paying 192 ISK per liter. In gallons, it was reaching about $6.00 USD per gallon. There’s petrol stations all throughout the country and they all take credit cards. Most take American Express, but some don’t. This applies to the entire country: everyone will take your credit card. I didn’t withdraw any Icelandic Kronar at the airport. I just used credit card to pay for things and didn’t need cash throughout the trip. If you use an Amex card, carry a Visa or MasterCard in case Amex isn’t accepted.
Accommodation
Accommodation in Iceland is not cheap and I suggest you book ahead of time. I used Booking to find accommodation and booked directly with the hotel, when possible. Each night was at least $100.00 USD, usually with breakfast included and free really fast Wi-Fi. Prices ranged between $100 and $170 per night. These prices generally get you something pretty nice in most parts of the world but Iceland is not really about luxury. Hotels in Iceland are small with very little luxury.
My Final Thoughts
Iceland is incredible and I cannot wait to go back. Iceland is expensive but it’s not impossible to do, specially if you go with a partner and split the cost of the trip. I would definitely recommend you visit and explore the country. I spent 14 days in Iceland and took a lot of photos. You can see the rest of my trip at: Ricardodeltoro.me.


